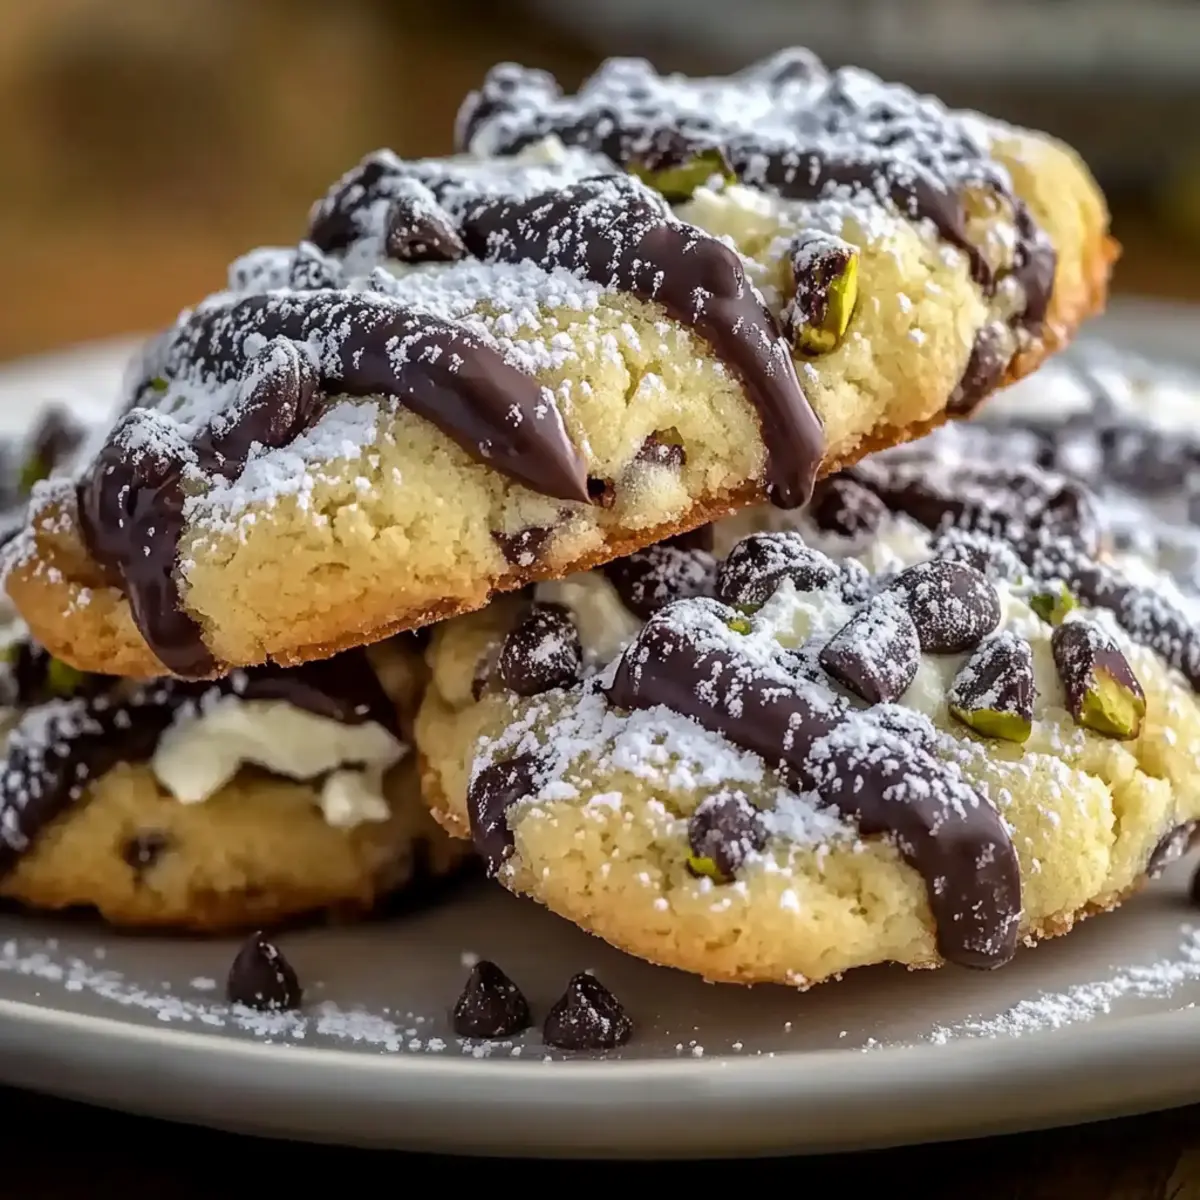
“Wait, are these cookies actually cannoli?” My friend exclaimed, eyes wide with surprise. That’s the magic of Cannoli Cookies! Marrying the traditional Italian dessert with the comfort of homemade treats, these delightful cookies feature a crispy exterior that gives way to a luscious filling of ricotta cheese, zesty lemon, and sweet chocolate chips. They’re not only easy to prepare—ready in just 45 minutes—but they also make a crowd-pleasing addition to any gathering. Whether you’re hosting a coffee break or simply craving a sweet moment, Cannoli Cookies are your ticket to joy. So, are you ready to embark on a delicious journey and whip up your very own batch?
Why Are Cannoli Cookies So Amazing?
Irresistible Fusion: These Cannoli Cookies beautifully blend the classic flavors of Italian cannoli into an easy-to-make treat that will leave your taste buds dancing.
Quick and Easy: Ready in just 45 minutes, they’re perfect for those busy moments when you need a sweet fix without the hassle.
Crowd-Pleasing Delight: These cookies are guaranteed to impress family and friends, making them an excellent choice for gatherings or coffee breaks.
Versatile Treat: Not only do they shine on their own, but you can also play around with variations—try adding warm spices or different fillings to please every palate!
Texture Contrast: The crispy exterior contrasts beautifully with the creamy, rich filling, ensuring a delightful bite every time.
So grab your apron, and let’s dive into the world of Cannoli Cookies—pair them with a cup of espresso or check out other favorites like Chocolate Chip Cookies for an unbeatable dessert spread!
Cannoli Cookies Ingredients
Unlock the secrets to these delectable treats!
For the Cookie Dough
- All-Purpose Flour – Provides structure and body; sift for a lighter texture.
- Granulated Sugar – Adds sweetness; adjust based on your preference for sugary indulgence.
- Egg – Acts as a binder, introducing richness to the dough.
- Vanilla Extract – Rounds out the flavor; consider almond extract for a unique twist.
- Lemon Zest – Infuses a bright note; use fresh zest for the best burst of flavor.
For the Creamy Filling
- Ricotta Cheese – The star of the filling; ensure it’s well-drained for perfect consistency.
- Mini Chocolate Chips – Offer sweetness and a delightful textural contrast; swap for dark chocolate chips if desired.
- Chopped Pistachios – Add a delightful crunch; feel free to use walnuts or almonds as alternatives.
For the Finishing Touch
- Powdered Sugar – Just a sprinkle enhances presentation and provides extra sweetness.
Get ready to make the irresistible Cannoli Cookies that blend the richness of Italian tradition with the comfort of homemade treats!
Step‑by‑Step Instructions for Cannoli Cookies
Step 1: Preheat the Oven
Begin by preheating your oven to 350°F (175°C). This step is crucial as it ensures your Cannoli Cookies will bake evenly, resulting in a perfect golden-brown finish. While the oven is heating up, it’s a great time to gather all your ingredients and equipment, including mixing bowls and baking sheets.
Step 2: Whisk the Dry Ingredients
In a large mixing bowl, combine the all-purpose flour and granulated sugar. Use a whisk to blend them together thoroughly, ensuring there are no lumps. This dry mixture will provide the base for your Cannoli Cookies, adding structure and sweetness. Set this bowl aside for later, as you prepare the wet ingredients.
Step 3: Mix the Wet Ingredients
In another bowl, mix the well-drained ricotta cheese, egg, vanilla extract, and fresh lemon zest. Using a whisk or hand mixer, blend until the mixture is smooth and creamy. This step creates the flavorful filling of your Cannoli Cookies. Aim for a glossy, consistent texture that will bring richness to every bite.
Step 4: Combine Wet and Dry Mixtures
Gradually add the wet mixture to the dry ingredients, gently folding with a spatula until a soft dough forms. Be careful not to overmix, as this can lead to tough cookies. You want a cohesive dough that holds together nicely. Once combined, shape the dough into a ball for the resting stage.
Step 5: Let the Dough Rest
Cover your dough with plastic wrap and allow it to rest for 30 minutes at room temperature. This resting period helps relax the gluten in the flour, making it easier to roll out later. Take this time to clean up your workspace and prepare your cookie sheets with parchment paper for easy cleanup.
Step 6: Roll Out the Dough
After the dough has rested, dust your countertop with a little flour and roll it out to a ¼-inch thickness. Use a rolling pin to maintain an even surface. With a sharp knife or pizza cutter, cut the dough into rectangles measuring about 2×3 inches. The shape is essential for easy filling and folding, so aim for uniformity.
Step 7: Prepare the Filling
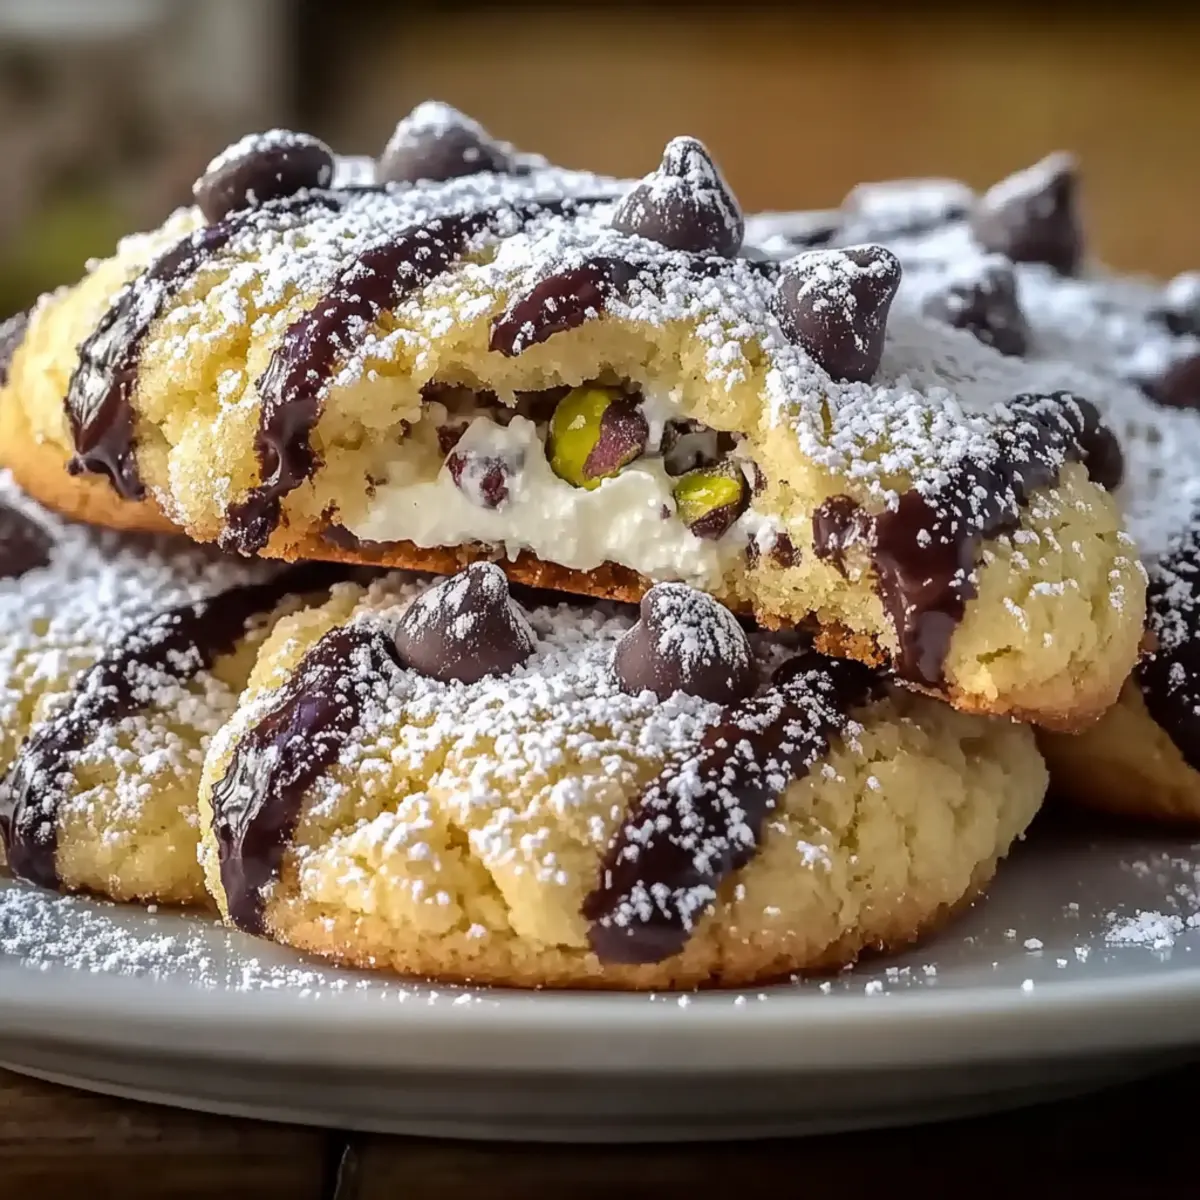
In a separate bowl, create the creamy filling by combining the remaining ricotta, mini chocolate chips, and chopped pistachios. Mix until well incorporated, ensuring each bite of your Cannoli Cookies is filled with a delightful blend of flavors and textures. This filling is what makes these cookies truly irresistible.
Step 8: Fill and Shape the Cookies
Take a spoonful of the ricotta filling and place it in the center of each rectangle. Carefully fold the dough over to encase the filling and pinch the edges tightly to seal. This step is vital to prevent the filling from leaking out during baking, so ensure a good seal for a perfect cookie shape.
Step 9: Bake the Cookies
Place the filled cookies onto the prepared baking sheets, leaving space in between each one, as they will expand while baking. Bake in the preheated oven for 15-18 minutes, or until the cookies are golden brown and crisp around the edges. Watch closely towards the end to avoid over-browning.
Step 10: Cool and Dust with Sugar
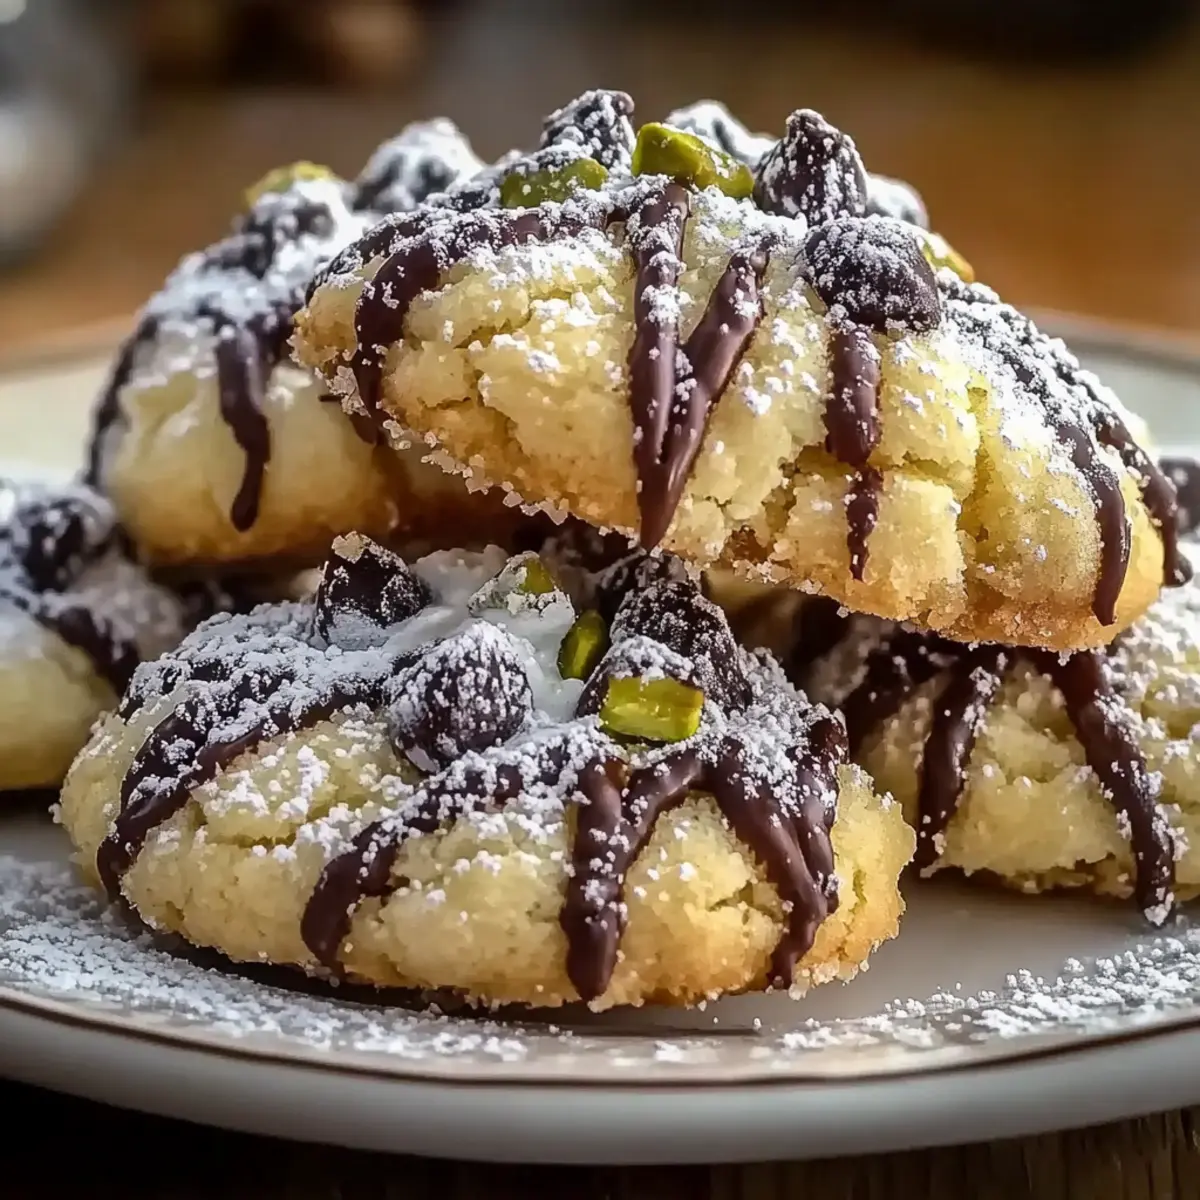
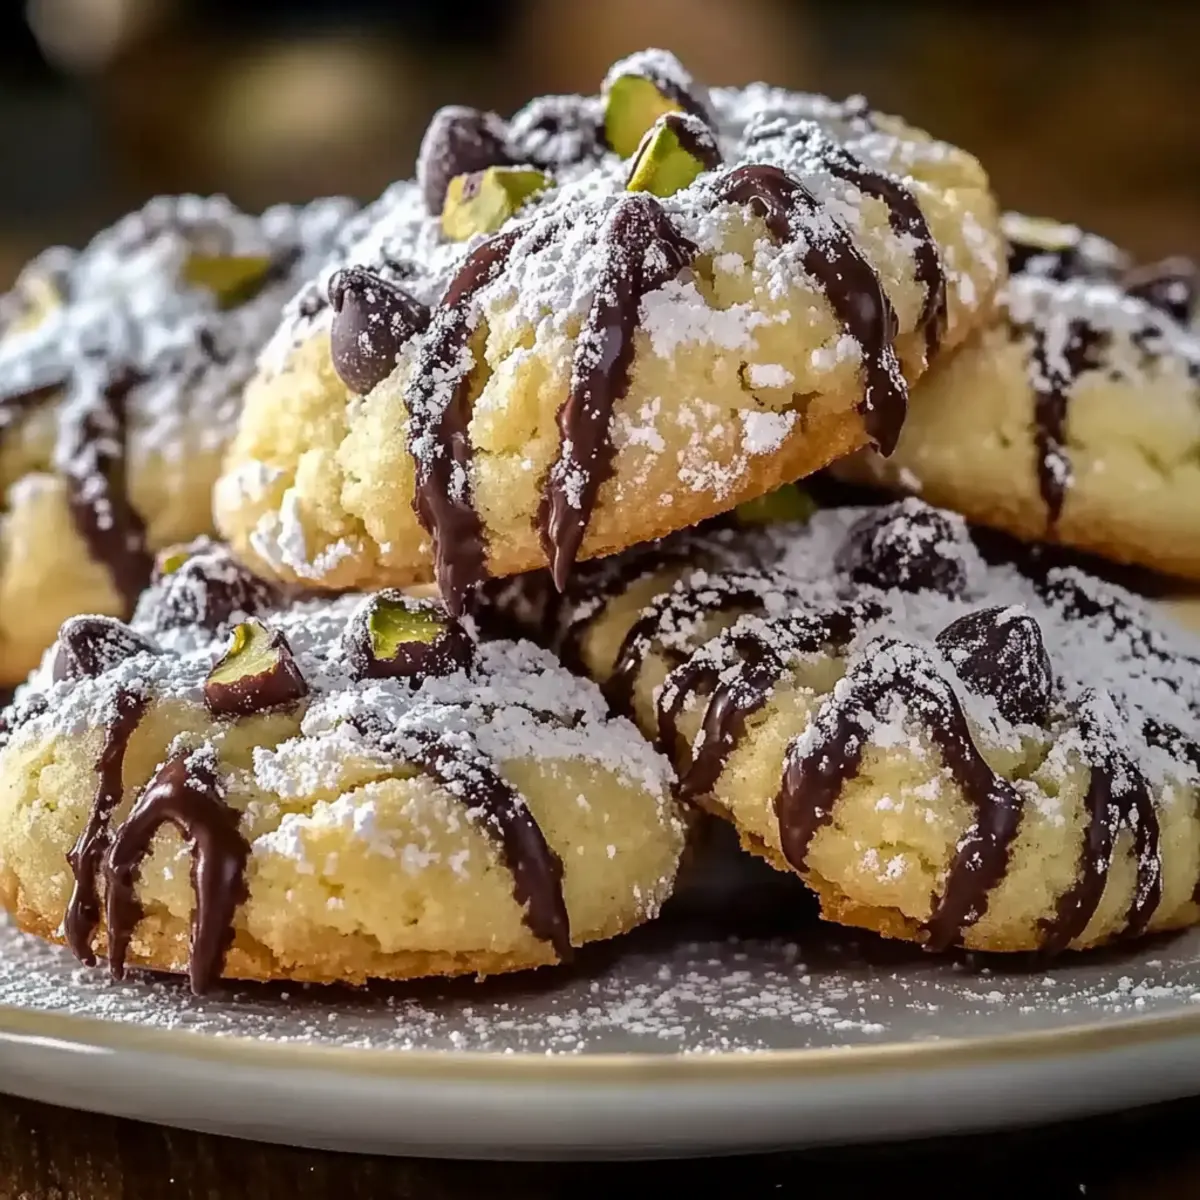
Once baked, remove the Cannoli Cookies from the oven and allow them to cool on wire racks for a few minutes. After cooling, sift powdered sugar over the cookies for a lovely finishing touch, enhancing both appearance and sweetness. This step elevates your Cannoli Cookies to the next level, ready to impress!
What to Serve with Cannoli Cookies?
Picture a warm kitchen filled with the scent of sweet, creamy cookies that dance on the palate, inviting warmth and delightful flavors.
-
Espresso: The rich, bold coffee provides a perfect balance to the sweetness of the Cannoli Cookies, enhancing the overall experience.
-
Gelato: This creamy Italian ice cream is a delightful complement, adding an extra layer of indulgence and a refreshing contrast.
-
Chocolate Sauce: A drizzle of warm chocolate sauce brings a touch of decadence, elevating the cookies to a new level of dessert bliss.
-
Fresh Berries: Juicy strawberries or raspberries add a burst of freshness and tang, beautifully contrasting with the rich filling.
For a delightful treat that’s just as comforting as it is festive, consider serving Cannoli Cookies on a decorative platter, sprinkled with extra chopped pistachios for visual appeal. Add in a chilled glass of dessert wine to round out the experience, making every bite feel like a special occasion!
Expert Tips for Cannoli Cookies
-
Perfect Ricotta: Ensure ricotta is well-drained to prevent soggy cookies, enhancing the filling’s texture and flavor.
-
Don’t Overmix: Gently combine wet and dry ingredients to avoid tough cookies; a soft dough is ideal for tender results.
-
Watch the Bake: Keep an eye on cookies as they bake to prevent over-browning. They should be golden brown for the best taste.
-
Seal It Well: Pinch edges tightly when shaping to avoid filling leakage during baking, ensuring a delightful surprise in every bite.
-
Optimize Cooling: Allow cookies to cool completely on wire racks; this helps maintain their crispiness before dusting with powdered sugar.
How to Store and Freeze Cannoli Cookies
-
Room Temperature: Keep Cannoli Cookies in an airtight container at room temperature for up to 3 days to maintain their crispiness and flavor. Add parchment paper between layers to prevent sticking.
-
Fridge: If you prefer a chilled treat, store the cookies in the refrigerator for up to 5 days. Just remember to allow them to come to room temperature before enjoying for the best taste experience.
-
Freezer: For longer storage, freeze the Cannoli Cookies in a single layer on a baking sheet. Once frozen, transfer them to a freezer-safe bag or container, where they can last for up to 3 months.
-
Reheating: To revive the cookies, reheat them in a preheated oven at 350°F (175°C) for about 5-7 minutes. This will help restore their delightful texture and flavor!
Cannoli Cookies: Endless Customization Options
Feel free to get creative and personalize your Cannoli Cookies with these delightful twists that enhance flavor and texture!
-
Nutty Alternative: Substitute almond or hazelnut meal for part of the flour for a delightful nutty flavor that complements the richness of the cookies. You’ll enjoy a new depth of flavor that takes these cookies up a notch!
-
Flavored Filling: Try using mascarpone cream or flavored ricotta (like orange or coffee) instead of traditional ricotta for a fun and exciting twist. The new layers of flavor will surprise your guests and keep them coming back for more!
-
Warm Spice: Add in spices like cinnamon or nutmeg to your dough for a cozy, aromatic touch. This subtle addition elevates the cookies, giving them a seasonal charm that’s perfect for cozy gatherings.
-
Fruit Fusion: Incorporate dried fruits like chopped figs, cherries, or cranberries into the filling for a natural sweetness and chewy texture. These fruits harmonize beautifully with the creamy ricotta and chocolate chips.
-
Crispy Cookie: For a scrumptious texture twist, mix crushed graham crackers into the dough or filling to add an extra crunch. This contrast makes every bite an adventure in taste and texture!
-
Dark Chocolate Delight: Switch out mini chocolate chips for dark chocolate chunks for a richer, more indulgent flavor. This swap enhances that chocolatey goodness that pairs so well with the creamy filling.
-
Dairy-Free Version: Opt for a plant-based cream cheese alternative to make a dairy-free filling while still enjoying that creamy texture. Don’t forget to substitute the egg with a flax egg for binding!
-
Chili Honey Drizzle: For a kick, dribble some spicy honey over the finished cookies before serving to add warmth and intrigue to the flavor profile. This unexpected element delights the senses!
Once you’ve explored these variations, don’t forget to pair your Cannoli Cookies with a cup of espresso or try other favorites like Chocolate Oat Cookies or Chocolate Thumbprint Cookies for a sweeping dessert spread that will leave friends and family in awe!
Make Ahead Options
These Cannoli Cookies are a fantastic choice for meal prep enthusiasts looking to save time during busy weeknights! You can prepare the dough up to 24 hours in advance by mixing the wet and dry ingredients and then covering it tightly with plastic wrap in the refrigerator. This allows the flavors to develop and ensures your cookies are just as delicious upon baking. The filling can also be made and stored in an airtight container in the fridge for up to 3 days. When you’re ready to bake, simply roll out the dough, fill, and shape your cookies as directed, then bake for perfect, creamy cookies that will impress everyone!
Cannoli Cookies Recipe FAQs
What kind of ricotta should I use for Cannoli Cookies?
Absolutely! For the best results, use whole-milk ricotta that is well-drained. This will ensure a creamy filling that’s not watery. If you can, pat it dry with paper towels to remove any excess moisture before mixing, which helps maintain the right texture in your cookies.
How should I store Cannoli Cookies?
You can keep Cannoli Cookies in an airtight container at room temperature for up to 3 days to maintain their delicious crispiness. To prevent sticking, add parchment paper between layers. If you’d like to store them longer, putting them in the fridge will extend their freshness for up to 5 days.
Can I freeze Cannoli Cookies?
Very! To freeze Cannoli Cookies, place them in a single layer on a baking sheet and freeze until firm (about 1-2 hours). Then, transfer them to a freezer-safe bag or container. They can stay in the freezer for up to 3 months. When you want to enjoy them, let them thaw in the fridge overnight, or reheat in a preheated oven at 350°F (175°C) for about 5-7 minutes for that fresh-baked taste!
What should I do if my cookies came out too dry?
If your Cannoli Cookies are too dry, it may be due to overmixing the dough or not enough moisture in the filling. Make sure to blend the wet and dry ingredients until just combined, and double-check that your ricotta is adequately drained for a creamy filling. If still too dry, consider drizzling a bit of milk or cream into the filling mixture next time to add moisture.
Are Cannoli Cookies suitable for people with nut allergies?
For those with nut allergies, you can absolutely enjoy Cannoli Cookies! Simply skip the chopped pistachios or substitute them with seeds like sunflower seeds or omit them altogether for a nut-free treat. Just be sure to check any additional flavorings or chocolate chips you might be using to ensure they’re also nut-free.
What if I want to use a different type of filling?
Feel free to get creative with the filling! A delightful alternative could be mascarpone cheese mixed with caramel or flavored ricotta. You can also explore adding spices like cinnamon or nutmeg to mix things up. Just ensure the new filling has a similar creamy texture to keep that luscious experience!
Cannoli Cookies: Irresistibly Creamy Italian Delights
Ingredients
Equipment
Method
- Preheat your oven to 350°F (175°C).
- In a large mixing bowl, whisk together all-purpose flour and granulated sugar.
- In another bowl, mix well-drained ricotta cheese, egg, vanilla extract, and lemon zest until smooth.
- Gradually fold the wet mixture into the dry mixture to form a soft dough.
- Cover the dough with plastic wrap and let it rest for 30 minutes at room temperature.
- Roll out the dough to ¼-inch thickness and cut into 2x3 inch rectangles.
- Combine remaining ricotta, mini chocolate chips, and chopped pistachios for the filling.
- Place a spoonful of filling in the center of each rectangle, fold over, and pinch edges to seal.
- Place filled cookies on prepared baking sheets and bake for 15-18 minutes until golden brown.
- Allow cookies to cool on wire racks, then dust with powdered sugar before serving.
Leave a Reply