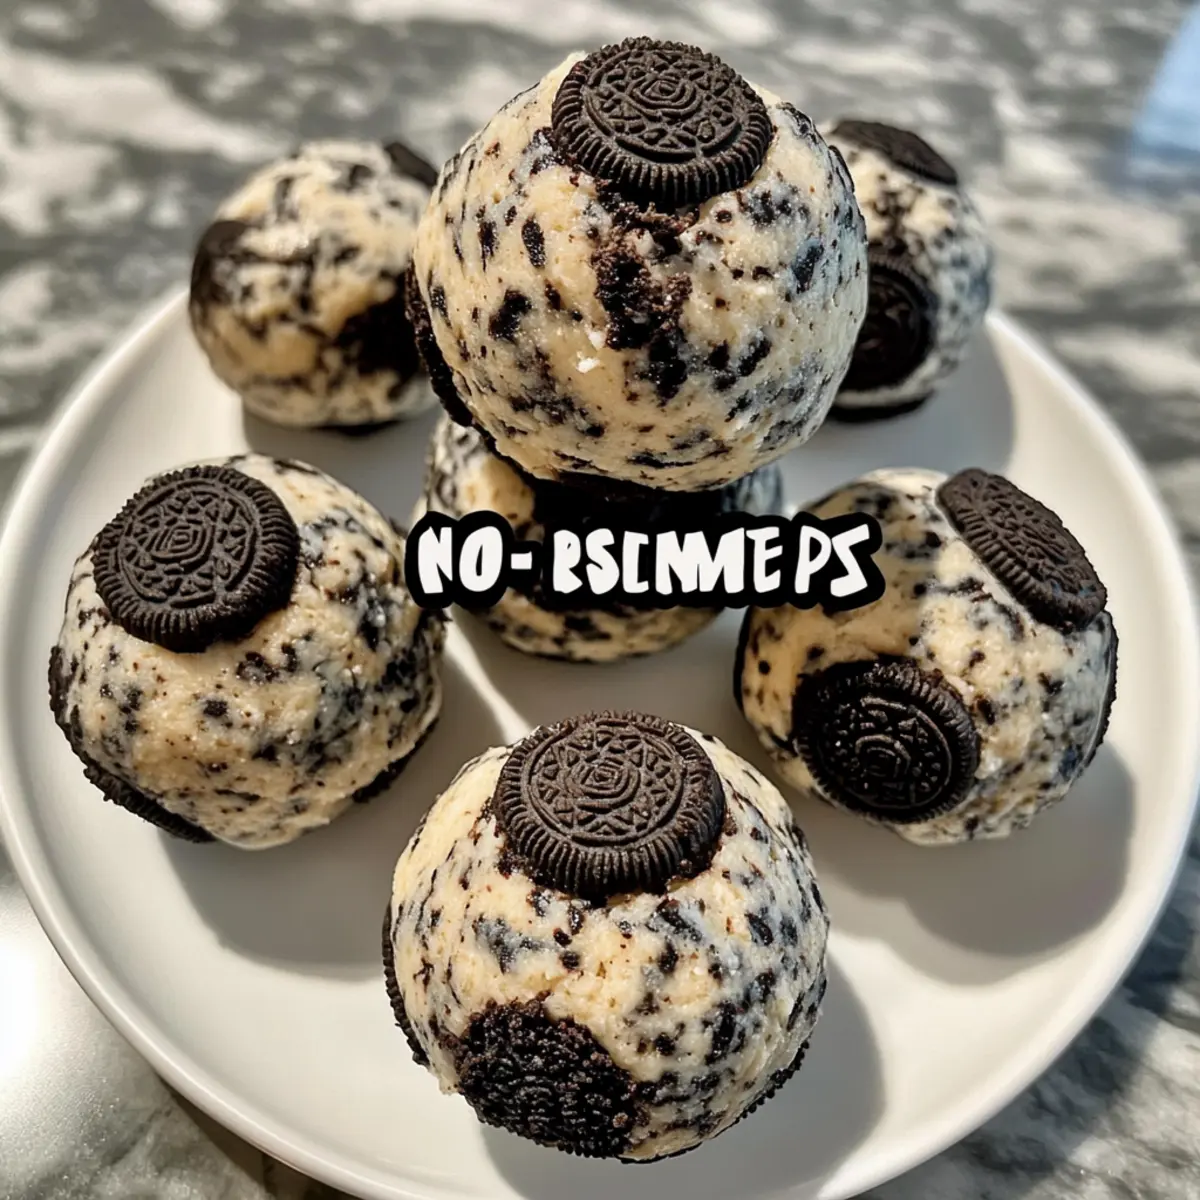
In the midst of a hectic day, wouldn’t it be delightful to reach for a satisfying snack that feels like a treat and packs a nutritious punch? Enter my favorite no-bake creation: Cream Cheese Oreo Protein Balls! Combining crushed Oreos, smooth cream cheese, and your favorite protein powder, these bites are not only a protein-packed delight but also customizable to suit your cravings. Whether you need a post-workout boost or something sweet to curb those afternoon munchies, these little powerhouses deliver both flavor and satisfaction with minimal effort. Best of all, you can make them ahead of time and keep them ready in your fridge or freezer. Want to know how simple it is to whip up your very own batch? Let’s dive into this deliciously healthy indulgence!
Why Are These Protein Balls Amazing?
Guilt-Free Indulgence: Enjoy the rich taste of Oreos without the guilt, thanks to the protein-packed ingredients!
No Baking Required: Simply mix, roll, and chill—perfect for those busy days when time is tight.
Endless Customization: From protein flavors to mix-ins, you can tailor each batch to your preference—think of adding in coconut or nuts for added crunch!
Perfect Anytime Snack: Whether post-workout or craving something sweet, these treats satisfy without derailing your diet.
Budget-Friendly: Making your own means saving money compared to store-bought snacks; these are a great wholesome alternative to fast food!
Fresh and Flavorful: With every bite tasting like cookies and cream cheesecake, you’ll be hooked while packing in nutrients. Ready to elevate your snacking game? Check out similar healthy ideas like Pumpkin Cheesecake Balls or even a refreshing Italian Cream Soda!
Cream Cheese Oreo Protein Balls Ingredients
Get ready to whip up some deliciousness!
For the Base
• Oreo Cookies – The star of the show, they provide that delightful cookies and cream flavor. Try using reduced-fat Oreos for a lighter option!
• Cream Cheese – Creamy and rich, it binds everything together beautifully. For a vegan twist, opt for plant-based cream cheese.
• Protein Powder – Boosts the protein content for a filling snack; choose your favorite flavor for a unique taste experience!
For the Mixture
• Milk – Helps achieve the right consistency; feel free to use dairy or a plant-based alternative based on your dietary needs.
• Vanilla Extract – Adds depth to the flavor profile; there are no necessary substitutions for this essential ingredient.
• Salt – A pinch enhances all the flavors beautifully and balances the sweetness.
Optional Mix-ins
• Nuts or Coconut – For added texture and nutrition; customize it to meet your dietary preferences!
• Additional Cookies – Get creative by incorporating different cookie flavors or even some chocolate chips for extra indulgence!
Embrace the joy of making your own Cream Cheese Oreo Protein Balls and watch them vanish in no time!
Step‑by‑Step Instructions for Cream Cheese Oreo Protein Balls
Step 1: Crush the Oreos
Begin by crushing the Oreo cookies into fine crumbs. You can choose to do this by placing them in a zip-top bag and rolling a rolling pin over them or using a food processor. Aim for mostly fine crumbs with a few small bits for texture. This should take about 5 minutes.
Step 2: Soften the Cream Cheese
Next, take your cream cheese out of the refrigerator and let it soften to room temperature for about 30 minutes. Alternatively, you can microwave it for 10-15 seconds, just until it’s soft but not runny. Be sure to check it frequently to prevent it from melting.
Step 3: Combine the Base Ingredients
In a medium mixing bowl, combine the softened cream cheese with the crushed Oreo cookies. Use a mixing spoon or spatula to blend the two ingredients together until you achieve a smooth and well-combined mixture. This process should take about 2-3 minutes, and the color should be a uniform light brown from the cookies.
Step 4: Add the Protein Powder
Gradually incorporate your chosen protein powder into the cookie and cream cheese mixture, stirring continuously. If the mixture feels too dry, drizzle in a tablespoon of milk at a time until you achieve a pliable dough that holds together well. This should take 3-4 minutes, and the mixture should be moist but not overly sticky.
Step 5: Flavor it Up
Add in the vanilla extract and a pinch of salt to the mixture, stirring well to ensure even distribution. If you’d like to include any optional mix-ins—such as chopped nuts or coconut—now’s the time to fold them in. You should notice a more complex flavor and a lovely creamy texture as you mix everything together.
Step 6: Shape the Protein Balls
Using a tablespoon or scoop, take portions of the mixture and roll them between your palms to form smooth balls, about 1 inch in diameter. Aim for approximately 12-15 balls, and if the mixture is too soft, you can chill it briefly to make shaping easier. Each ball should feel dense and slightly firm in your hands.
Step 7: Chill for Texture
Place the rolled protein balls on a parchment-lined tray to prevent sticking, and refrigerate them for at least 1 hour. Alternatively, you can freeze them for about 30 minutes if you’re short on time. The chilled texture will help the balls solidify while enhancing their creamy consistency.
Step 8: Optional Coating
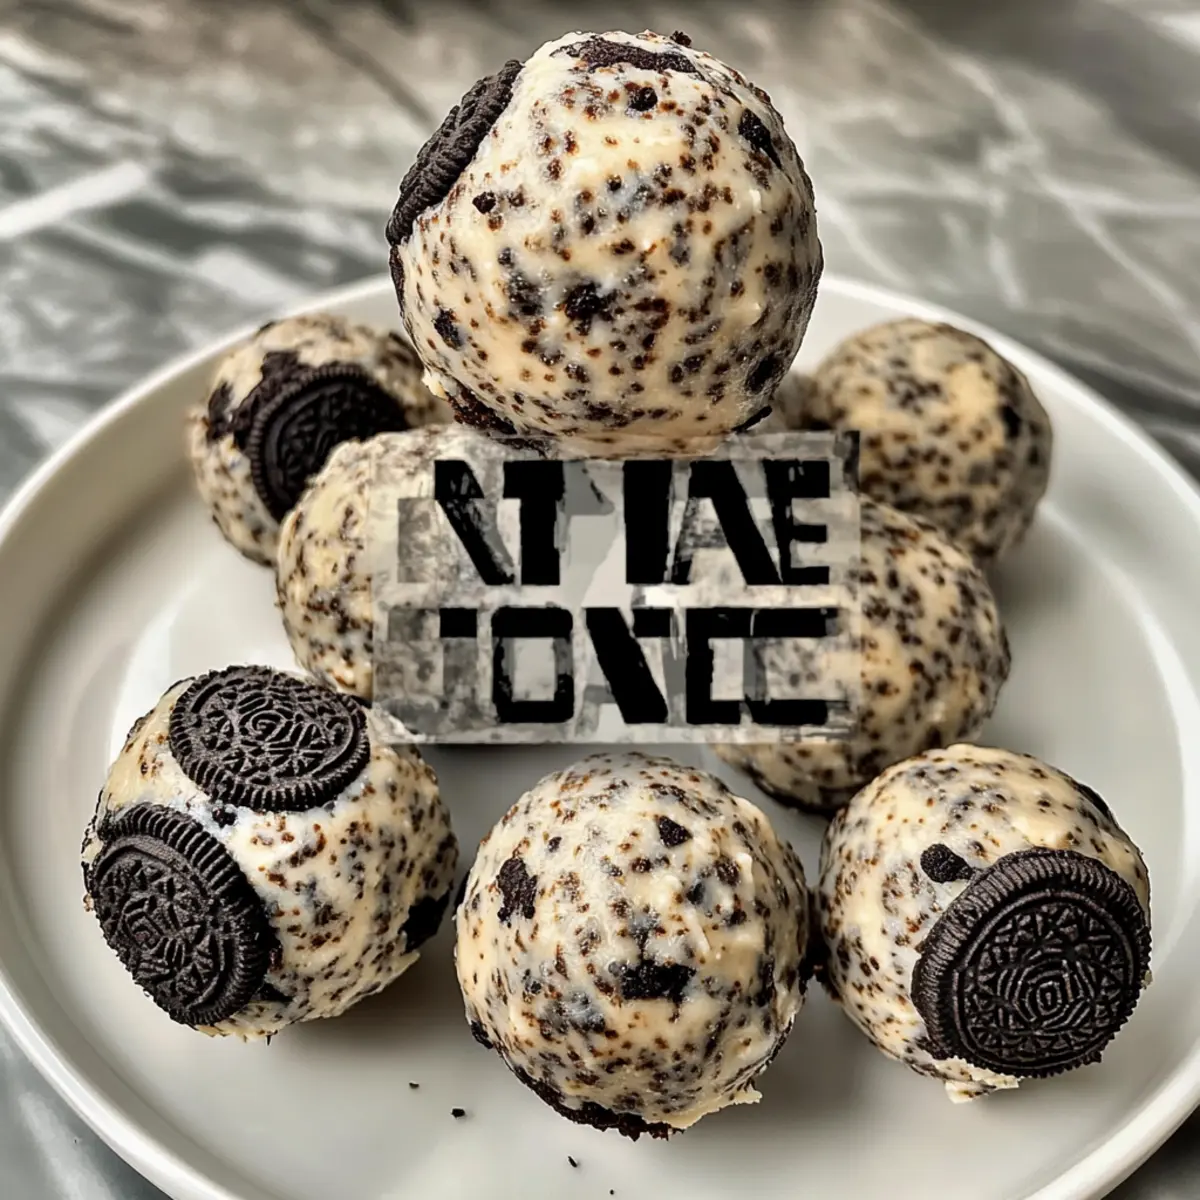
If desired, once the protein balls are chilled, roll them in additional crushed Oreos or cocoa powder for an extra touch. This step will add visual appeal and an additional layer of flavor. You can set them back on the parchment-lined tray until you are ready to serve or store them.

Cream Cheese Oreo Protein Balls Variations
Feel free to get creative with these adaptable snacks and make them uniquely yours!
- Flavor Swap: Experiment with different cookie flavors like mint or peanut butter for an unexpected taste twist! Wow your taste buds!
- Nut-Free: Substitute sunflower seed butter for nut butters to keep it safe for nut allergies while adding creaminess.
- Vegan Delight: Opt for plant-based cream cheese and protein powder to make these a fully vegan-friendly treat! All the joy, none of the worry!
- Crunchy Additions: Toss in crushed nuts, seeds, or shredded coconut to add a delightful crunch that complements the soft texture.
- Spiced Up: Mix in a dash of cinnamon or a pinch of cayenne pepper for a unique flavor kick that elevates the sweetness!
- Extra Protein: Boost the protein content further by adding a scoop of Greek yogurt before shaping the balls. This is ideal post-workout.
- Chocolate-Covered: Dip cooled protein balls in melted dark chocolate for an indulgent treat that satisfies those chocolate cravings without compromising health!
- Dried Fruit: Incorporate chopped dried fruits like cranberries or apricots for a fruity explosion that mingles beautifully with the creamy flavor.
Remember, these delightful bites can pair well with other treats too! Why not serve them up alongside some Brown Butter Cheesecake or enjoy a cool drink like Italian Cream Soda to create the perfect snack moment?
How to Store and Freeze Cream Cheese Oreo Protein Balls
Fridge: Store your protein balls in an airtight container in the refrigerator for up to 5 days. This will keep them fresh and ready for snacking!
Freezer: For longer storage, freeze the protein balls in a single layer on a baking sheet for 30 minutes, then transfer them to a freezer-safe bag for up to 2 months.
Reheating: There’s no need to reheat; simply enjoy straight from the fridge or thaw in the fridge for a few hours if frozen.
Wrapping: If you’re not using an airtight container, wrap each ball individually in plastic wrap to maintain their moisture and flavor.
Make Ahead Options
These Cream Cheese Oreo Protein Balls are a lifesaver for busy home cooks looking to save time! You can prepare the mixture and form the balls up to 24 hours in advance; just store them in an airtight container in the refrigerator to keep them fresh. If you’re looking for longer storage, you can freeze them for up to 2 months; simply place them on a parchment-lined tray until solid, then transfer to a freezer-safe bag. When you’re ready to enjoy, defrost the protein balls in the fridge overnight, and for an extra touch, roll them in crushed Oreos just before serving to maintain that delightful flavor and texture. Enjoy having these nutritious snacks ready to go at your fingertips!
What to Serve with Cream Cheese Oreo Protein Balls
Savor the joy of creating a delightful snack spread that elevates your Cream Cheese Oreo Protein Balls to new tasting heights.
- Fresh Fruit Salad: Bright, juicy fruits like strawberries, blueberries, and oranges create a refreshing contrast to the rich protein balls, enhancing your snacking experience. Their natural sweetness balances the flavor perfectly.
- Greek Yogurt with Honey: This creamy addition is a luscious and healthy pairing, adding a touch of tanginess that complements the sweetness of the protein balls. Top with granola for an extra crunch!
- Nutty Trail Mix: A crunchy, wholesome mix of nuts and seeds adds texture and nutritional value, making your snack time even more satisfying. It also provides a delightful savory contrast to the sweetness of the protein balls.
- Chocolate Milkshake: Indulge in a creamy chocolate milkshake to amplify the treat vibe of your protein balls. This combination transports you to dessert paradise while still keeping things nutritious!
- Almond Butter Dipping Sauce: Whip up a simple almond butter dip for your protein balls. The nutty richness beautifully complements the Oreo flavor and adds an extra protein boost that’s irresistible.
- Iced Matcha Latte: This vibrant, refreshing drink pairs well, providing a beautifully energizing experience that synchronizes delightfully with the creamy texture of the protein balls.
- Coconut Chia Pudding: For a lightly sweet and satisfying side, this pudding introduces a silky texture and tropical taste that mingles wonderfully with your protein-packed creations.
- Oreo Crumble Topping: For a whimsical touch, use crushed Oreos to sprinkle over your protein balls or even on a yogurt bowl, enhancing both flavor and presentation!
Expert Tips for Cream Cheese Oreo Protein Balls
- Soften Cream Cheese: Make sure your cream cheese is at room temperature, which makes it easier to mix and prevents clumping in your protein balls.
- Adjust Consistency: If the mixture feels too dry while mixing, add milk gradually. The right balance will ensure perfectly shaped Cream Cheese Oreo Protein Balls.
- Chill Thoroughly: Refrigerate or freeze the protein balls for the right texture. They should firm up nicely for the best bite.
- Be Mindful of Mix-ins: While adding ingredients like nuts or coconut can enhance flavor and nutrition, too many can make it hard to form the balls.
- Use Quality Ingredients: Opt for good quality Oreos and protein powder to ensure the best flavor and nutritional value in your protein balls.
- Storage Tips: Keep any leftovers in the refrigerator for up to 5 days or freeze for longer storage, ensuring you always have a delicious snack ready!
Cream Cheese Oreo Protein Balls Recipe FAQs
What type of Oreos should I use?
You can use regular Oreos for that classic cookies and cream flavor. However, if you’re looking to lighten the recipe, reduced-fat Oreos work wonderfully too! For those watching their sugar intake, consider low-carb alternatives available in stores.
How should I store the Cream Cheese Oreo Protein Balls?
Store your protein balls in an airtight container in the refrigerator for up to 5 days. This method keeps them fresh and ready for snacking anytime! If you’ve made a larger batch, freezing them is a great option.
Can I freeze these protein balls?
Absolutely! To freeze, place your protein balls in a single layer on a baking sheet and freeze for about 30 minutes. Once firm, transfer them to a freezer-safe bag or container, where they’ll stay good for up to 2 months. There’s no need to thaw; you can enjoy them straight from the freezer or let them thaw in the fridge for a few hours!
What if the mixture is too dry?
If you find the mixture too dry, don’t fret! Simply drizzle in milk, one tablespoon at a time, while stirring until the dough becomes pliable and holds together. This process generally takes about 3-4 minutes. It’s okay to adjust based on your protein powder; some absorb more moisture than others.
Are there any dietary considerations I should keep in mind?
Yes, definitely! If you’re making these for guests or family, consider any allergies or dietary restrictions. Use plant-based cream cheese for a vegan version, and opt for gluten-free cookies if necessary. Check the protein powder packaging for any allergens as well, particularly if using flavored varieties with added ingredients.
Can I make these protein balls nut-free?
Yes, you can! Simply omit any nuts or nut-based mix-ins. The recipe is very versatile; you can instead add in seeds like chia or sunflower for a similar crunch without the nuts.
Delicious Cream Cheese Oreo Protein Balls for Guilt-Free Snacking
Ingredients
Equipment
Method
- Begin by crushing the Oreo cookies into fine crumbs. This should take about 5 minutes.
- Let the cream cheese soften to room temperature for about 30 minutes or microwave for 10-15 seconds.
- In a bowl, combine the softened cream cheese with the crushed Oreo cookies until smooth, about 2-3 minutes.
- Gradually add protein powder, stirring continuously, and add milk if the mixture feels too dry.
- Add the vanilla extract and salt, stirring well. Fold in any optional mix-ins.
- Roll portions of the mixture into balls, about 1 inch in diameter.
- Chill the rolled protein balls in the refrigerator for at least 1 hour.
- If desired, roll chilled balls in additional crushed Oreos or cocoa powder for coating.
Leave a Reply