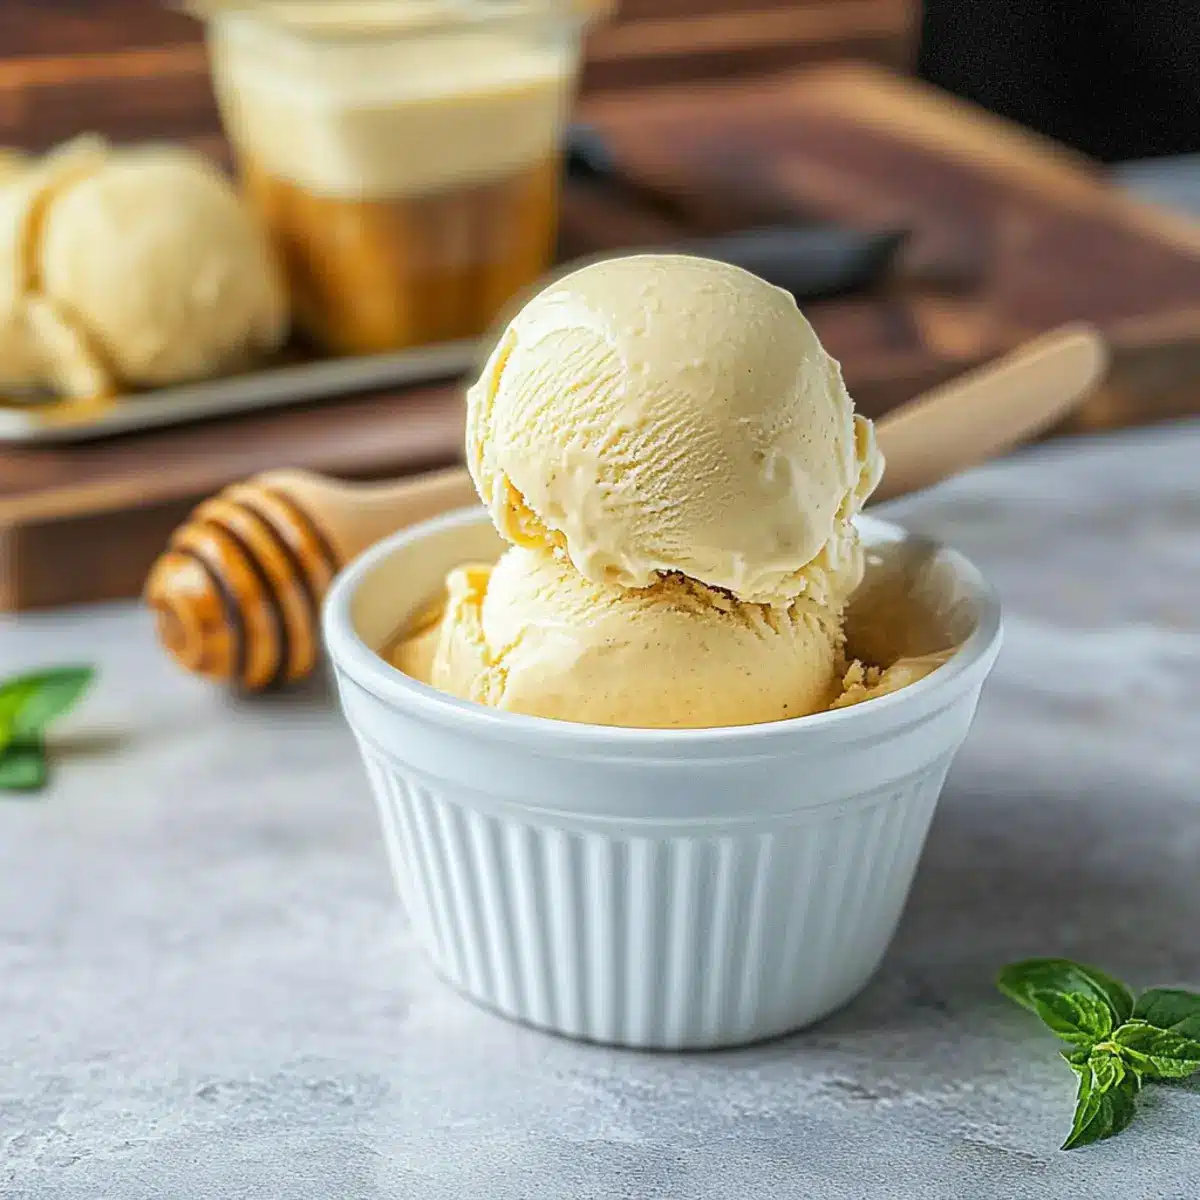
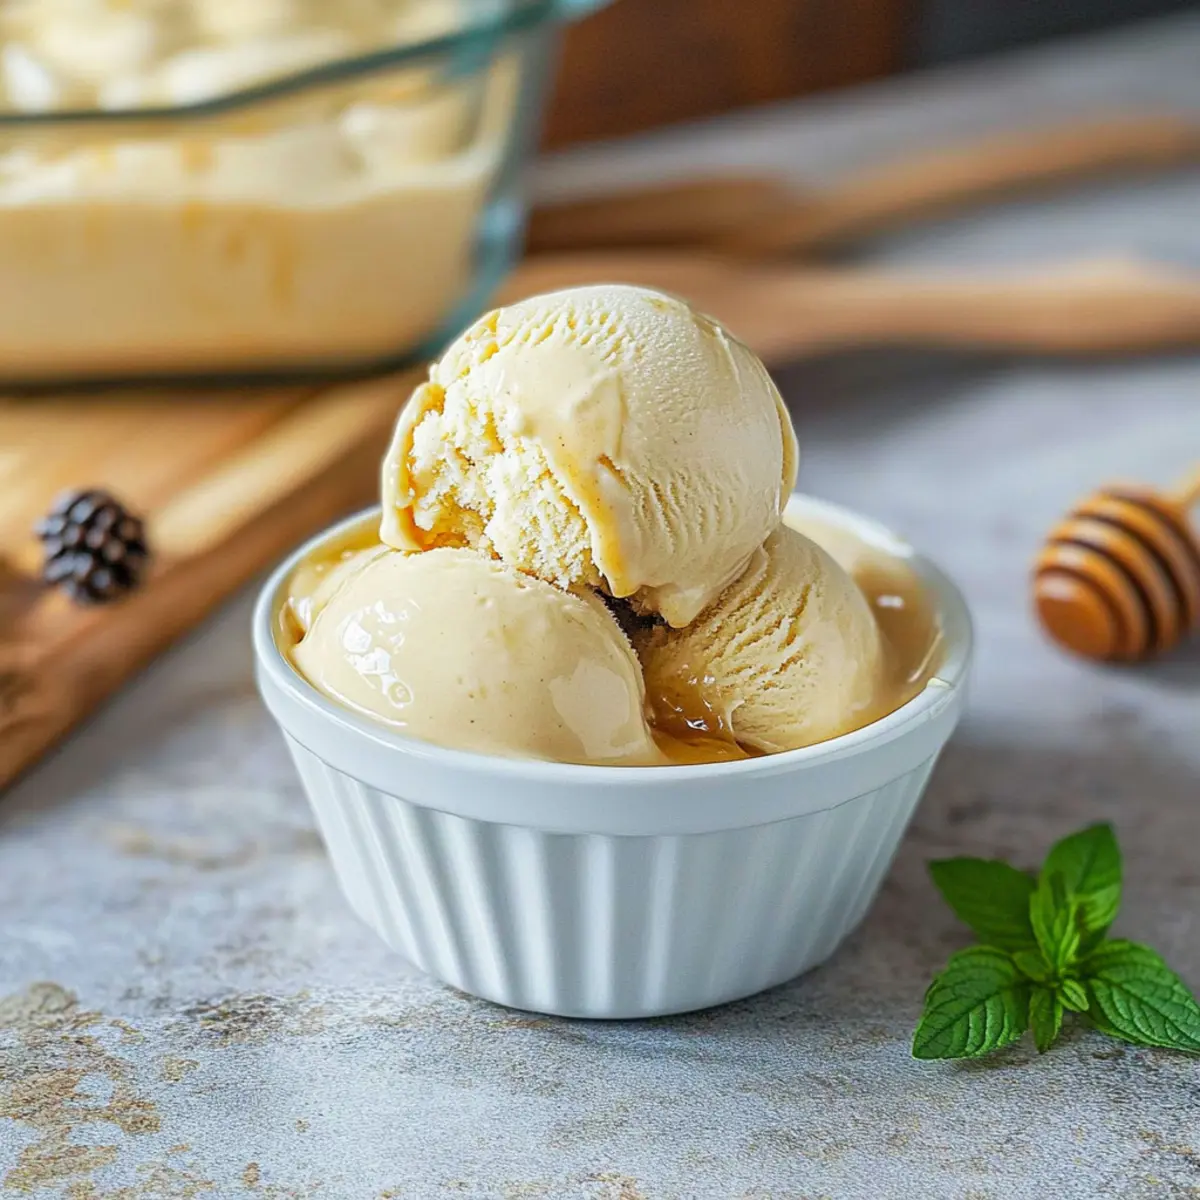
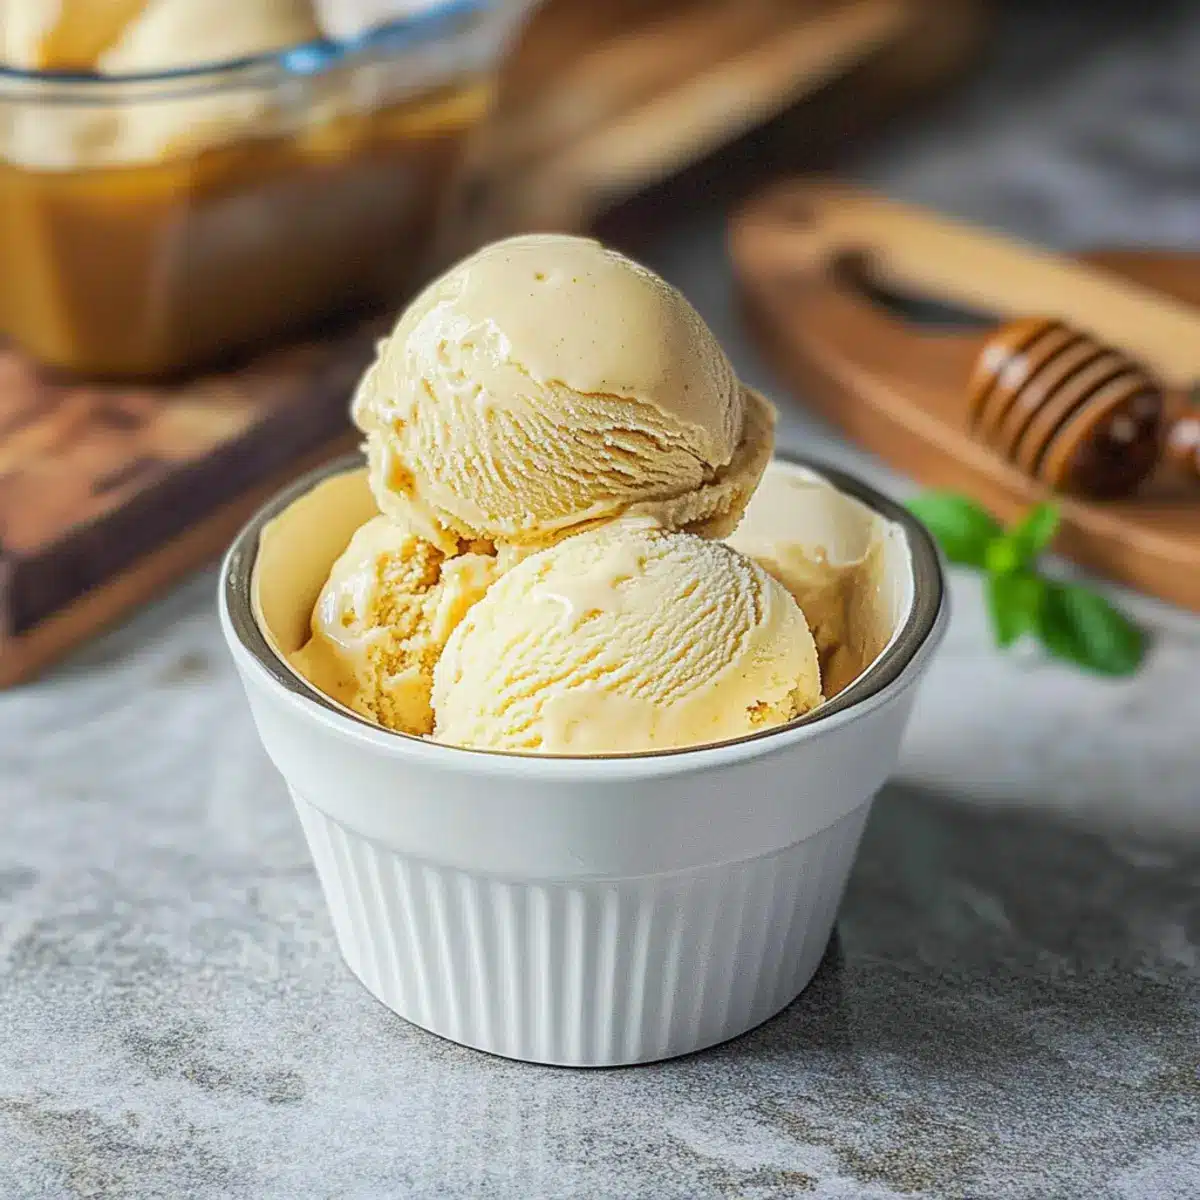
The smoky aroma of burnt honey simmering in the kitchen brings a sense of nostalgia and excitement, doesn’t it? This Burnt Honey Ice Cream embodies that warmth, transforming simple ingredients into a stunning dessert that captures the essence of comfort. With its creamy texture and rich, caramelized flavors, this frozen treat is not just delicious; it’s surprisingly easy to make! Whether you’re looking to impress friends or indulge in a sweet escape, this ice cream ticks all the boxes. It’s a delightful crowd-pleaser that invites everyone to savor a scoop (or two!). Serve it alongside your favorite dessert or enjoy it on its own as a special treat. Intrigued to see how you can whip up this gourmet delight at home? Let’s dive into the recipe!
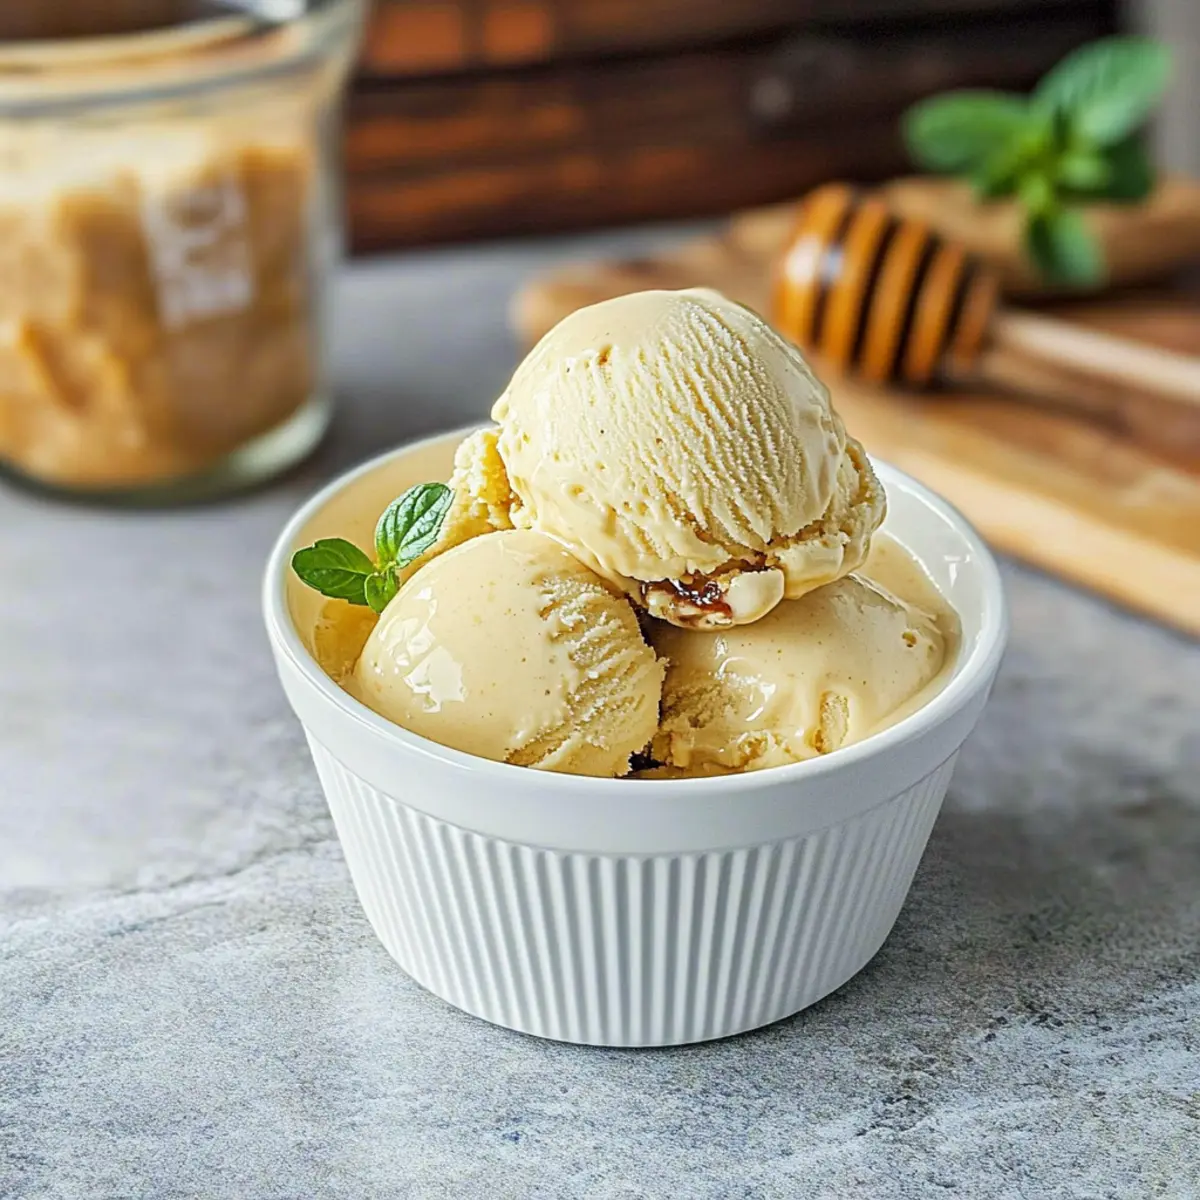
Why is Burnt Honey Ice Cream special?
Indulgent, creamy texture: Each scoop of this Burnt Honey Ice Cream is decadently smooth, reminiscent of your favorite gelato. Unique flavor combination: The deep caramel notes from the burnt honey create an extraordinary taste experience that dances on your palate. Simplicity in preparation: Despite its gourmet allure, this recipe is surprisingly easy, making it accessible for home cooks of all skill levels. Versatile delight: Enjoy it solo or paired with your favorite desserts, like a warm apple tart or fruit tarts for an elevated experience. Crowd-pleaser: Ideal for gatherings, this exquisite treat will impress friends and family alike, making you the star of any dessert table! Want more sweet inspiration? Check out my delightful Cozy Sweet Honey recipes for a touch of warmth in your kitchen.
Burnt Honey Ice Cream Ingredients
For the Custard Base
• Large Egg Yolks – Ensure they are fresh for better richness and structure.
• Granulated Sugar – Sweetens and aids in texture; substitute with coconut sugar for a less processed option.
• Orange Blossom Honey – The key flavor that will be caramelized for added depth; you can use another floral honey if needed, though it will slightly change the flavor.
• Heavy Cream – Adds the indulgent creaminess; for a lighter dessert, half-and-half can be used instead.
• Whole Milk – Balances the richness of cream; swap for low-fat or non-dairy milk for a different texture.
For the Creamy Finish
• Cold Crème Fraîche – Enriches the creaminess with a tangy flavor; Greek yogurt can be a pleasing alternative.
• Kosher Salt – Enhances flavor and balances sweetness; regular salt can suffice if needed.
Now you’re ready to embark on your homemade adventure with this Burnt Honey Ice Cream!
Step‑by‑Step Instructions for Burnt Honey Ice Cream
Step 1: Prepare the Ice Bath
Begin by creating an ice bath to cool your custard later. Take a large bowl and fill it halfway with ice and cold water. Nest a medium bowl inside the ice-filled bowl, ensuring it’s stable and secure. Place a fine-mesh strainer over the medium bowl. This setup will help you cool the Burnt Honey Ice Cream mixture efficiently once it’s cooked.
Step 2: Whisk the Egg Yolks
In a separate bowl, whisk together the large egg yolks and granulated sugar until the mixture is smooth and fluffy. Beat the mixture vigorously for about 2–3 minutes, and you should see it lighten in color. This step is essential for creating the rich and creamy texture of your Burnt Honey Ice Cream, preparing it for the luscious flavors to follow.
Step 3: Caramelize the Honey
Pour the orange blossom honey into a medium saucepan and heat over medium heat for about 5 minutes. Keep an eye on it, allowing the honey to darken slightly while stirring occasionally. The aroma should resemble that of burnt marshmallows. This caramelization is crucial as it develops the deep, rich flavors that will elevate your Burnt Honey Ice Cream.
Step 4: Combine Cream and Milk
While the honey caramelizes, take another saucepan and warm the heavy cream and whole milk over medium heat. Stir gently until the edges start to bubble, but do not let it boil—about 5 minutes is ideal. Once heated, slowly whisk this creamy mixture into the caramelized honey, about half a cup at a time, to avoid splattering and ensure a smooth combination.
Step 5: Temper the Egg Yolks
Remove the honey and cream mixture from heat. Gradually pour this hot mixture into the egg yolk mixture while whisking continuously to temper the eggs. This process prevents the yolks from scrambling. You’ll notice the creaminess developing as you whisk, allowing for a velvety custard base full of flavor ready for the next stage of your Burnt Honey Ice Cream.
Step 6: Thicken the Custard
Return the combined mixture to the pan and whisk over medium-low heat for about 2 minutes. Keep stirring until the custard thickens enough to coat the back of a spoon. This is the critical moment where your custard transforms into a creamy delight, setting the stage for your Burnt Honey Ice Cream.
Step 7: Strain and Cool
Once thickened, strain the custard into the bowl set in the ice bath, using the fine-mesh strainer to catch any curdled bits. Gently whisk in the cold crème fraîche and a pinch of kosher salt. As the mixture cools down, the flavors will meld beautifully. Allow it to sit in the ice bath until fully chilled, then refrigerate for at least 2 hours or overnight to enhance the flavors.
Step 8: Churn the Ice Cream
After chilling, pour the cooled mixture into an ice cream maker. Follow the manufacturer’s instructions, churning until it reaches a soft-serve consistency—this usually takes about 20–25 minutes. Keep a close watch on your machine to see this transformation happen, as the mixture begins to resemble the creamy texture of Burnt Honey Ice Cream you desire.
Step 9: Freeze for Firmness
For firmer ice cream, carefully transfer your churned Burnt Honey Ice Cream into an airtight container. Flatten the top with a spatula and seal the container tightly. Place it in the freezer for several hours or until it reaches your desired firmness. This step completes your indulgent dessert, making it ready to serve and delight your friends and family.
Expert Tips for Burnt Honey Ice Cream
• Watch the Honey: Keep a close eye on the honey while caramelizing; it can quickly go from perfect to burnt if left unattended.
• Prevent Curdling: Temper your egg yolks carefully by adding the hot mixture slowly while whisking continuously. This helps avoid curdling and ensures a smooth custard.
• Cooling Matters: Make sure to chill the custard completely before churning. This step enhances the final texture of your Burnt Honey Ice Cream.
• Churn Time: Don’t rush the churning process. Allow it to reach a soft-serve texture as indicated by your ice cream maker to ensure the best creaminess.
• Storage Strategy: Store your ice cream in an airtight container to maintain its creamy consistency. Let it soften slightly before serving for easy scooping.
How to Store and Freeze Burnt Honey Ice Cream
Fridge: Store in the refrigerator for up to 3 days if you anticipate consuming it quickly. Ensure it’s in an airtight container to maintain flavor.
Freezer: Keep in an airtight container in the freezer for up to 2 weeks for optimal freshness. Press a piece of parchment paper against the surface to reduce ice crystals.
Reheating: If your Burnt Honey Ice Cream is too firm, let it sit in the refrigerator for 15-20 minutes before scooping. This will soften it and make it easier to serve.
Serving Tip: For best results, serve immediately after scooping to enjoy the creamy texture; re-freezing can alter its consistency.
Make Ahead Options
These Burnt Honey Ice Cream preparations are perfect for busy weeknights! You can prepare the custard base up to 24 hours in advance; simply let it cool and refrigerate it until you’re ready to churn. For optimal texture, be sure to cover it tightly to prevent any air exposure, which helps maintain its creamy quality. When you’re ready to serve, pour the chilled mixture into your ice cream maker and churn according to the instructions. This savory-sweet delight can also be stored in the freezer for up to 3 days after churning—just let it soften in the fridge for a bit before serving to achieve the perfect scoop. Enjoy having this luxurious treat on hand with minimal effort!
Burnt Honey Ice Cream Variations
Feel free to let your creativity shine and customize your dessert with these delightful twists!
-
Flavored Honey: Swap the orange blossom honey for lavender or wildflower honey to create unique flavor profiles. Each honey brings its own distinct character.
-
Spicy Kick: Add a pinch of ground cinnamon or nutmeg into the ice cream base for a warm, cozy spice that contrasts beautifully with the sweetness. It’s like wrapping up in your favorite blanket!
-
Fruity Fusion: Blend in finely chopped fruits like peaches or berries before churning to create a refreshing, fruity version. The natural sweetness of the fruit will harmonize wonderfully with the burnt honey.
-
Nutty Texture: Incorporate crushed nuts such as toasted pistachios or almonds for added crunch and a delightful textural contrast. They provide a lovely bite against the creaminess!
-
Dairy-Free Delight: For a non-dairy version, substitute heavy cream and milk with coconut milk or almond milk. You’ll still enjoy a creamy texture with a hint of tropical flavor.
-
Chocolate Drizzle: Once churned, consider drizzling melted dark chocolate into your soft-serve mixture for a luxurious swirl of richness. The chocolate pairs beautifully with the caramelized notes.
-
Coffee Infusion: Try adding a shot of espresso or finely ground coffee to the mix for a delightful coffee-honey harmony. Imagine this as your perfect after-dinner treat, combining dessert and a coffee break in one!
-
Mixed Berry Topping: Serve your ice cream with a topping of mixed berries for a burst of freshness that complements the rich flavors of burnt honey. This looks visually stunning and tastes delicious!
Experience even more scrumptious treats by checking out my Honey Garlic Sheet recipes that beautifully highlight the sweetness of honey. Or indulge in a delightful Italian Cream Soda to refresh your palate after that sweet indulgence! Enjoy crafting your perfect Burnt Honey Ice Cream!
What to Serve with Burnt Honey Ice Cream
Elevate your dessert experience with delightful pairings that enhance each luscious scoop of this indulgent treat.
- Warm Apple Tart: The aromatic spices and warmth of a freshly baked tart balance the rich creaminess of the ice cream beautifully.
- Chocolate Chip Cookies: The classic chew of a cookie, paired with smooth ice cream, creates a delightful textural contrast that evokes nostalgia.
- Fresh Berries: Bright and juicy, strawberries or raspberries offer a refreshing burst that cuts through the richness of the ice cream.
- Crumbled Shortbread: A crunchy element, these buttery crumbles complement the ice cream’s decadence, adding depth to each bite.
- Caramel Sauce Drizzle: A simple yet elegant addition, warming the caramel and drizzling it over your scoop enhances the burnt honey’s flavor.
- Spiced Nuts: Sweet, roasted nuts add a satisfying crunch and introduce a savory aspect, perfect for balancing the creamy sweetness.
- Mint Sprig Garnish: A fresh mint sprig not only adds color but also a hint of brightness that can enliven your dessert experience.
- Espresso or Coffee: The bold, rich flavors serve as a warm contrast, enhancing the burnt honey notes and making for a luxurious finish.
- Lavender Honey: Elevate your experience by drizzling lavender-infused honey over your ice cream, creating an elegant floral note to savor.
Burnt Honey Ice Cream Recipe FAQs
What type of honey should I use for this recipe?
For the best results, I recommend using orange blossom honey, as its floral notes complement the rich creaminess of the ice cream beautifully. If you can’t find it, feel free to substitute with another floral honey like lavender or wildflower, though the flavor profile will vary slightly.
How can I tell if my egg yolks are fresh?
Absolutely! Fresh egg yolks should have a bright, golden color and a firm consistency. If they appear runny or have a pale yellow tint, it’s best to choose another batch. Trust me, using fresh egg yolks will make a noticeable difference in the richness of your Burnt Honey Ice Cream!
How should I store my Burnt Honey Ice Cream?
To preserve the creamy texture, store your Burnt Honey Ice Cream in an airtight container in the freezer for up to 2 weeks. To minimize ice crystals, press a piece of parchment paper against the surface of the ice cream before sealing. When you’re ready to serve, allow it to sit out for 15-20 minutes to soften slightly for easier scooping.
Can I freeze this Burnt Honey Ice Cream?
Sure! After churning, transfer the Burnt Honey Ice Cream to an airtight container and freeze it for several hours until it reaches your desired firmness. It can stay frozen for up to 2 weeks, but keep in mind that the longer it’s in the freezer, the more its texture may change.
What should I do if my custard curdles?
If you notice your custard has curdled, don’t panic! Simply use an immersion blender or a regular blender to blend the mixture until smooth. This will help restore the creamy consistency of your Burnt Honey Ice Cream without losing the wonderful flavors.
Can I make this recipe dairy-free or vegan?
If you’re looking for a dairy-free alternative, you can substitute the heavy cream with coconut cream and use a plant-based milk. For the crème fraîche, try using a dairy-free yogurt. Adjusting the ingredients will change the flavor profile slightly, but you can still achieve a delightful frozen treat!
Irresistible Burnt Honey Ice Cream with Caramel Bliss
Ingredients
Equipment
Method
- Begin by creating an ice bath to cool your custard. Fill a large bowl halfway with ice and cold water and nest a medium bowl inside.
- Whisk together the egg yolks and granulated sugar in a separate bowl until smooth and fluffy for about 2–3 minutes.
- Pour the orange blossom honey into a medium saucepan and heat over medium heat for about 5 minutes, stirring occasionally.
- Warm the heavy cream and whole milk over medium heat in another saucepan until edges bubble, about 5 minutes. Slowly whisk into the caramelized honey.
- Gradually pour the hot honey and cream mixture into the egg yolk mixture while whisking continuously to temper the eggs.
- Return the mixture to the pan and whisk over medium-low heat for about 2 minutes until the custard thickens enough to coat the back of a spoon.
- Strain the custard into the bowl set in the ice bath, whisk in cold crème fraîche and kosher salt. Let cool completely.
- Pour the cooled mixture into an ice cream maker and churn until it reaches a soft-serve consistency, about 20–25 minutes.
- Transfer the churned ice cream into an airtight container and freeze for several hours until firm.
Leave a Reply