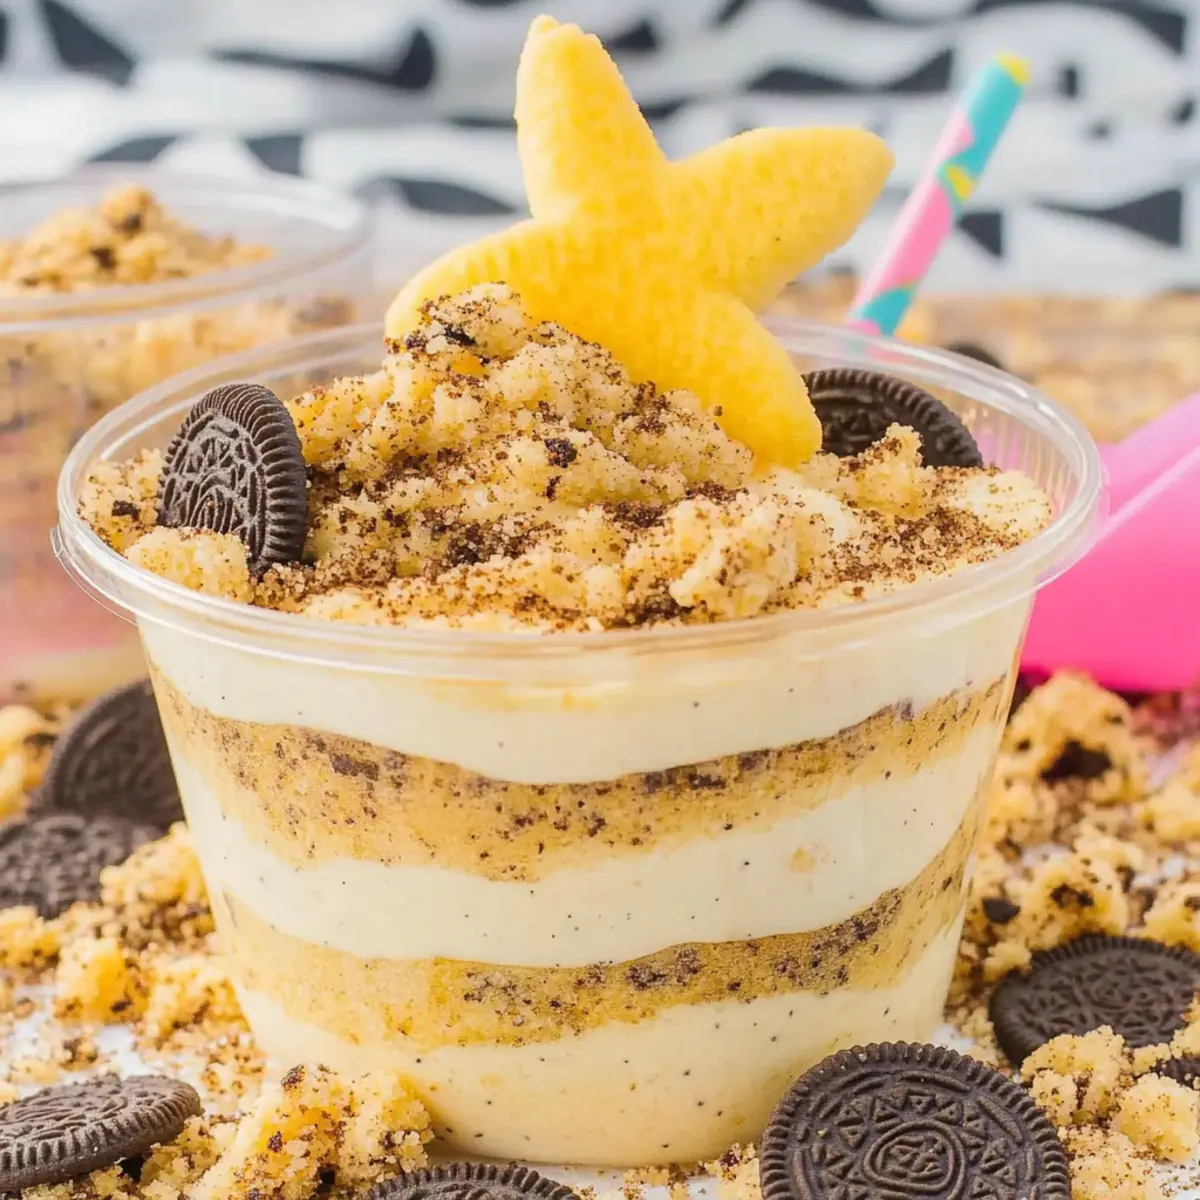
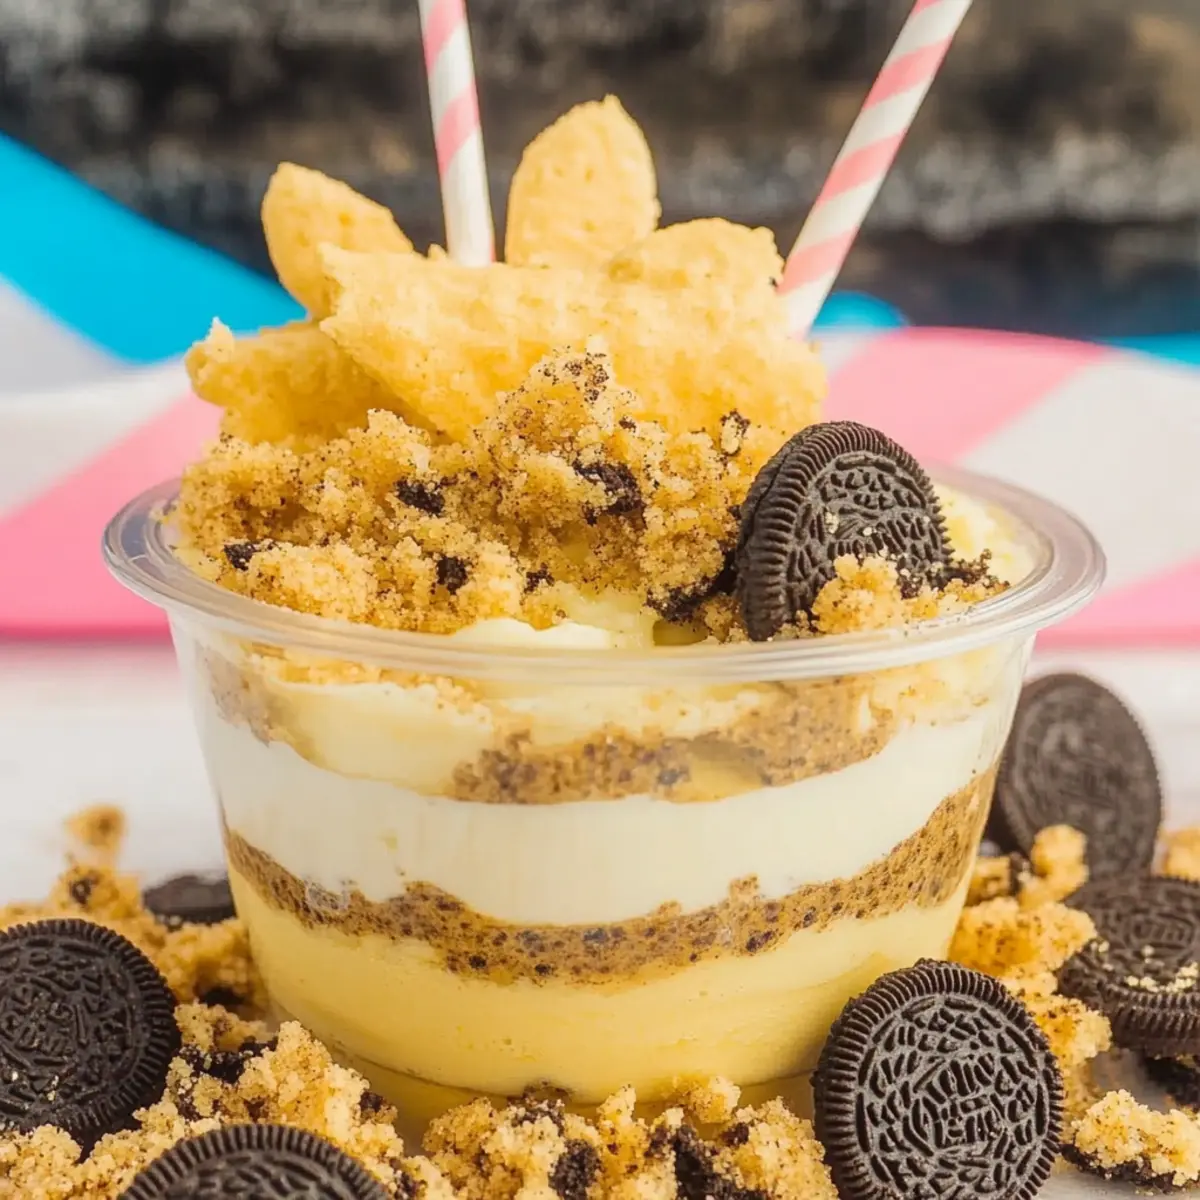
As I stood in my kitchen, summertime sunlight streaming through the windows, I couldn’t help but crave something light and refreshing. Enter the Golden Oreo Sand Pudding—a dessert that doubles as a delightful visual feast! This no-bake summer treat not only mimics a beach scene with its creamy layers and crushed cookie “sand,” but it’s also incredibly easy to prepare! With minimal effort, you can impress friends and family at any gathering, from pool parties to graduation celebrations. Plus, the potential for variations using different types of Oreos and pudding flavors makes it a creative canvas for your sweet tooth. Are you ready to dive into this whimsical recipe? Let’s get started!
Why is Golden Oreo Sand Pudding a Must-Try?
No-Bake Delight: This recipe shines as an effortless, no-bake dessert that’s perfect for hot summer days.
Visual Appeal: Its stunning layers resemble a sandy beach, making it an eye-catching addition to any gathering.
Flavor Versatility: With options to use different Oreos and pudding flavors, every batch can be a new experience.
Crowd-Pleaser: Friends and family of all ages will adore this fun, whimsical treat, making it a hit at parties!
Quick Prep: You’ll have this sweet creation ready in no time, allowing you more freedom to enjoy your summer festivities.
If you love the idea of easy desserts like this, consider trying my Sticky Toffee Pudding for a comforting classic or the refreshing Cucumber Avocado Sandwich to complement your sweet treats!
Golden Oreo Sand Pudding Ingredients
For the Crust
• Golden Oreos – Provides the main structure and sweet flavor base; try Lemon Oreos for a zesty twist.
• Classic Oreos – Adds texture contrast; scrape out the cream centers for a sand-like appearance.
For the Cream Mixture
• Cream Cheese – Ensures creaminess and stability; use at room temperature for smoother mixing.
• Unsalted Butter – Adds richness and aids in blending with cream cheese and powdered sugar.
• Powdered Sugar – Sweetens the cream cheese mixture; adjust to your preferred sweetness level.
For the Pudding Layer
• Vanilla Instant Pudding – Forms the main pudding layer, creating a creamy texture; consider alternatives like banana cream or cheesecake flavors.
• Milk – Hydrates the pudding mix; 2% milk is recommended for extra creaminess.
• Whipped Topping – Lightens the mixture for a fluffy texture; thaw before folding into the pudding for best results.
With these simple ingredients, you’ll create a stunning Golden Oreo Sand Pudding that’s sure to impress! Enjoy crafting your delicious creation!
Step‑by‑Step Instructions for Golden Oreo Sand Pudding
Step 1: Prepare Oreo Sand
Begin by scraping the cream filling from both the Golden Oreos and Classic Oreos. Place the cookies in a food processor and pulse until they achieve a fine, sand-like texture—about 30 seconds. You want the crumbs to be consistent, as they’ll create the “sand” layers in your Golden Oreo Sand Pudding.
Step 2: Mix Cream Cheese Mixture
In a medium mixing bowl, combine softened cream cheese and unsalted butter. Using a hand mixer, beat them together on medium speed until the mixture is smooth and creamy, approximately 2-3 minutes. Gradually add in powdered sugar, mixing well until the mixture is completely blended and fluffy, creating the perfect base for your dessert.
Step 3: Prepare Pudding
In a separate bowl, whisk together the vanilla instant pudding mix and 2 cups of cold 2% milk. Continue whisking for about 2 minutes, or until the pudding thickens and is free of lumps. This creamy layer will be the star of your Golden Oreo Sand Pudding, so make sure it’s nice and thick before proceeding.
Step 4: Combine Mixtures
Gently add the thickened pudding to the cream cheese mixture. Using a spatula, fold the mixture carefully until fully incorporated, ensuring it’s light and airy. Then, take your thawed whipped topping and fold it into the combined pudding and cream cheese, mixing just until no streaks remain, creating a delightful, fluffy texture.
Step 5: Layer Dessert
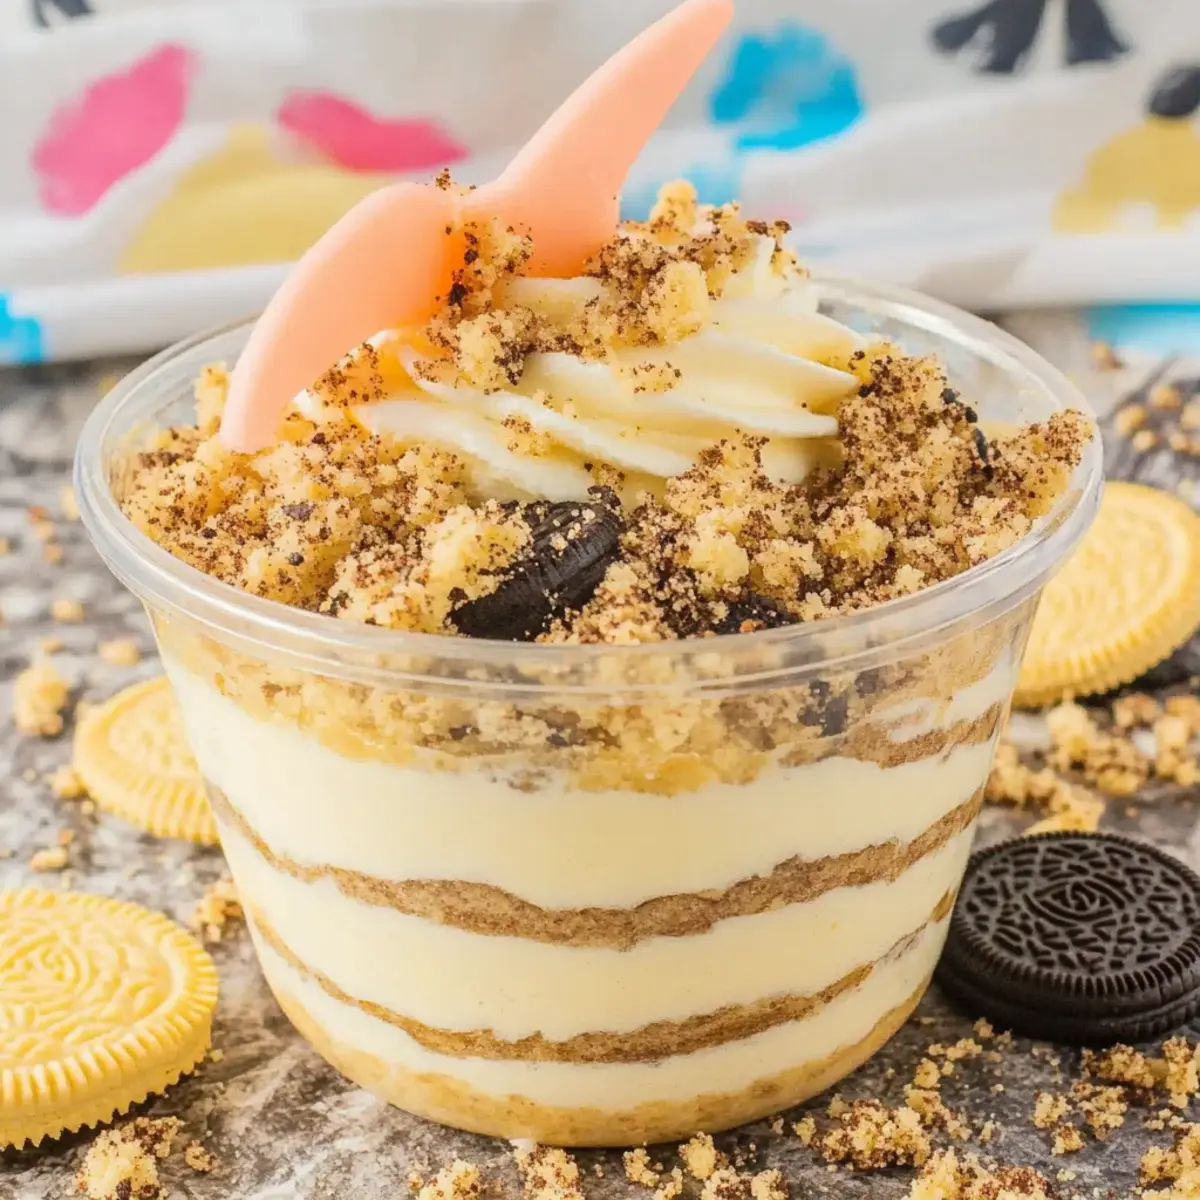
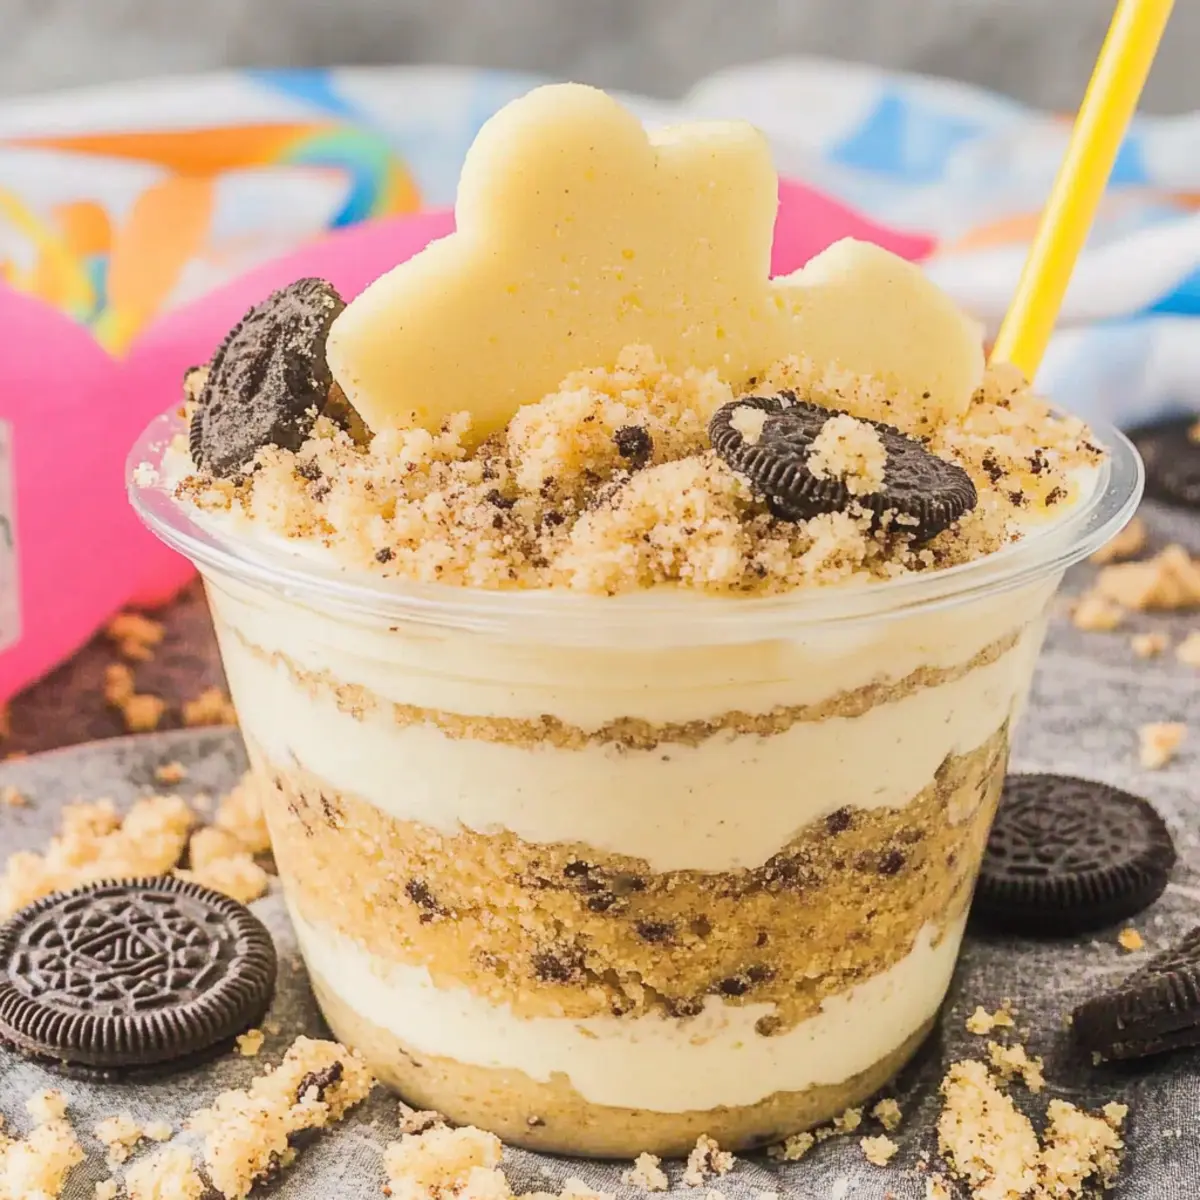
Grab your 9-ounce plastic cups or a decorative bucket to start layering. Begin with a layer of the crushed Oreo mixture at the bottom, then a layer of the creamy pudding mixture—approximately equal amounts. Repeat these layers until all ingredients are used, ending with a generous sprinkle of the crushed cookies on top to mimic the sand in your Golden Oreo Sand Pudding.
Step 6: Chill and Serve
Cover your layered creations with plastic wrap and place them in the refrigerator. Let them chill for at least 2 hours, allowing the flavors to meld beautifully. Once ready to serve, enjoy each whimsical cup of Golden Oreo Sand Pudding as a refreshing dessert at your next summer gathering, or simply treat yourself to a delightful snack!
Golden Oreo Sand Pudding Variations
Feel free to get creative with the Golden Oreo Sand Pudding—there are so many delicious ways to customize it!
- Dairy-Free: Substitute cream cheese with a vegan cream cheese alternative and use coconut cream instead of whipped topping for a dairy-free treat.
- Fruity Layer: Add layers of fresh strawberries or bananas between the pudding layers for a burst of flavor and a touch of freshness. The sweetness and brightness of fruit elevate this dessert beautifully!
- Chocolate Twist: Use chocolate Oreos and chocolate pudding as your base to create a rich, indulgent version that chocolate lovers will adore.
- Citrus Zest: Incorporate some lemon or lime zest into the cream cheese mixture for a refreshing zesty kick that balances the sweetness perfectly.
- Nutty Crunch: Sprinkle chopped nuts or granola between layers to add an unexpected crunch and texture that complements the smooth pudding.
- Lemon Oreo Swap: Get a little zesty! Replace Golden Oreos with Lemon Oreos for a delightful citrus twist that brightens up each spoonful.
- Banana Cream Version: Try banana cream pudding to enhance the luscious banana flavor, pairing beautifully with sliced bananas layered in between.
- Spiced Pumpkin: Experiment with pumpkin pie pudding and pumpkin spice seasoning for a creamy, autumn-inspired take on this summer classic.
Now, as you experiment with these variations, don’t forget to consider serving it alongside other delightful choices like a refreshing Cucumber Avocado Sandwich to enhance your summer gatherings!
How to Store and Freeze Golden Oreo Sand Pudding
Fridge: Keep your assembled Golden Oreo Sand Pudding covered in the refrigerator to maintain its freshness for up to 5 days.
Freezer: For longer storage, you can freeze the pudding (without the topping) for up to 2 months. Thaw in the fridge overnight before serving.
Reheating: This dessert is best enjoyed chilled; simply allow it to sit at room temperature for a few minutes before serving if it’s too cold.
Serving Tip: If you’ve frozen some, consider adding fresh whipped topping or extra crushed Oreos upon serving to enhance the texture and flavor!
What to Serve with Golden Oreo Sand Pudding
Elevate your summer gatherings with delightful sides and drinks that perfectly complement this whimsical dessert.
-
Refreshing Fruit Salad: A medley of seasonal fruits adds a burst of freshness and balances the creaminess of the pudding.
-
Grilled Chicken Skewers: These savory skewers provide a savory contrast, enhancing the sweet flavors of the pudding with their smoky, charred notes.
-
Lemonade or Iced Tea: A cool, citrusy drink choice that rejuvenates the palate and complements the light and fluffy texture of the dessert.
Fresh ingredients like juicy strawberries or zesty lemons can really lift your meal. Offering a variety of flavors ensures everyone leaves with a satisfied smile.
-
Coconut Whipped Cream: A fluffy dollop of coconut cream on top not only enhances the beachy theme but also adds tropical flair to each bite.
-
Chocolate Dipped Pretzels: The salty crunch of pretzels harmonizes with the sweetness of the pudding, serving as a perfect finger food at your summer festivities.
-
Classic Vanilla Ice Cream: A scoop of this rich treat paired alongside the pudding creates an indulgent experience that’s hard to resist.
These pairings will not only enhance the experience of Golden Oreo Sand Pudding but create a cohesive and mouthwatering summer menu your guests will adore.
Make Ahead Options
These Golden Oreo Sand Pudding cups are perfect for busy cooks looking to save time during hectic summer days! You can prepare the cookie “sand” layers up to 24 hours in advance; simply crush the cookies and store them in an airtight container to maintain their crisp texture. Additionally, the cream cheese and pudding mixture can be made up to 3 days ahead—just refrigerate it in a sealed container to keep it fresh. When you’re ready to assemble, simply layer the prepped components in cups and let them chill for at least 2 hours before serving. This way, you’ll have a delightful dessert ready to impress with minimal last-minute effort!
Expert Tips for Golden Oreo Sand Pudding
-
Use Room Temperature Ingredients: Ensure your cream cheese and butter are at room temperature for easier mixing and a smoother texture in your Golden Oreo Sand Pudding.
-
Layer with Care: When layering the ingredients, aim for equal portions of crushed Oreos and pudding. This will enhance the visual appeal and ensure a balanced taste in every bite.
-
Chill Thoroughly: Allow the dessert to chill for at least 2 hours. This helps the flavors meld and the pudding to set properly, ensuring the best texture.
-
Experiment with Variations: Feel free to try different Oreo flavors or pudding types for a twist on the classic recipe. Just remember to keep the balance in the pudding to maintain the creamy texture.
-
Cover Wisely: Store any leftovers in an airtight container in the fridge to keep the layers fresh and flavorful; this dessert is best enjoyed within 5 days.
Golden Oreo Sand Pudding Recipe FAQs
How do I select the ripeness of ingredients?
Absolutely! For this recipe, ensure your cream cheese is at room temperature to achieve a smooth blend. This makes mixing easier and prevents lumps in your dessert. You can leave it out for about an hour before starting or microwave it for a few seconds—just don’t let it get too warm!
How should I store Golden Oreo Sand Pudding?
To keep your Golden Oreo Sand Pudding fresh, store it covered in the refrigerator. It should be consumed within 5 days for the best flavor and texture. Using an airtight container helps maintain its delightful creaminess and prevents it from drying out.
Can I freeze Golden Oreo Sand Pudding?
Yes, you can! For longer storage, freeze your Golden Oreo Sand Pudding without the whipped topping for up to 2 months. To freeze, assemble the dessert but skip adding the whipped topping. Place it in a freezer-safe container, and when you’re ready to enjoy, thaw it in the refrigerator overnight. Add the whipped topping just before serving for that fluffy texture!
What if my pudding doesn’t set properly?
Very! If your pudding mix isn’t setting as expected, double-check that you’ve used cold milk and whisked it for the full 2 minutes. If it’s still too runny after chilling, you may need to mix in a bit more pudding powder and whisk again until thickened. Each brand can vary a little, so make sure to follow the instructions on the pudding box closely.
Can I make this dessert gluten-free?
Absolutely! To make a gluten-free version of Golden Oreo Sand Pudding, use gluten-free cookies. There are delicious gluten-free varieties of Oreos available that can substitute perfectly. Just be cautious with any additional ingredients and check for gluten-free labels to ensure everything meets your dietary needs.
Is this dessert pet-friendly?
No, it isn’t! This dessert is not suitable for pets, mainly because of the cream cheese, powdered sugar, and Oreos, which are not healthy for animals. Always keep this indulgent treat to yourself and your human friends. Enjoy responsibly!
Golden Oreo Sand Pudding - Your New Favorite No-Bake Treat
Ingredients
Equipment
Method
- Begin by scraping the cream filling from both the Golden Oreos and Classic Oreos. Place the cookies in a food processor and pulse until they achieve a fine, sand-like texture—about 30 seconds.
- In a medium mixing bowl, combine softened cream cheese and unsalted butter. Using a hand mixer, beat them together on medium speed until the mixture is smooth and creamy, approximately 2-3 minutes.
- Gradually add in powdered sugar, mixing well until the mixture is completely blended and fluffy.
- In a separate bowl, whisk together the vanilla instant pudding mix and 2 cups of cold 2% milk for about 2 minutes, or until the pudding thickens and is free of lumps.
- Gently add the thickened pudding to the cream cheese mixture. Using a spatula, fold the mixture carefully until fully incorporated.
- Then, take your thawed whipped topping and fold it into the combined pudding and cream cheese, mixing just until no streaks remain.
- Grab your 9-ounce plastic cups or a decorative bucket to start layering. Begin with a layer of the crushed Oreo mixture at the bottom, then a layer of the creamy pudding mixture—approximately equal amounts.
- Repeat these layers until all ingredients are used, ending with a generous sprinkle of the crushed cookies on top.
- Cover with plastic wrap and chill for at least 2 hours before serving.
Leave a Reply