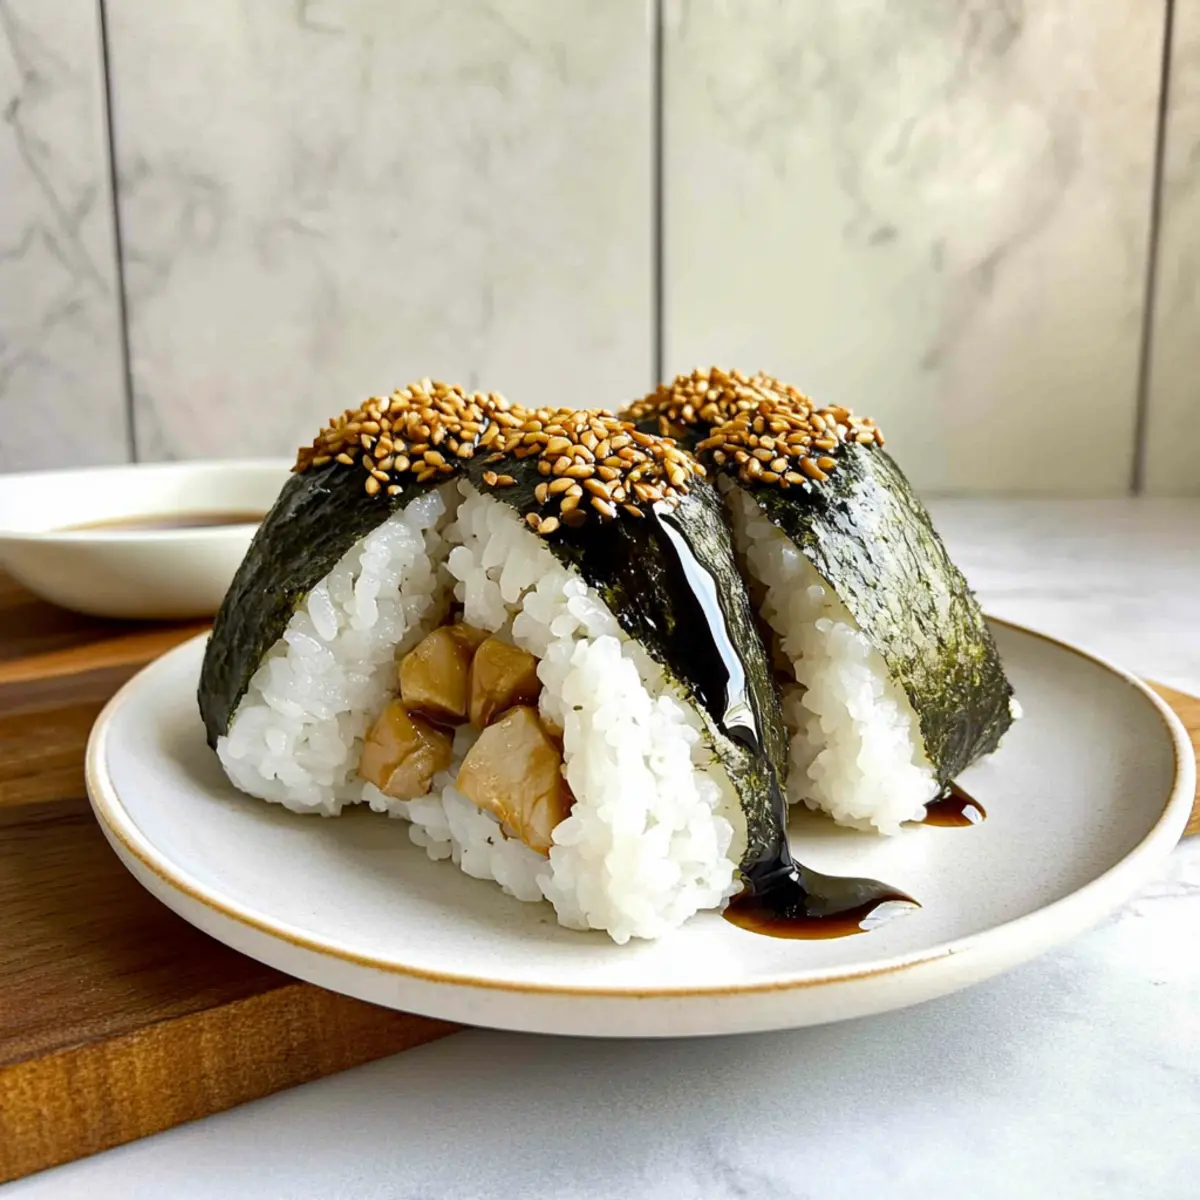
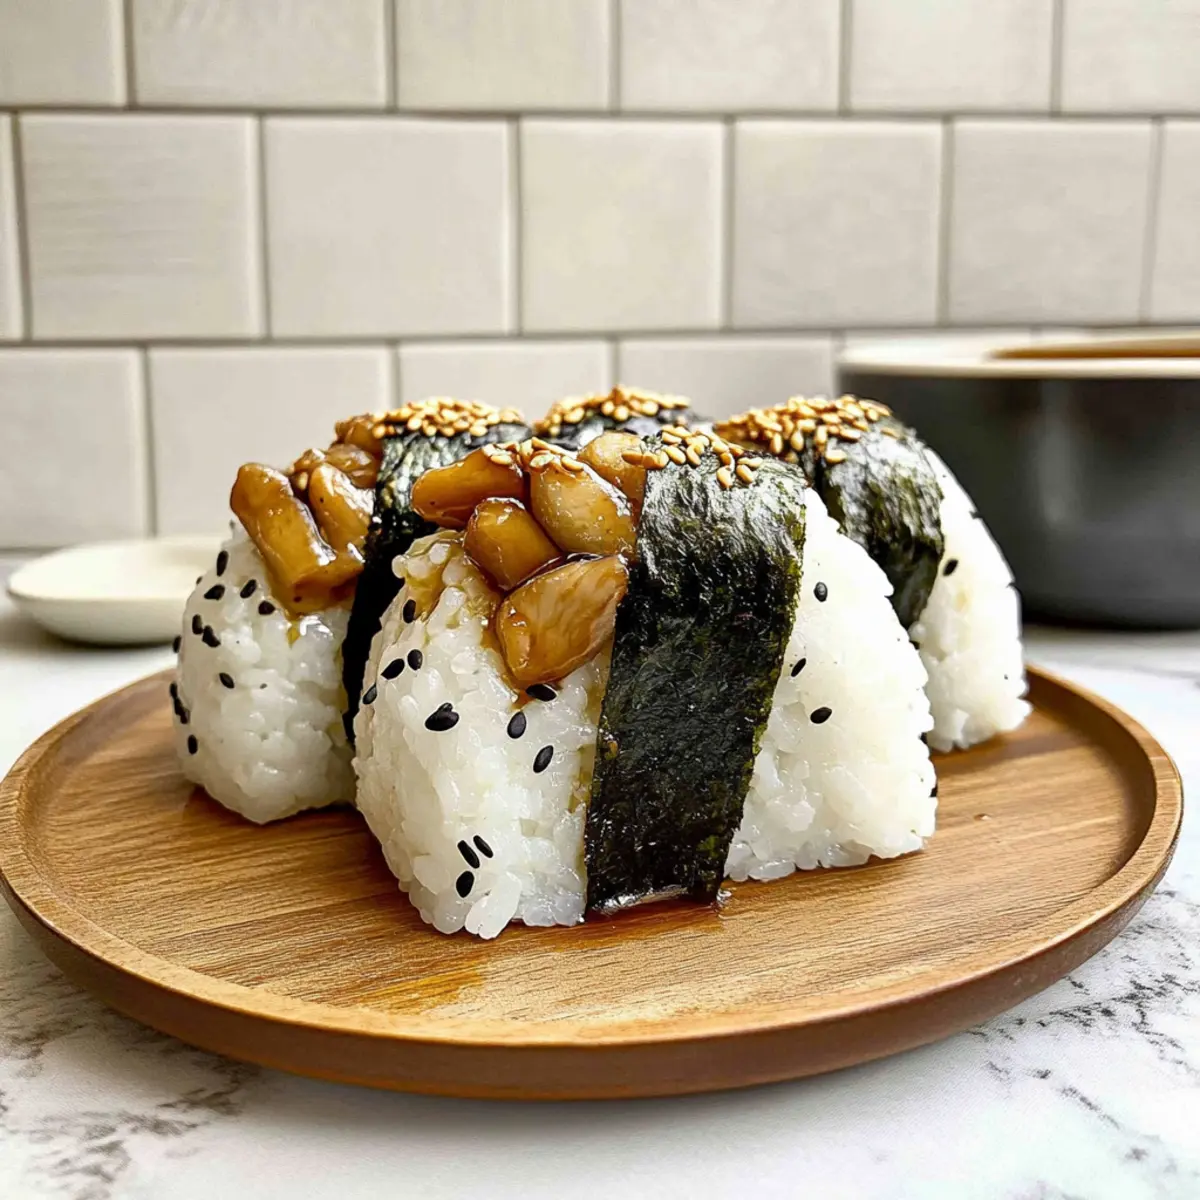
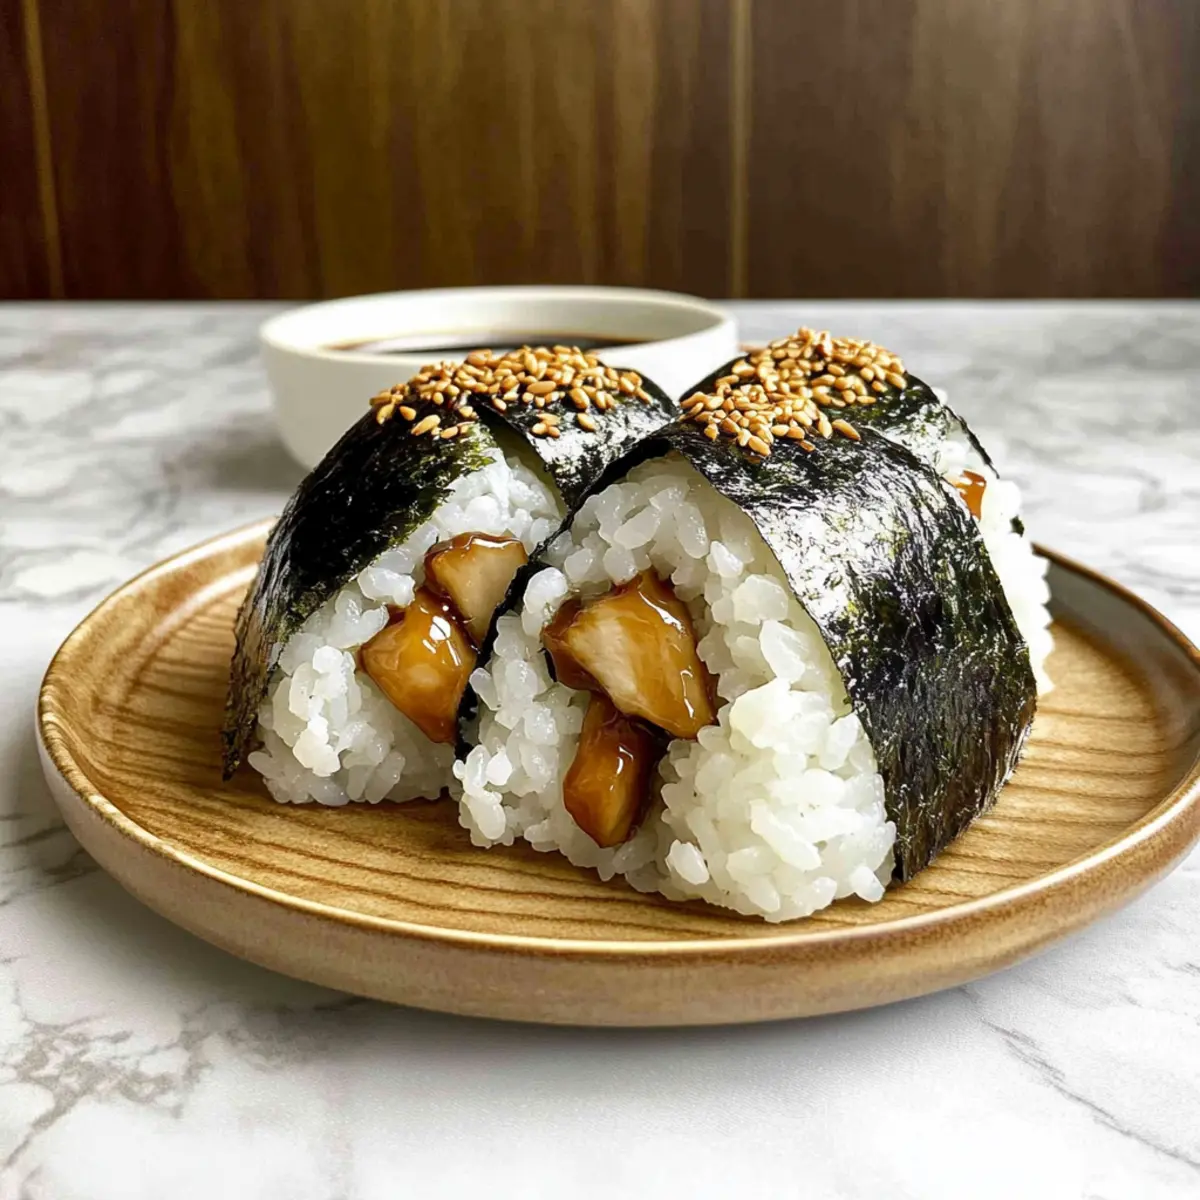
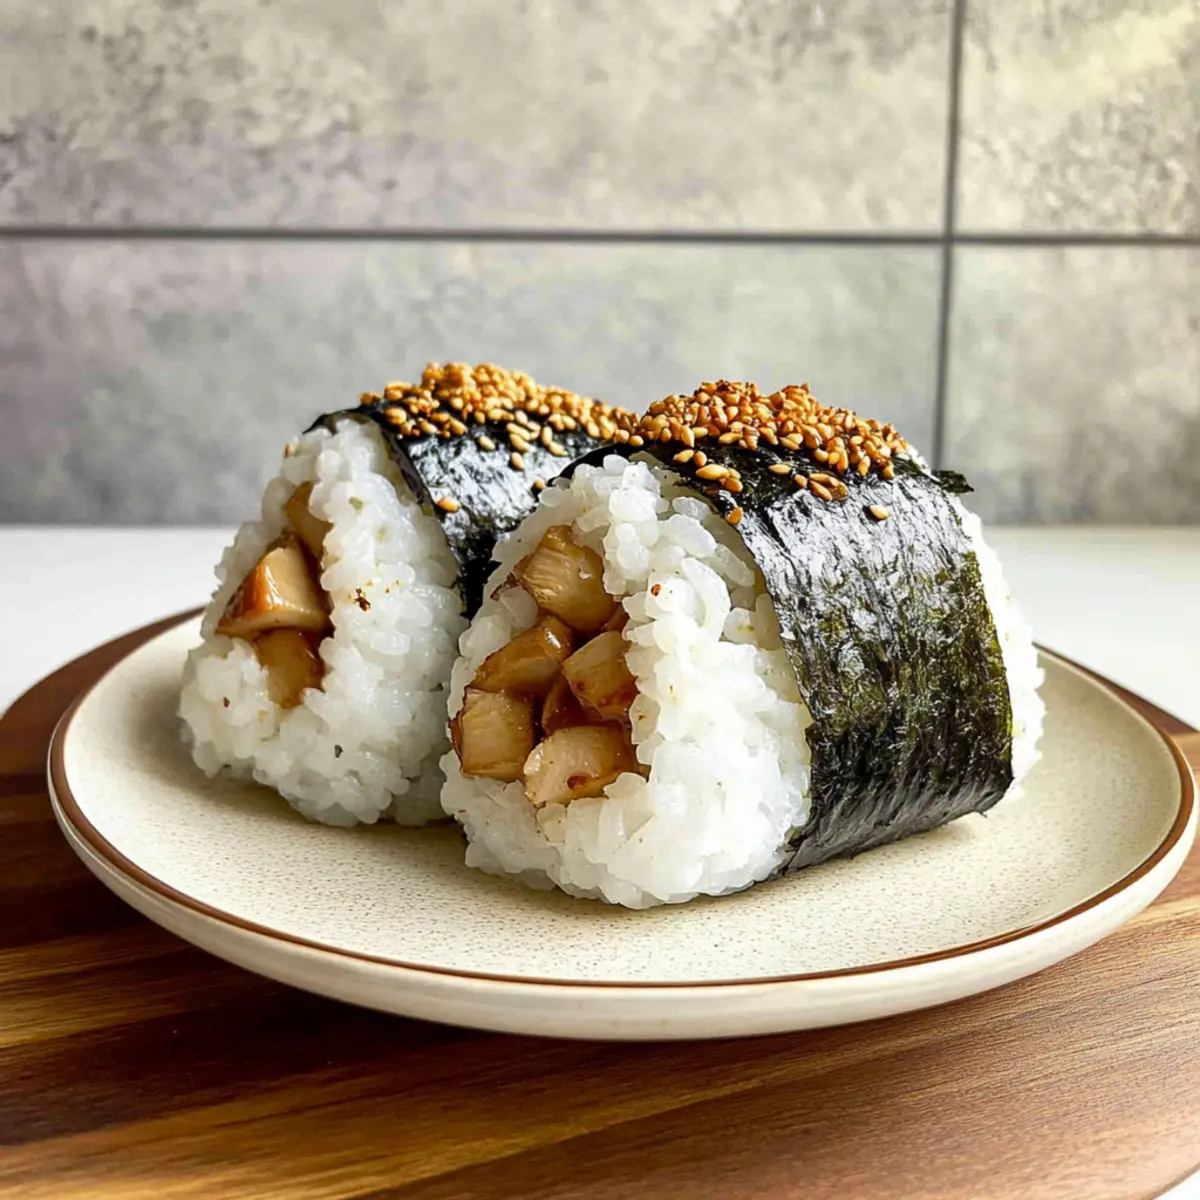
Walking through a bustling Japanese marketplace, the warm scent of grilled chicken wafts through the air, drawing me closer to a popular street vendor. That was my first encounter with Chicken Onigiri, an irresistible snack that combines savory chicken with sticky rice, making every bite an adventure. Today, I’m excited to share my own take on this delightful treat—Easy Chicken Onigiri with Teriyaki Glaze. This recipe is perfect for those busy days when you crave a quick meal but still want something special. Not only are these onigiri a family-friendly option, but they also make fantastic appetizers or portable snacks for on-the-go eating. With a homemade teriyaki sauce that adds a touch of sweetness and umami, you’ll soon find yourself reaching for seconds. Curious about how to recreate this tasty moment in your own kitchen? Let’s dive into the details!
Why Will You Love Chicken Onigiri?
Versatile Meal: You can customize your Chicken Onigiri with different fillings and marinades, making it a fun option for any palate.
Quick & Easy: This recipe is perfect for busy days, taking less than 30 minutes from start to finish, so weeknight dinners or last-minute snacks are a breeze.
Umami Delight: The combination of teriyaki glaze with juicy chicken bursting with flavor will have everyone asking for more, just like the beloved bites from the street vendors!
Family-Friendly: With its fun presentation and tasty profile, even the pickiest eaters will fall in love with these savory rice balls.
Meal Prep Friendly: Make a batch ahead and store them in the fridge for easy lunches. Serve alongside dishes like Lemon Butter Chicken for a complete feast!
Cultural Experience: Each onigiri you create offers a taste of Japanese culinary tradition, allowing you to bring exotic flavors right into your home kitchen.
Chicken Onigiri Ingredients
Learn how to create these tasty Chicken Onigiri!
For the Rice
• Sushi Rice – The foundation of your onigiri; ensure to use short-grain rice, adding 15% more water for that sticky texture.
• Salt – Enhances the flavor; fine salt works best for even distribution.
• Furikake – Optional seasoning; sprinkle on rice for extra flavor and visual appeal.
For the Chicken Filling
• Boneless Skinless Chicken Meat – The star of the dish; drumsticks are perfect, but thighs or ground chicken work well too.
• Soy Sauce – Adds depth to your marinade and teriyaki sauce; adjust to your taste.
• Sake (or Water) – Helps tenderize the chicken; provides moisture in the marinade.
• Baking Soda – Tenderizes the chicken when marinating, ensuring juiciness.
• Cornstarch – Brings crispiness to your cooked chicken, enhancing texture.
• Minced Garlic – Introduces aromatic goodness to the stir-fry.
For the Teriyaki Sauce
• Mirin – Sweet rice wine; adds essential sweetness to your teriyaki glaze.
• Brown Sugar – Increases the stickiness and sweetness, making the glaze mouthwatering.
• Oil – Neutral oil works best for sautéing your chicken.
For Assembly
• Nori – Wraps around the onigiri for a delightful flavor and texture.
Now, let’s bring your Chicken Onigiri to life!
Step‑by‑Step Instructions for Chicken Onigiri
Step 1: Cook Sushi Rice
Begin by rinsing 1 cup of sushi rice until the water runs clear, then cook it in a rice cooker with 1.15 cups of water for about 20 minutes. Once the rice is done, transfer it to a bowl, mixing in ½ teaspoon of salt, and optionally, a tablespoon of furikake for added flavor. Let the rice cool slightly while you prepare the chicken.
Step 2: Marinate Chicken
Cut the boneless skinless chicken meat into small, even pieces, about 1-inch cubes. In a bowl, combine 2 tablespoons of soy sauce, 1 tablespoon of sake, ½ teaspoon of baking soda, and 1 tablespoon of cornstarch, then toss in the chicken pieces. Cover and refrigerate for 30 minutes to ensure the chicken absorbs all the flavors and becomes tender.
Step 3: Prepare Teriyaki Sauce
While the chicken marinates, prepare the teriyaki sauce by mixing ¼ cup of soy sauce, 2 tablespoons of mirin, and 1 tablespoon of brown sugar in a small bowl. Whisk them together until the sugar dissolves completely. Set the teriyaki sauce aside, ready to glaze the chicken after cooking.
Step 4: Cook Chicken
Heat 1 tablespoon of neutral oil in a skillet over medium-high heat. Once the oil shimmers, add the marinated chicken pieces, distributing them evenly in the pan. Stir-fry for 5-7 minutes, or until the chicken is golden brown and cooked through. Add 2 cloves of minced garlic during the last 30 seconds of cooking for an aromatic boost.
Step 5: Add Teriyaki Sauce
Pour the prepared teriyaki sauce over the cooked chicken in the skillet. Stir constantly for about 2-3 minutes until the sauce thickens and coats the chicken nicely. The glaze should be shiny and cling to the chicken pieces, making it a delicious filling for your Chicken Onigiri.
Step 6: Shape Onigiri
Wet your hands to prevent sticking, then take about ⅓ cup of cooked sushi rice and flatten it slightly in your palm. Create a small indentation in the center and add a tablespoon of the teriyaki chicken filling. Cover it with more rice, shaping it into a triangle or rectangle. Firmly pack the rice to hold its shape, then wrap a strip of nori around the onigiri for added flavor.
Step 7: Serve and Enjoy
Repeat the shaping process until all the rice and filling are used. Arrange your finished Chicken Onigiri on a platter and enjoy immediately, or refrigerate for a quick meal later. These tasty bites are perfect for lunches or as delightful appetizers, bringing a taste of Japanese tradition to your table!
Make Ahead Options
These Chicken Onigiri are fantastic for meal prep enthusiasts! You can prepare the sushi rice and marinate the chicken up to 24 hours in advance; just store them separately in airtight containers to maintain freshness. When you’re ready to enjoy, simply stir-fry the marinated chicken for about 5-7 minutes before adding the teriyaki sauce. Mold the onigiri as instructed, and they’ll taste just as delicious as if made fresh. If you want to keep them longer, assembled onigiri can be refrigerated tightly wrapped for up to 2 days; however, eat them within that time for optimal texture. This makes busy weeknights effortless, providing you with a delightful snack or meal at your convenience!
Expert Tips for Chicken Onigiri
Uniform Chicken Pieces: Cut your chicken into small, even cubes for even cooking and consistent texture in your Chicken Onigiri.
Wet Hands: Always wet your hands when shaping the rice; this helps prevent sticking and makes it easier to mold the onigiri.
Chill for Firmness: Refrigerate the shaped onigiri for 15-30 minutes before serving to achieve a firmer texture that holds its shape better.
Watch the Sauce: Be careful not to overcook the teriyaki sauce; it should thicken but remain glossy, ensuring it clings perfectly to the chicken.
Experiment with Fillings: Don’t hesitate to play with different fillings beyond chicken; think about using tofu or vegetables for a delightful twist on your Chicken Onigiri.
How to Store and Freeze Chicken Onigiri
Fridge: Store your Chicken Onigiri in an airtight container and refrigerate for up to 2 days. Make sure to wrap them tightly to maintain moisture and prevent them from drying out.
Freezer: For longer storage, wrap each onigiri individually in plastic wrap and place them in a freezer-safe bag. They can be frozen for up to 3 months, ensuring deliciousness for later.
Reheating: To enjoy your Chicken Onigiri, gently reheat in the microwave for about 30 seconds to 1 minute. For best results, cover with a damp paper towel to retain moisture.
Chicken Onigiri Variations & Substitutions
Feel free to explore these tasty twists to make your Chicken Onigiri uniquely yours!
-
Vegetarian Friendly: Replace chicken with tofu or a mix of sautéed seasonal vegetables for a vibrant, plant-based alternative.
-
Flavor Boost: Swapping soy sauce for miso paste in the marinade brings a savory umami punch that’s simply irresistible. Miso’s depth often transforms every bite into a flavor explosion!
-
Crispy Texture: For added crunch, incorporate crispy fried onions or tempura bits into the filling, elevating your onigiri with delightful texture surprises.
-
Spice it Up: Add a teaspoon of chili paste or sriracha to the teriyaki sauce for an exciting kick. Pairing heat with sweet makes every onigiri an adventure!
-
Different Protein: Use ground chicken or even turkey as a filling option. This provides a lighter choice, perfect if you’re looking to switch things up.
-
Furikake Fun: Experiment with various furikake blends, like plum or spicy toppings, to add unique flavors and a pop of color to your rice. You can create a flavor journey with each bite!
-
Nori Alternatives: If nori isn’t your thing, try wrapping your onigiri in lettuce leaves or rice paper for a fresh take that’s just as fun.
-
Serving Suggestions: Pair your Chicken Onigiri with a side of pickled vegetables or a crisp garden salad, creating a delicious, well-rounded meal. For instance, these could be delicious alongside Honey Pepper Chicken or White Chicken Lasagna Soup.
Embrace these variations to make each batch of Chicken Onigiri a delightful new experience!
What to Serve with Easy Chicken Onigiri?
Create a delightful meal experience alongside these flavorful Japanese rice balls, balancing textures and flavors beautifully.
- Pickled Vegetables: A tangy and crunchy addition that cuts through the savory richness, offering a refreshing contrast to the onigiri.
- Crispy Seaweed Salad: The briny flavor and crunchy texture of seaweed salad pairs wonderfully, enhancing your Japanese culinary experience.
- Miso Soup: Warm, comforting, and loaded with umami, miso soup serves as a cozy companion that complements the chicken onigiri perfectly.
- Edamame: Lightly salted and buttery, these young soybeans are a protein-packed snack that adds a delightful crunch to your meal.
- Steamed Broccoli: Bright and nutritious, steamed broccoli adds a pop of color and a gentle bitterness that harmonizes with the sweetness of teriyaki glaze.
- Chilled Green Tea: Refreshing and subtly grassy, green tea is the perfect drink to cleanse your palate and enhance your dining experience.
- Fruit Salad: A sweet and seasonal fruit salad can provide a light finish to your meal, balancing savory elements with natural sweetness.
Serve your Chicken Onigiri with any combination of these sides and drinks to elevate your meal into a truly unforgettable dining experience!
Chicken Onigiri Recipe FAQs
What type of rice should I use for Chicken Onigiri?
Absolutely! You should use sushi rice, which is a short-grain variety that provides the essential sticky texture for shaping onigiri. Be sure to add about 15% more water than usual for warm, fluffy rice that holds together well.
How should I store Chicken Onigiri?
To store your Chicken Onigiri, place them in an airtight container and refrigerate for up to 2 days. It’s best to wrap each onigiri tightly to maintain moisture and prevent them from drying out. Just remember to enjoy them soon for the best taste!
Can I freeze Chicken Onigiri?
Yes, you can freeze Chicken Onigiri for longer storage! Wrap each piece individually in plastic wrap, then place them in a freezer-safe bag. They can be frozen for up to 3 months. When you’re ready to eat, just reheat them in the microwave for about 30 seconds, covered with a damp paper towel to keep them moist and delicious.
What can I do if my onigiri is falling apart?
If your Chicken Onigiri is falling apart, don’t worry! It could be due to not enough moisture in the rice or not packing the rice tightly enough. Ensure you’re using the right amount of water in your sushi rice and make sure to press the rice firmly when shaping your onigiri. Refrigerating them for 15-30 minutes before serving can also help them hold their shape better.
Are there any dietary considerations I should be aware of?
Very! If you’re making these for someone with allergies, be cautious of the soy sauce as it contains wheat. You can use gluten-free soy sauce or tamari as a substitute. For those with dietary restrictions, feel free to switch out the chicken with tofu, tempeh, or a selection of diced vegetables to create a delicious vegetarian version of Chicken Onigiri.
How do I choose the best chicken for my onigiri?
When selecting chicken for Chicken Onigiri, look for boneless, skinless cuts to ensure tenderness and ease of cooking. Drumsticks are an excellent choice, but thighs or even ground chicken work just as well. Always choose meat that is fresh, with no signs of discoloration, and is free from any dark spots to ensure optimum flavor and texture.
Savory Chicken Onigiri: Your New Favorite Snack Adventure
Ingredients
Equipment
Method
- Rinse 1 cup of sushi rice until the water runs clear, then cook in a rice cooker with 1.15 cups of water for about 20 minutes. Transfer to a bowl and mix in ½ teaspoon of salt and optionally, a tablespoon of furikake.
- Cut the chicken into 1-inch cubes. In a bowl, combine 2 tablespoons of soy sauce, 1 tablespoon of sake, ½ teaspoon of baking soda, and 1 tablespoon of cornstarch, then toss in the chicken. Cover and refrigerate for 30 minutes.
- Prepare the teriyaki sauce by mixing ¼ cup of soy sauce, 2 tablespoons of mirin, and 1 tablespoon of brown sugar until the sugar dissolves.
- Heat 1 tablespoon of oil in a skillet over medium-high heat. Add the marinated chicken and stir-fry for 5-7 minutes, adding 2 cloves of minced garlic during the last 30 seconds.
- Pour the teriyaki sauce over the chicken, stirring for 2-3 minutes until the sauce thickens.
- Wet hands and take about ⅓ cup of rice, flatten, add a tablespoon of chicken filling, cover with more rice, and shape into a triangle. Wrap with nori.
- Repeat until all ingredients are used. Serve immediately or refrigerate.
Leave a Reply