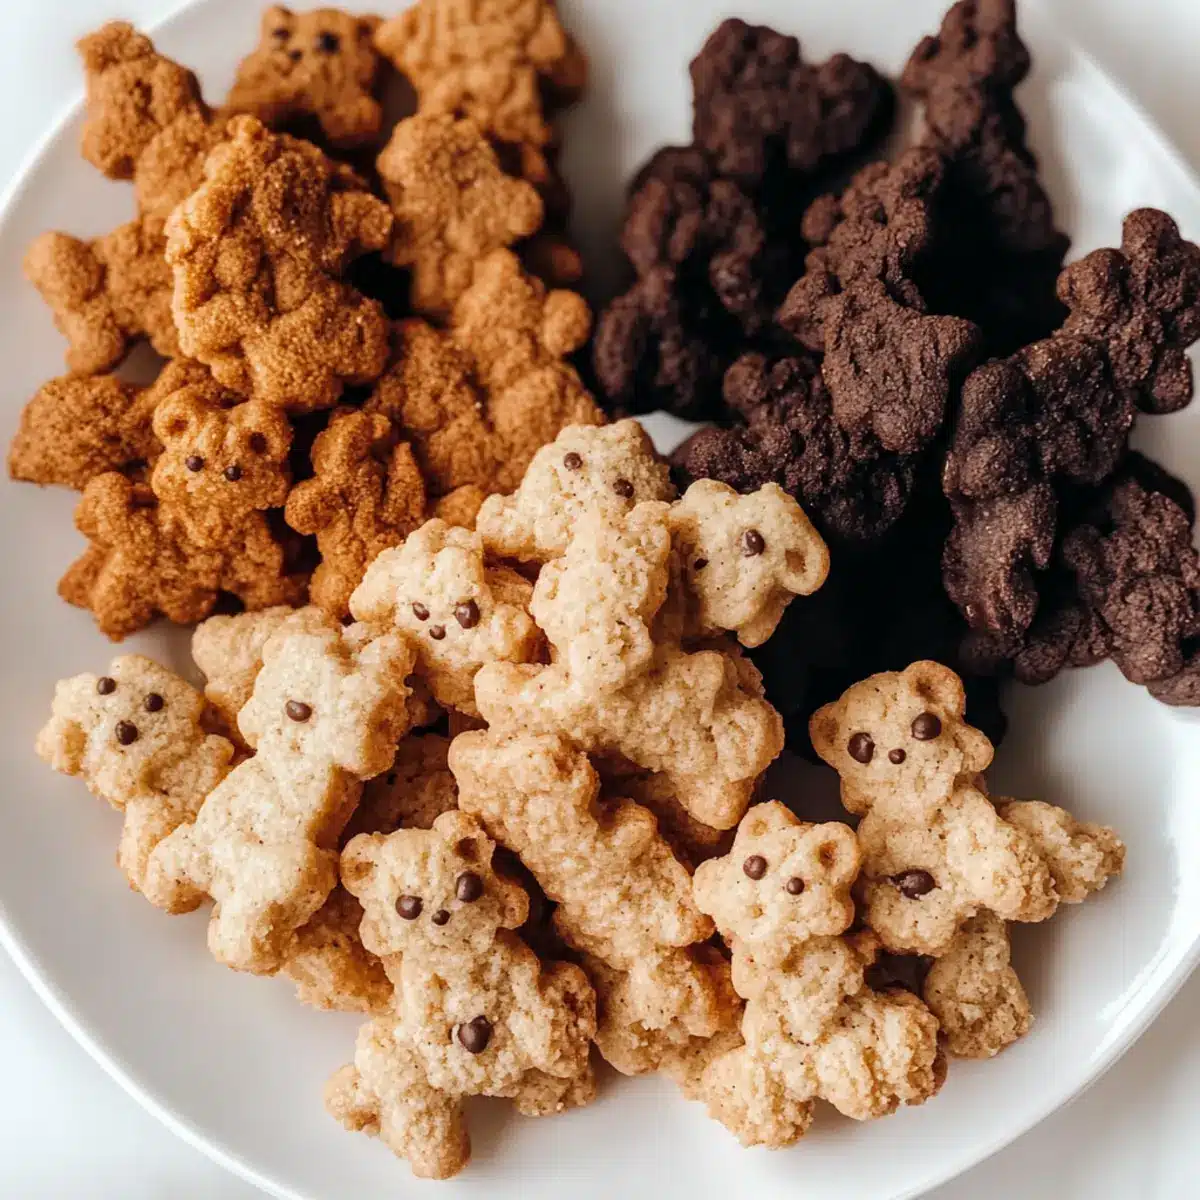
“Hey, remember when snacking was all about that playful crunch and whimsical shapes?” As I was chatting with my nephew over homemade treats, I realized just how nostalgic those little Teddy Grahams are. That’s why I’m excited to share my recipe for Homemade Teddy Grahams in three delightful flavors: honey cinnamon, cocoa, and chocolate chip. Not only are these treats a hit in my kitchen, but they’re also vegan and gluten-free, making them suitable for everyone. Plus, this recipe is quick and simple, perfect for a fun baking day with your kids or for satisfying your late-night cravings. Are you ready to add a touch of sweetness and nostalgia to your snack time? Let’s dive into the world of these adorable mini cookies together!
Why Make Homemade Teddy Grahams?
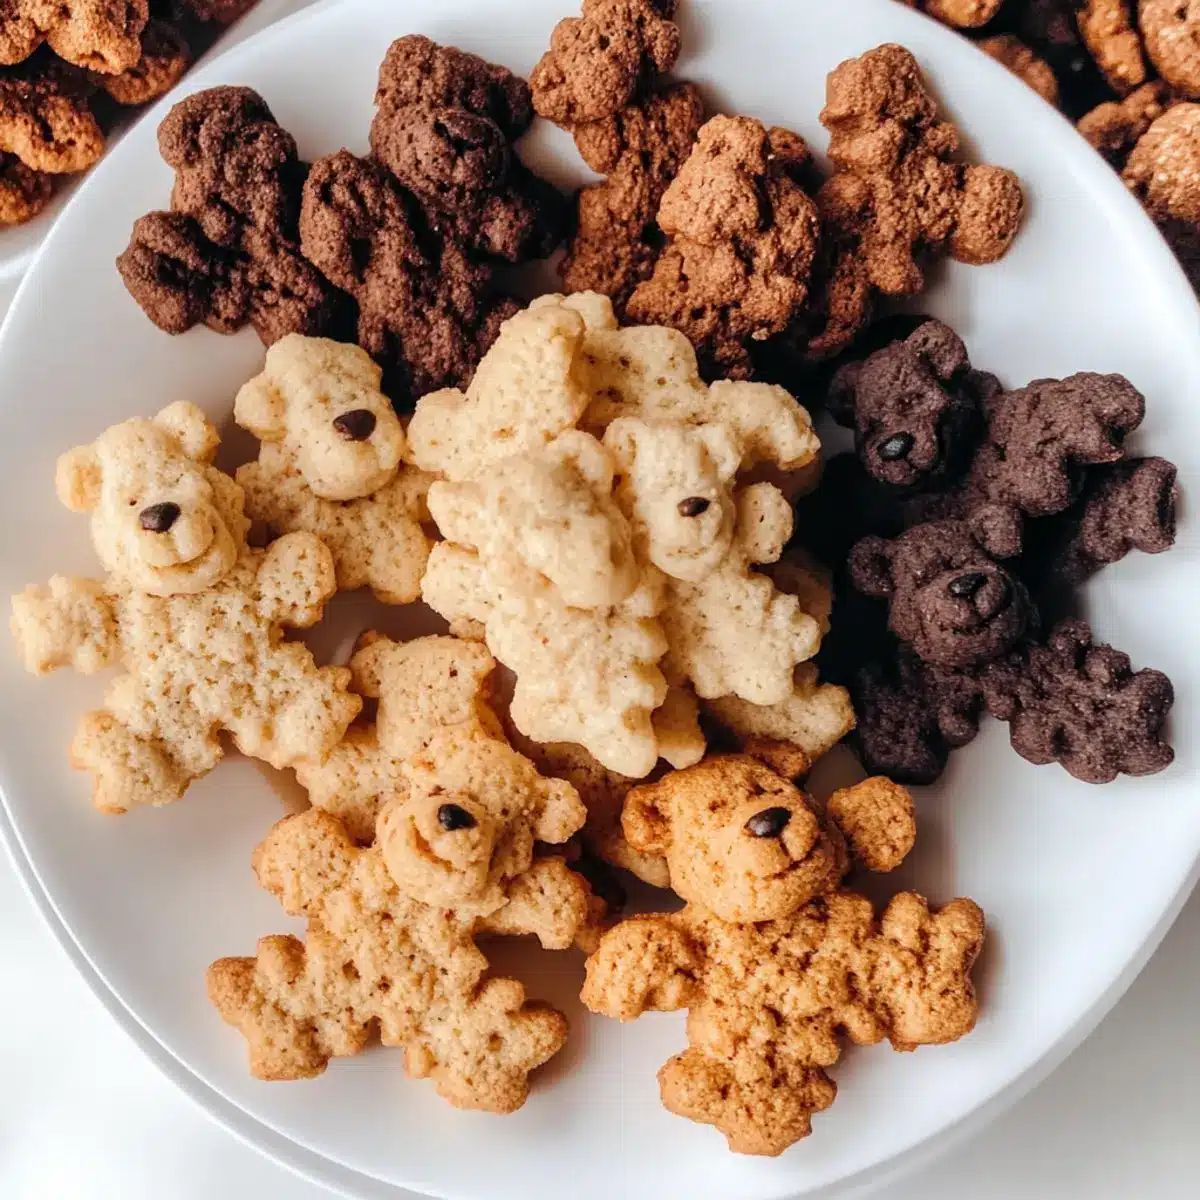
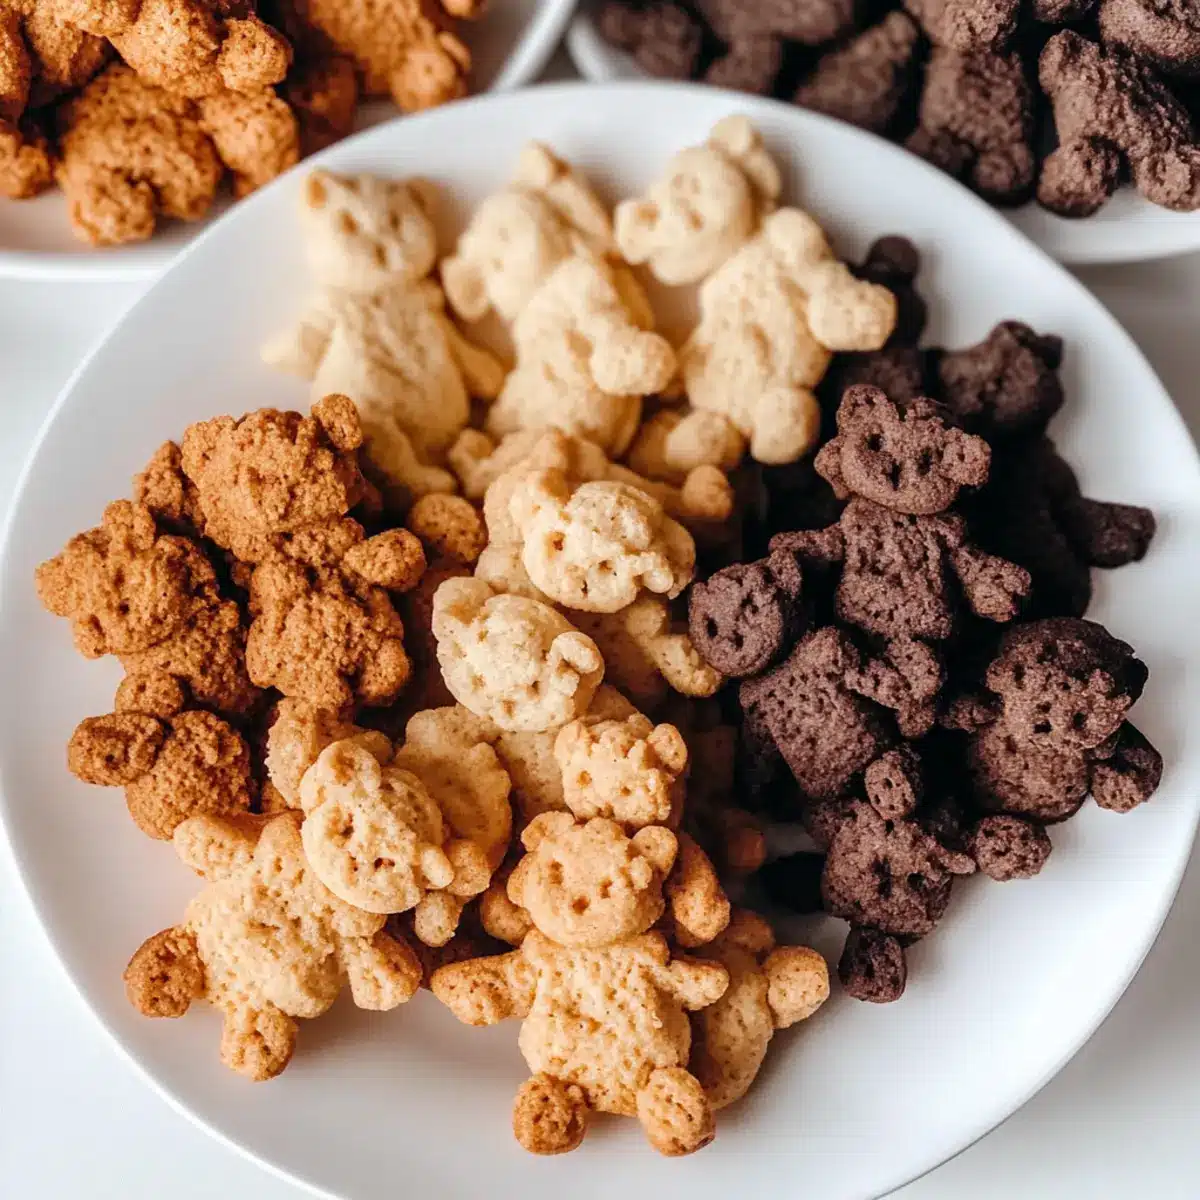
Nostalgic Treat: These homemade Teddy Grahams capture the whimsy of childhood snacks, offering a delightful crunch in each shape.
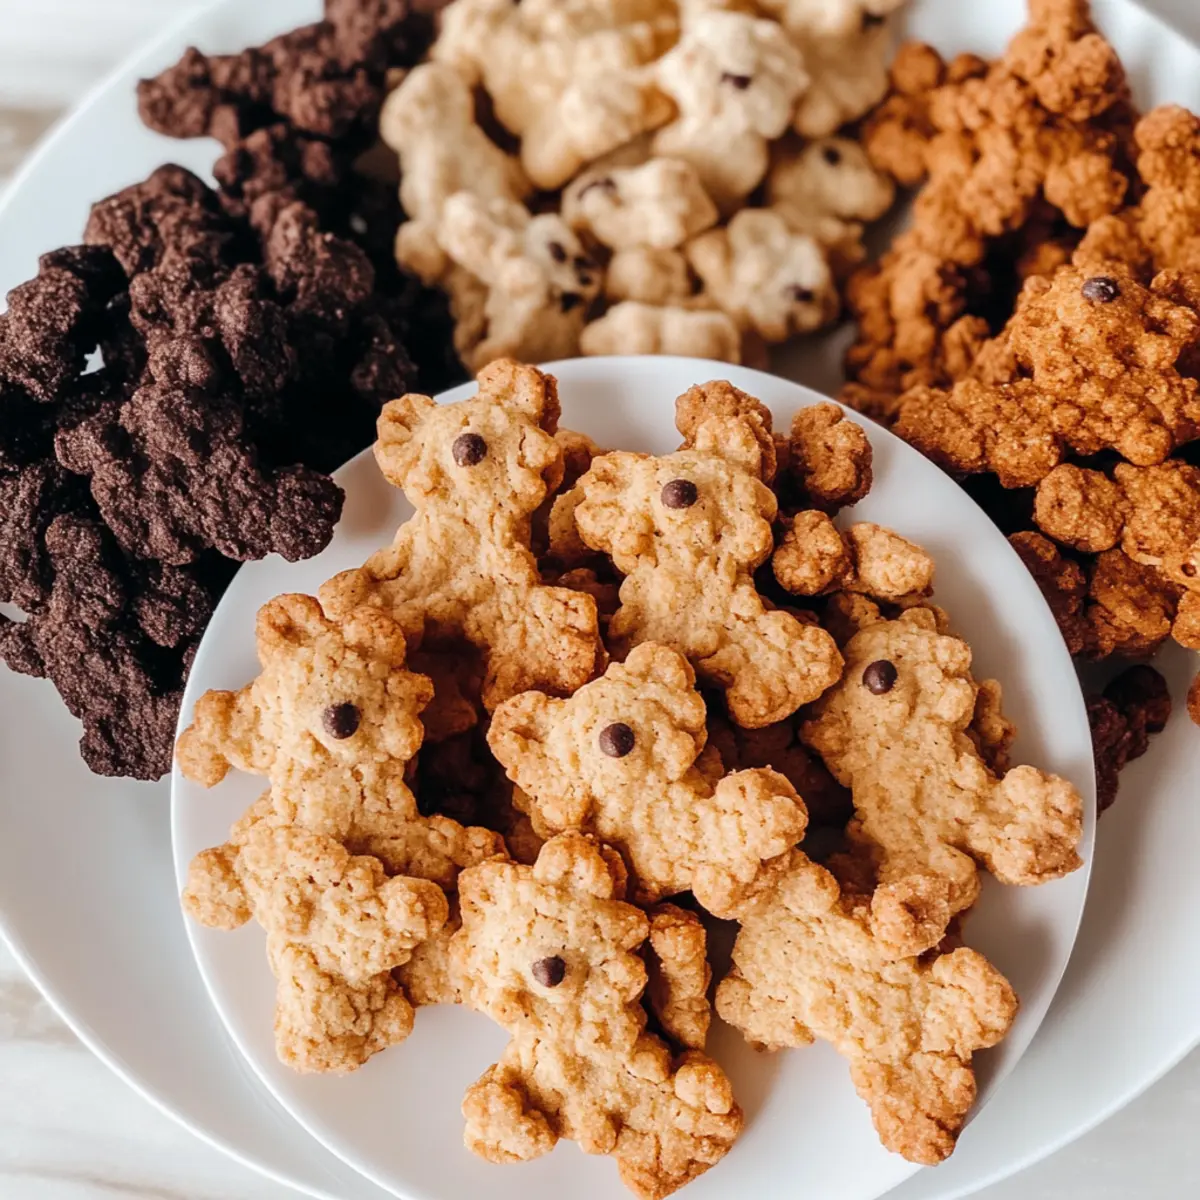
Versatile Flavors: Choose from lovely honey cinnamon, rich cocoa, or decadent chocolate chip, ensuring there’s a favorite for everyone.
Healthier Option: With vegan and gluten-free ingredients, these delightful cookies are perfect for those craving homemade goodness without the guilt.
Quick Prep: Whip up a batch in no time, making it an ideal family activity that yields delicious results. Serve them with milk or Italian Cream Soda for a nostalgic twist!
Crowd-Pleaser: Kids and adults alike will love these treats, making them a hit at parties or lunchboxes. Enjoy the fun of baking together as you create these charming snacks!
Homemade Teddy Grahams Ingredients
For the Dough
• Flour – Provides structure; substitute with all-purpose flour if desired.
• Coconut Sugar – Adds sweetness with a hint of caramel flavor; can replace with regular cane sugar using the same amount.
• Plant-Based Butter – Contributes to the buttery texture; can substitute with regular butter if not vegan.
• Cinnamon – Essential for the honey cinnamon flavor; adjust the amount based on taste preference.
• Oat Milk (or Coconut Milk) – Provides moisture; substitute with oat milk if allergic to coconut.
For the Chocolate Variations
• Cocoa Powder – Necessary for the cocoa flavor; use unsweetened cocoa for the chocolate version.
• Agave Syrup – Acts as a sweetener; honey can be used as a direct substitute.
• Mini Chocolate Chips – Adds sweetness in the chocolatey chip version; use vegan chips for a fully plant-based treat.
Each ingredient plays a pivotal role in crafting these delightful Homemade Teddy Grahams, ensuring a whimsical snack that is both fun to make and enjoy!
Step‑by‑Step Instructions for Homemade Teddy Grahams
Step 1: Prepare Dough
In a large mixing bowl, combine the flour and coconut sugar, ensuring they are well blended. Using a pastry cutter or your fingers, mix in the plant-based butter until you have a crumbly texture. Next, add the agave syrup and oat milk, stirring until a smooth dough forms. Cover and let it rest for about 10 minutes to allow the ingredients to meld.
Step 2: Flavor Variations
Once rested, divide the dough into three equal portions for your Homemade Teddy Grahams. For the cocoa flavor, mix cocoa powder into one portion until incorporated. For the chocolate chip version, fold in mini chocolate chips to the next portion. Leave the last portion plain to highlight the honey cinnamon flavor, or mix in cinnamon as desired to complete your delightful trio.
Step 3: Shape Cookies
Preheat your oven to 350°F (175°C) while you shape the cookies. Lightly flour a clean surface and roll out each portion of dough to about ¼ inch thick. Use a teddy bear mold or cookie cutters to cut out your shapes. If using a mold, press the dough firmly to ensure the designs hold. Place the shaped cookies on a parchment-lined baking sheet.
Step 4: Bake
Once your oven is preheated, carefully transfer the baking sheet with the cookies inside. Bake for 10-12 minutes or until the edges turn lightly golden. Keep a close eye on them, as baking times may vary depending on your oven. The aroma of these delightful Homemade Teddy Grahams will fill your kitchen as they bake!
Step 5: Cool
After baking, remove the cookies from the oven and let them sit on the baking sheet for 5 minutes to firm up. Then, transfer the Homemade Teddy Grahams to a wire rack to cool completely. This step is crucial to achieve that perfect crunchy texture! Once cooled, they’re ready to be enjoyed or stored in an airtight container for later snacking.
What to Serve with Homemade Teddy Grahams?
Indulge in an afternoon snack that transports you back to your childhood while creating delightful taste pairings.
-
Creamy Almond Milk: A nutty, dairy-free drink that complements the sweetness of the Teddy Grahams, making every bite more delightful.
-
Fruit Salad Surprise: A colorful mix of fresh fruits adds a refreshing, juicy contrast to the crunchy cookies, perfect for balancing flavors.
-
Peanut Butter Dipping Sauce: A rich, creamy dip that enhances the flavors of your Teddy Grahams, providing a deliciously nutty experience with each bite.
-
Mini Marshmallow Skewers: Sweet and chewy marshmallows add a whimsical element to your snack, creating a fun and nostalgic option for kids to enjoy.
-
Hot Chocolate: Cozy up with a warm cup of hot chocolate, whose richness pairs splendidly with the cookies, elevating both in a sweet harmony.
-
Yogurt Parfait: Layer some Greek yogurt, honey, and granola for a wholesome treat that contrasts texture beautifully while providing a nutritious boost.
Enjoy the crunchiness of your Homemade Teddy Grahams while exploring these delightful pairings that enhance your snacking experience!
How to Store and Freeze Homemade Teddy Grahams
Airtight Container: Store your Homemade Teddy Grahams in an airtight container at room temperature for up to 1 week to maintain their delightful crunch.
Fridge: If you prefer a fresher taste, you can store them in the fridge for up to 2 weeks but expect a slight change in texture.
Freezer: While it’s best not to freeze these cookies to preserve their crunchiness, you could refrigerate the unbaked dough for up to 2 months for quick baking later.
Reheating: If they become a bit soft, simply bake at 350°F (175°C) for 5-7 minutes to restore some crunch before enjoying your Teddy Grahams!
Homemade Teddy Grahams Variations
Customize your Homemade Teddy Grahams with these delightful variations that will brighten your snack time!
-
Vegan Chocolate: Replace mini chocolate chips with your favorite dairy-free variety for a rich, indulgent treat. These tender morsels will satisfy any chocolate lover’s cravings.
-
Nutty Addition: Fold in chopped almonds or walnuts for a crunchy texture that contrasts beautifully with the cookie’s tenderness. Each bite becomes an adventure!
-
Coconut Twist: For a tropical kick, add shredded coconut to the honey cinnamon dough. This will bring a delightful chewiness, reminiscent of summer snacks.
-
Spicy Kick: Incorporate a pinch of cayenne pepper into the cocoa dough for a surprising heat that elevates the chocolate flavor. It’s an unexpected twist that will awaken your taste buds!
-
Fruit Fusion: Blend in dried cranberries or raisins for a chewy burst of sweetness in your Teddy Grahams. This fruity addition makes for a wholesome and delightful snack!
-
Maple Drizzle: Swap agave syrup for maple syrup for a unique flavor profile. The rich, earthy sweetness of maple transforms these cookies into a gourmet delight.
-
Chai Spice: For a warm, aromatic twist, mix in chai spices (like cardamom and ginger) with the honey cinnamon dough. This cozy flavor variation is perfect for chilly evenings.
-
Gluten-Free Spice: Use almond flour or a gluten-free mix instead of regular flour for a nutty flavor and to keep your treats gluten-free. It’s a fabulous option for those with dietary restrictions!
Feel free to explore these suggestions and make this recipe your own. Pair your tasty Teddy Grahams with a glass of Italian Cream Soda for a delightful afternoon snack!
Make Ahead Options
These Homemade Teddy Grahams are perfect for busy home cooks looking to save time during the week! You can prepare the dough up to 24 hours in advance by mixing the ingredients and storing the wrapped dough in the refrigerator. For even more convenience, roll out the dough and shape the cookies, then place them on a baking sheet to freeze them. Once frozen, transfer the unbaked cookies to an airtight container and store for up to 3 days. When you’re ready to enjoy these delightful snacks, take them out and bake directly from frozen; just add a couple of extra minutes to the baking time. This method ensures your Homemade Teddy Grahams are just as delicious and fresh, making them a wonderful treat ready to be savored!
Expert Tips for Homemade Teddy Grahams
-
Soft Butter: Ensure your plant-based butter is softened to room temperature to create a smooth dough and avoid crumbling.
-
Measure Accurately: Use a kitchen scale to measure flour, preventing it from packing down, which can lead to dense cookies.
-
Texture Check: For extra crispiness, extend the baking time by a couple of minutes, but keep a close eye to prevent burning.
-
Cooling Time: Allow cookies to cool on a wire rack to achieve that delightful crunch. Skipping this may result in softer cookies.
-
Flavor Balance: Adjust the amount of cinnamon in the honey cinnamon variation to suit your personal taste, adding more for a spicier kick.
-
Storage Wisdom: Store your Homemade Teddy Grahams in an airtight container to maintain freshness and crispness for up to a week.
Homemade Teddy Grahams Recipe FAQs
What is the best way to select the ripeness of ingredients like bananas or avocados for Homemade Teddy Grahams?
Absolutely! Since the recipe doesn’t explicitly include ripe fruits, focus on using fresh ingredients. If you choose to add fruit purees, look for ripe bananas that are lightly speckled with brown spots, signaling sweetness, or avocados that yield slightly to pressure but aren’t overly soft.
How long can I store my Homemade Teddy Grahams?
You can store your Homemade Teddy Grahams in an airtight container at room temperature for up to 1 week. For optimal crunchiness, it’s best to keep them sealed tightly. If you prefer a fresher taste, they can last in the fridge for about 2 weeks but may soften slightly.
Can I freeze Homemade Teddy Grahams?
While it’s not recommended to freeze the baked cookies as they may lose their delightful crunchiness, you can freeze the unbaked dough! Just wrap it tightly in plastic wrap and place it in an airtight container; it can last up to 2 months. When ready to bake, simply thaw in the refrigerator overnight and bake as directed.
What should I do if my dough feels too crumbly?
If you find your dough to be too crumbly, don’t worry! Simply add a little more liquid—try an extra tablespoon of oat milk or even water—until it comes together. Mixing thoroughly can help ensure all ingredients bind well. Make sure your plant-based butter is softened; this will also help with the dough consistency.
Are there any dietary considerations for my Homemade Teddy Grahams?
Very! These Homemade Teddy Grahams are vegan and gluten-free, making them suitable for a variety of dietary needs. If you’re concerned about allergies, ensure that the plant-based butter and chocolate chips you use are free from common allergens like soy or nuts. Always read labels to guarantee they meet any specific dietary restrictions!
Can I adjust the sweetness of my Homemade Teddy Grahams?
Definitely! If you desire a less sweet cookie, you can reduce the amount of coconut sugar or agave syrup in the recipe by about 10-15%. Taste your dough before baking—this will give you a good idea of the sweetness level, and you can always add a bit more sugar or syrup if needed to suit your taste. Enjoy experimenting with flavors!
Homemade Teddy Grahams: Sweet, Crunchy, and Vegan Fun!
Ingredients
Equipment
Method
- In a large mixing bowl, combine the flour and coconut sugar, ensuring they are well blended. Using a pastry cutter or your fingers, mix in the plant-based butter until you have a crumbly texture.
- Next, add the agave syrup and oat milk, stirring until a smooth dough forms. Cover and let it rest for about 10 minutes to allow the ingredients to meld.
- Once rested, divide the dough into three equal portions for your Homemade Teddy Grahams. For the cocoa flavor, mix cocoa powder into one portion until incorporated.
- For the chocolate chip version, fold in mini chocolate chips to the next portion. Leave the last portion plain to highlight the honey cinnamon flavor, or mix in cinnamon as desired.
- Preheat your oven to 350°F (175°C) while you shape the cookies. Lightly flour a clean surface and roll out each portion of dough to about ¼ inch thick.
- Use a teddy bear mold or cookie cutters to cut out your shapes. Place the shaped cookies on a parchment-lined baking sheet.
- Bake for 10-12 minutes or until the edges turn lightly golden. Keep a close eye on them, as baking times may vary depending on your oven.
- After baking, let the cookies sit on the baking sheet for 5 minutes to firm up. Then, transfer them to a wire rack to cool completely.
Leave a Reply