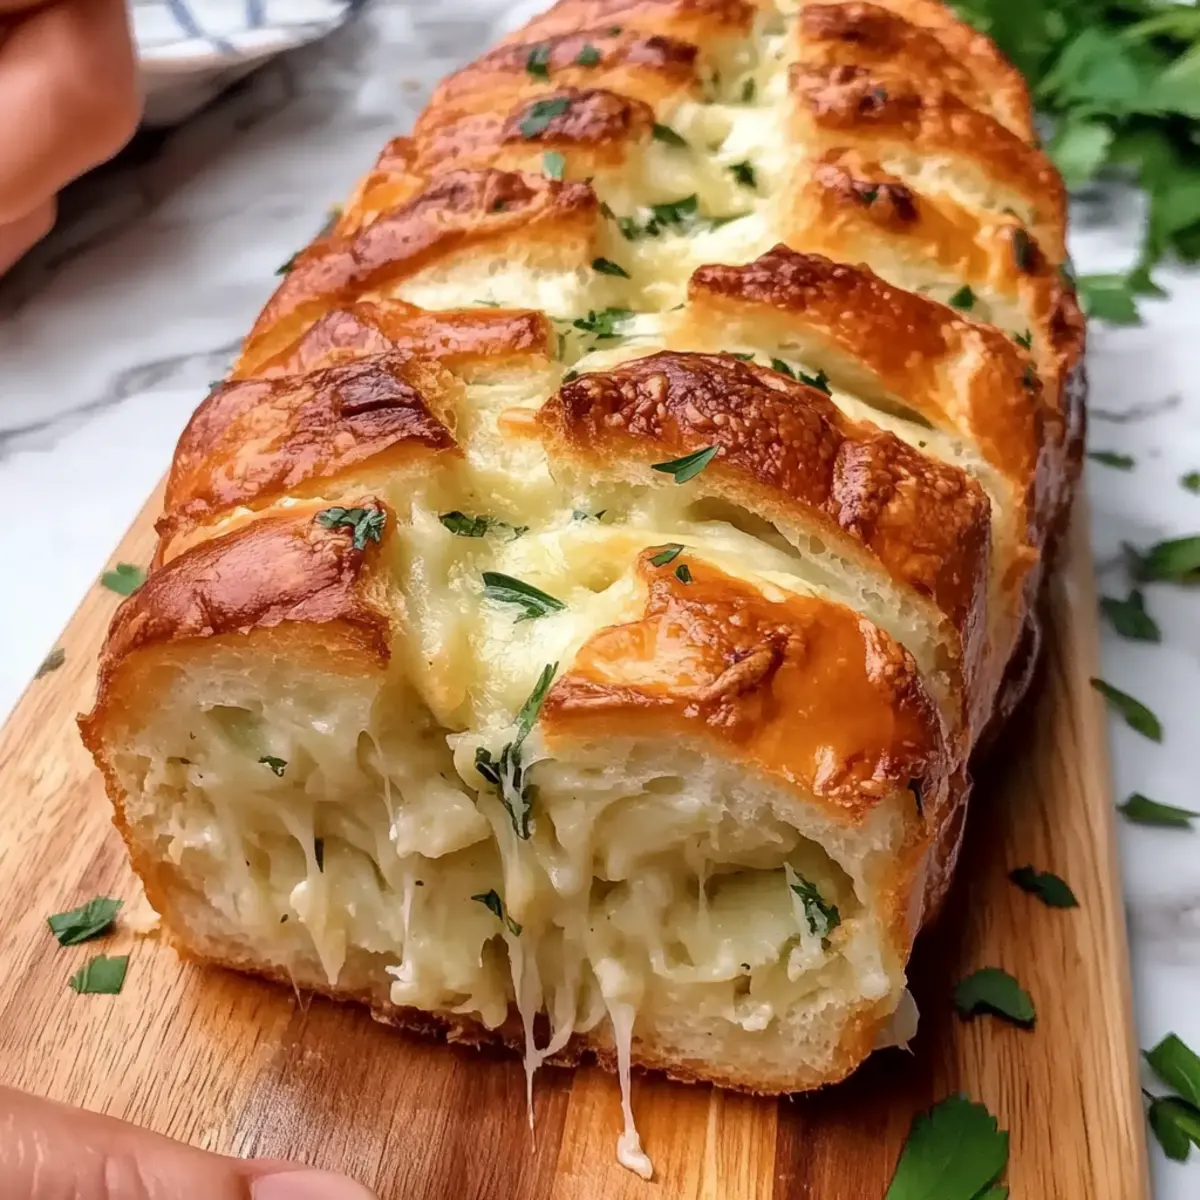
It’s amazing how a simple loaf of bread can transform a meal into a magical experience! Today, I’m thrilled to guide you through my Sourdough Discard Pull-Apart Garlic Bread, a delightful recipe that makes the most of that tangy sourdough discard lingering in your fridge. Not only does it tackle food waste, but this pull-apart loaf is also effortless to prepare—perfect for anyone who loves homemade bread without the fuss! With layers upon layers of buttery goodness and aromatic garlic, it’s a treat that brings comfort to any table. Whether you’re hosting a gathering or just indulging in a cozy night in, this garlic bread is sure to impress. Curious about making your family’s new favorite? Let’s dive into the details!
Why Is This Garlic Bread So Irresistible?
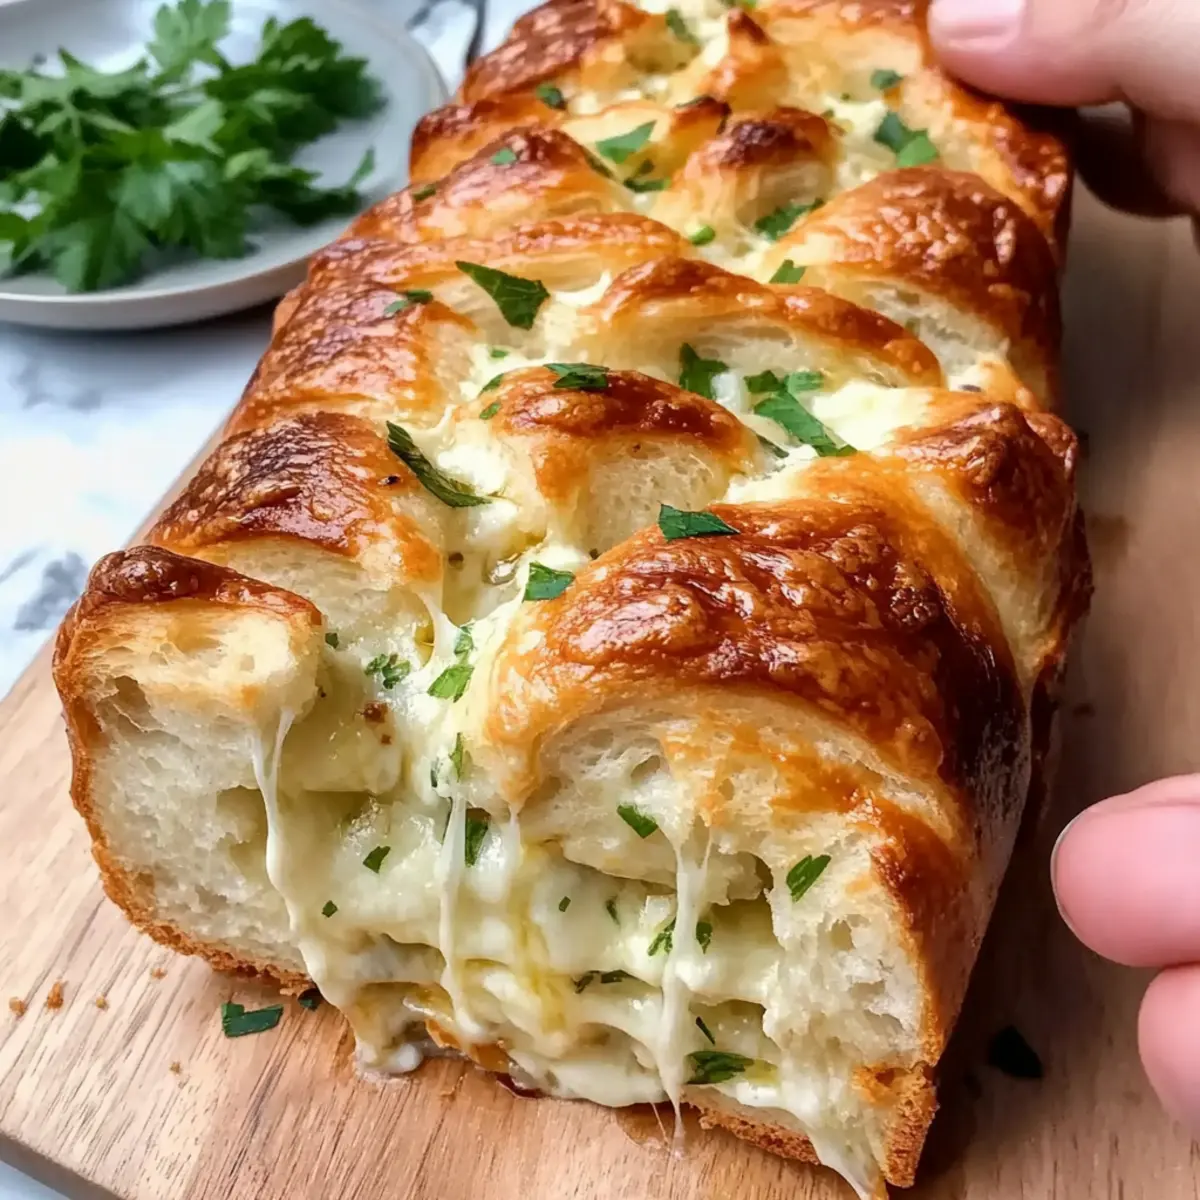
Irresistible Aroma: The moment this bread is baking, your kitchen will be filled with the mouthwatering scent of garlic and butter, making it impossible to resist.
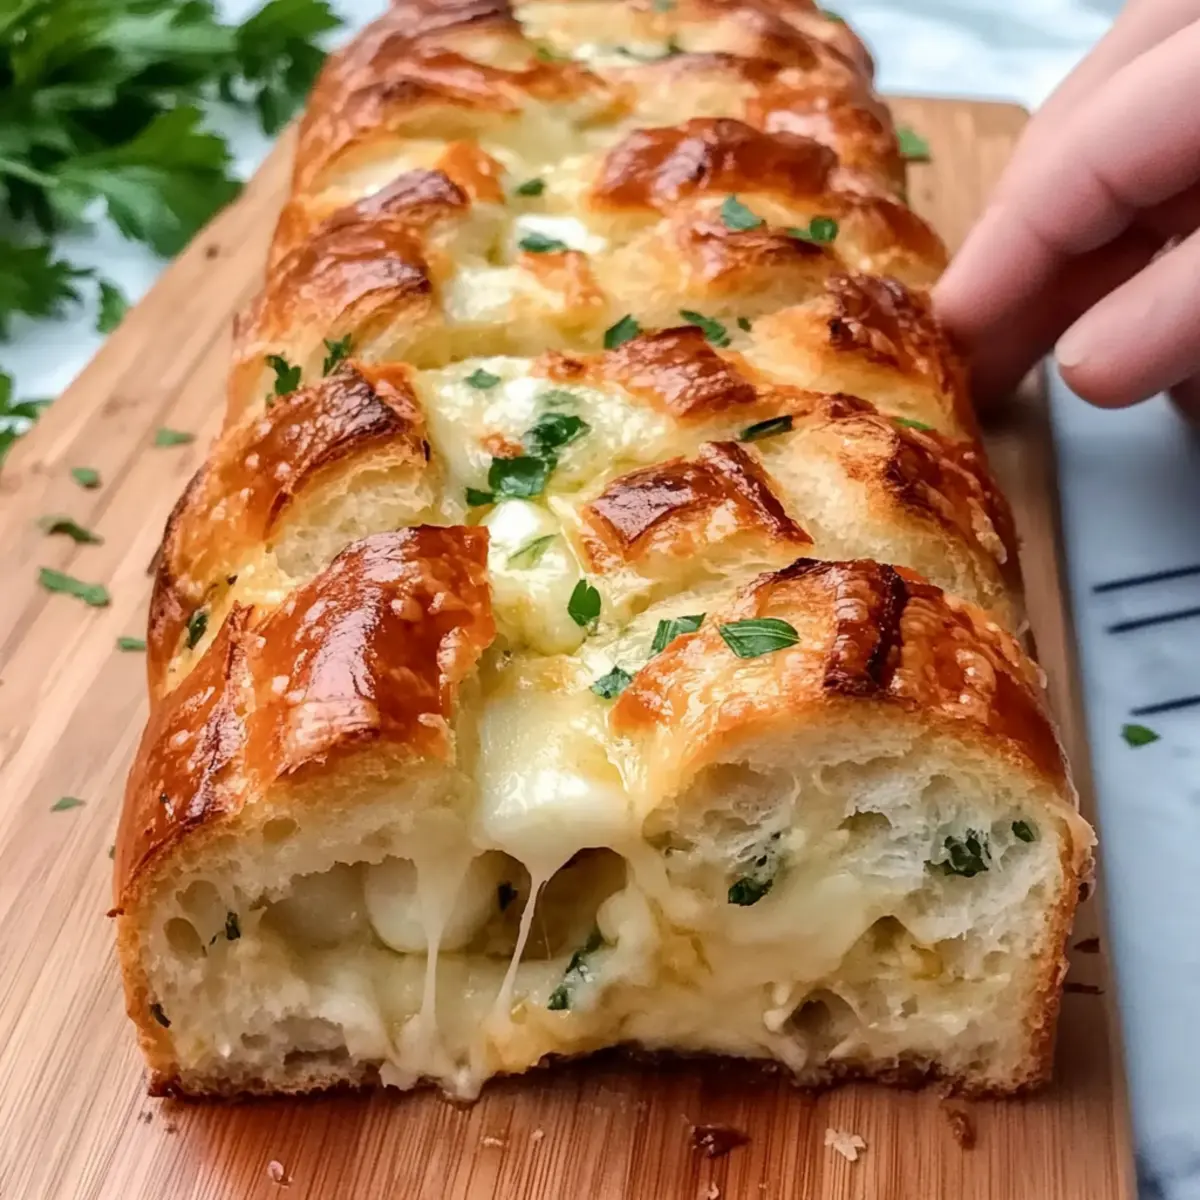
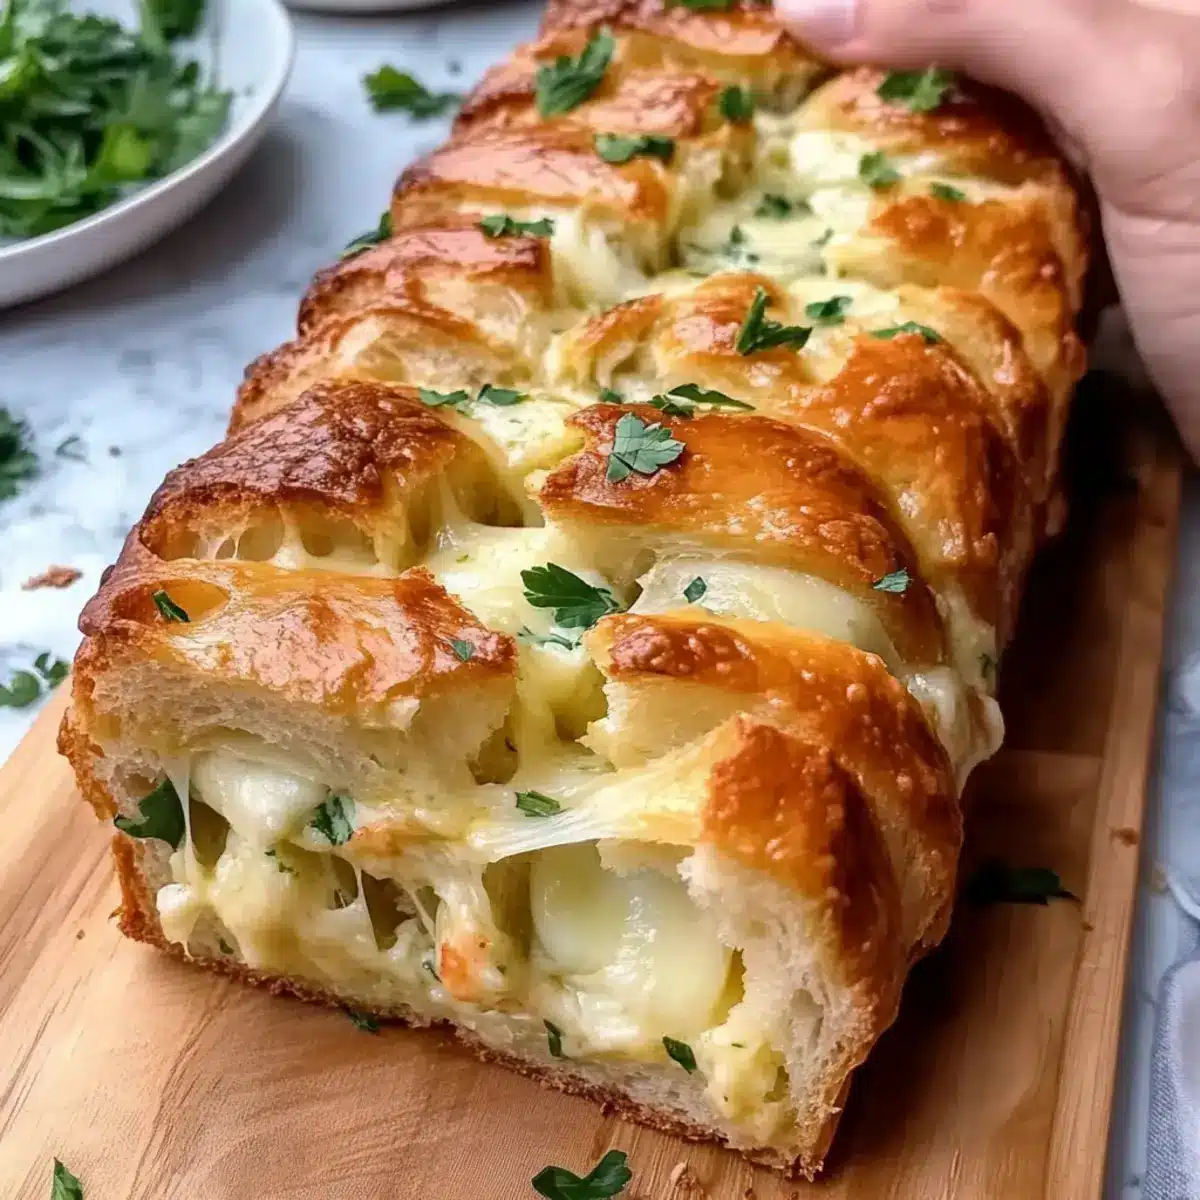
Multi-Layered Goodness: Each pull-apart piece reveals gooey cheese and aromatic garlic, offering a delightful surprise with every bite.
Easy to Make: This simple recipe is perfect for all skill levels—no advanced baking techniques required!
Food Waste Solution: Utilizing sourdough discard not only reduces waste but also enhances the flavor of your bread, making it both sustainable and tasty.
Versatile Pairing: Enjoy it alongside pasta dishes, soups, or even as a snack with marinara dip, making it the ideal addition to any meal.
Grab a slice, and you’ll understand why this pull-apart garlic bread is destined to be your new favorite! Looking for more scrumptious recipes to complement it? Check out my Alfredo Garlic Bread or pair it with a hearty Honey Garlic Sheet for a truly satisfying feast!
Pull-Apart Garlic Bread Ingredients
• Unlock the secret behind your new favorite loaf with these essential ingredients!
For the Dough
- Sourdough Discard – Brings moisture and a delightful tang to the bread; be sure it’s at room temperature for the best results.
- All-Purpose Flour – This is crucial for structure, allowing the bread to rise and maintain its fluffy texture.
- Warm Water – Activates the yeast for a light and airy dough.
- Instant Yeast – Essential for leavening, it creates that fluffy texture we all love!
- Salt – Enhances flavor and strengthens the gluten structure, making your bread delightful.
- Sugar – Adds a hint of sweetness and feeds the yeast for better rising.
For the Flavor
- Unsalted Butter – Provides richness and a glorious buttery flavor, helping to create those tender layers.
- Garlic – Freshly minced, it infuses your dough with a robust flavor, making every bite aromatic and savory.
- Fresh Parsley – Adds vibrant color and a fresh burst of flavor to each layer.
For the Cheesy Layers
- Shredded Mozzarella Cheese – Melts beautifully, creating those irresistible gooey layers! Optional grated Parmesan can be added for an extra flavor boost.
- Red Pepper Flakes – Optional for a light hint of spice that perfectly complements the garlic.
Step‑by‑Step Instructions for Sourdough Discard Pull-Apart Garlic Bread
Step 1: Prepare the Dough
In a large mixing bowl, whisk together your room-temperature sourdough discard, warm water (about 110°F or 43°C), and instant yeast until combined. Let the mixture sit for about 10 minutes, or until it becomes bubbly and fragrant, indicating that the yeast is activated and ready to work its magic in your pull-apart garlic bread.
Step 2: Combine Dry Ingredients
Add the all-purpose flour, salt, and sugar to the bubbly yeast mixture, stirring with a wooden spoon or spatula until a shaggy dough begins to form. Ensure all the flour is incorporated and there are no dry spots. This will set the foundation of your loaf, so mix just until combined, avoiding overworking the dough at this stage.
Step 3: Knead the Dough
Transfer the dough onto a lightly floured surface and knead it for about 10 minutes until it’s smooth and elastic. You’ll know it’s ready when it springs back when gently pressed and feels slightly tacky but not sticky. Proper kneading will contribute to the fluffy texture of your pull-apart garlic bread, ensuring each layer is soft and delightful.
Step 4: First Rise
Place the kneaded dough into a lightly greased bowl, covering it with a clean kitchen towel or plastic wrap. Set it in a warm, draft-free spot for about 1 hour, or until it has doubled in size. Watch for that beautiful rise, as this step is crucial for achieving the airy texture in your finished garlic bread.
Step 5: Make Garlic Butter
While the dough rises, prepare the garlic butter. In a small saucepan, melt unsalted butter over low heat, then stir in the minced garlic and chopped parsley. Allow it to simmer for about 2-3 minutes until fragrant, then remove from heat. This golden elixir will flavor each layer of your pull-apart garlic bread, creating layers of buttery goodness.
Step 6: Shape the Dough
After the dough has risen, turn it out onto a lightly floured surface and roll it into a rectangular shape, about ½ inch thick. Brush the surface generously with the prepared garlic butter, then sprinkle the shredded mozzarella cheese evenly over the top. Cut the dough into squares and stack them vertically in a greased baking pan, creating that lovely pull-apart structure.
Step 7: Second Rise
Cover the assembled dough in the pan with a kitchen towel and let it rest for another 30 minutes. This second rise will help the layers meld together and allow the bread to achieve its ultimate fluffy texture. As the dough rises, preheat your oven to 350°F (175°C) to ensure it’s ready for baking.
Step 8: Bake the Bread
Once the dough has puffed up nicely, transfer it to your preheated oven and bake for 30-35 minutes. The garlic bread is done when it is golden brown and sounds hollow when tapped. Enjoy the delightful aroma wafting through your kitchen as it bakes, signaling that your pull-apart garlic bread is almost ready to devour.
Step 9: Cool and Serve
After baking, remove the garlic bread from the oven and let it cool in the pan for about 10 minutes. Then, pull apart the fluffy pieces and slice as desired. The warm, gooey layers, infused with garlic and butter, are perfect for enjoying straight from the pan or paired with your favorite sauce.
Expert Tips for Pull-Apart Garlic Bread
- Fresh Yeast Matters: Ensure your instant yeast is fresh and active for the best rise. Expired yeast can lead to a dense bread.
- Knead Well: Proper kneading is key! Aim for a smooth and elastic dough, developing gluten for that fluffy pull-apart texture.
- Don’t Rush Rises: Allow full rise times; both the first and second rises are crucial for achieving that airy, fluffy pull-apart garlic bread.
- Monitor Baking: Keep an eye on the bread as it bakes, adjusting the time based on your oven’s performance. Cover with foil if it browns too quickly.
- More Flavor Options: Experiment with herbs like basil or oregano to enhance the savory notes—every twist adds a delightful surprise!
Make Ahead Options
These Sourdough Discard Pull-Apart Garlic Bread rolls are a fantastic choice for meal prep, saving you time during your busy week! You can prepare the dough up to 24 hours in advance; after shaping it, store it tightly covered in the refrigerator. For the best quality, let it come to room temperature for about 30 minutes before baking. Alternatively, you can shape and stack the filled layers in the pan, cover, and refrigerate overnight, then let it rise for 30 minutes before baking. This method means you can enjoy freshly baked bread with gooey cheese and aromatic garlic with minimal effort—just as delicious even when made ahead!
What to Serve with Sourdough Discard Pull-Apart Garlic Bread
Savoring a slice of this fluffy garlic bread opens the door to endless meal possibilities, enhancing any dining experience.
- Classic Marinara Sauce: A rich and tangy dip that balances the buttery garlic flavors perfectly, elevating each bite.
- Zesty Italian Salad: Crisp greens mixed with olives, tomatoes, and a light vinaigrette add freshness and texture next to the warm bread.
- Creamy Tomato Soup: The smooth, comforting soup pairs beautifully, creating a satisfying balance to the savory garlic notes.
- Pasta Primavera: Colorful sautéed vegetables tossed with pasta will complement the bread’s flavors while adding a healthful twist.
- Cheesy Stuffed Mushrooms: These delightful bites bring a delicious earthiness, echoing the garlic flavor and adding a fun texture.
For a touch of sweetness after your savory meal, consider preparing a lemon sorbet. Its tartness refreshes the palate, providing a light and fruity contrast to the richness of the garlic bread.
Pull-Apart Garlic Bread Variations
Feel free to get creative with this recipe and make it your own by trying out these delightful variations!
-
Herb Swap: Substitute fresh parsley with basil, rosemary, or thyme for an aromatic twist. Each herb brings a unique flavor profile, enhancing the garlic bread experience!
-
Cheese Choices: Experiment with different cheeses like sharp cheddar or nutty provolone. These alternatives offer varied flavors that perfectly complement the garlic butter, making each pull a delightful surprise.
-
Flavor Boost: Add caramelized onions for a hint of sweetness or a dollop of pesto for a herby explosion of flavor. These additions not only elevate the taste but will have everyone coming back for seconds!
-
Spicy Kick: Incorporate some diced jalapeños or crushed red pepper flakes for an extra punch of heat. It’s a simple way to make the bread a bit more adventurous and exciting!
-
Dairy-Free Delight: Swap unsalted butter with olive oil and use a dairy-free cheese for a delicious vegan version. You won’t sacrifice flavor while keeping it plant-based!
-
Sourdough Sensation: For a more intense sourdough flavor, use more of your discard and slightly reduce the amount of flour. This will give your pull-apart bread an even richer taste.
-
Sweet Surprise: Add a touch of cinnamon and sugar for a sweet version of this garlic bread. Perfect for brunch, it pairs beautifully with cream cheese spread!
-
Classic Italian Twist: Mix in finely chopped sun-dried tomatoes or black olives for a Mediterranean flair. These ingredients add a burst of flavor that makes this bread perfect for dipping in olive oil or serving alongside Italian dishes.
Don’t forget to serve your creation with a side of marinara sauce for dipping! Looking for more indulgent recipes to try out? Consider adding my savory Alfredo Garlic Bread to your menu or pairing it with a hearty Honey Garlic Sheet for a feast your family will love. Enjoy!
How to Store and Freeze Pull-Apart Garlic Bread
Room Temperature: Store cooled garlic bread wrapped in foil or parchment paper at room temperature for up to 3 days to maintain its freshness.
Fridge: For longer preservation, place the wrapped bread in the refrigerator where it can last for up to 5 days. Just be aware it may slightly lose its texture.
Freezer: To freeze, tightly wrap the bread in plastic wrap, followed by foil, and it will keep well for up to 1 month. Thaw overnight in the fridge before reheating.
Reheating: To enjoy again, preheat your oven to 350°F (175°C) and reheat for 10-15 minutes, until warm and revitalized, making your pull-apart garlic bread as delightful as the first bite!
Sourdough Discard Pull-Apart Garlic Bread Recipe FAQs
What kind of sourdough discard should I use?
Absolutely! You can use any sourdough discard that’s at room temperature for optimal results. If it has a pleasant tangy smell and isn’t moldy, it’s perfect for this recipe!
How should I store pull-apart garlic bread after baking?
To keep your garlic bread fresh, wrap it tightly in foil or parchment paper and store it at room temperature for up to 3 days. If you want to extend its shelf life, refrigerate it for up to 5 days, though it may lose a bit of its texture.
Can I freeze leftover garlic bread?
Yes, you can! To freeze your pull-apart garlic bread, tightly wrap it in plastic wrap and then in foil for the best protection. It will maintain its quality for up to 1 month. When you’re ready to enjoy it, just thaw it overnight in the fridge before reheating.
Why is my garlic bread dense instead of fluffy?
Very! A dense texture might be due to inactive yeast, so always check that your yeast is fresh before using. Ensure you are allowing both rises to complete fully; skipping the second rise can also result in less fluffy bread. If you’re still having trouble, kneading sufficiently to develop gluten is critical—aim for smooth and elastic dough!
Can my dog have a piece of this garlic bread?
I often get asked about dietary considerations! While the ingredients here are generally safe for dogs in small amounts, garlic can be harmful in larger quantities. It’s best to keep this sumptuous garlic bread for yourself and find a dog-friendly treat for your furry friend!
What can I do with stale garlic bread?
If your garlic bread has gone stale, don’t toss it! You can cut it into cubes to make croutons, toss with olive oil and seasoning, and bake until crispy. Alternatively, revive it by reheating in the oven, possibly with a sprinkle of water to help regain moisture.
Buttery Pull-Apart Garlic Bread That Melts in Your Mouth
Ingredients
Equipment
Method
- In a large mixing bowl, whisk together your room-temperature sourdough discard, warm water, and instant yeast until combined. Let the mixture sit for about 10 minutes, or until it becomes bubbly and fragrant.
- Add the all-purpose flour, salt, and sugar to the bubbly yeast mixture, stirring with a wooden spoon until a shaggy dough begins to form.
- Transfer the dough onto a lightly floured surface and knead it for about 10 minutes until it's smooth and elastic.
- Place the kneaded dough into a lightly greased bowl, cover it with a clean kitchen towel, and let it rise for about 1 hour, until it has doubled in size.
- While the dough rises, prepare the garlic butter. Melt unsalted butter in a small saucepan, then stir in minced garlic and chopped parsley. Allow it to simmer for about 2-3 minutes until fragrant.
- After the dough has risen, roll it into a rectangular shape, brush it generously with garlic butter, and sprinkle the shredded mozzarella cheese over the top. Cut the dough into squares and stack them vertically in a greased baking pan.
- Cover the assembled dough in the pan and let it rest for another 30 minutes. Preheat your oven to 350°F (175°C).
- Once the dough has puffed up, bake for 30-35 minutes until golden brown and sounds hollow when tapped.
- Let cool in the pan for about 10 minutes, then pull apart the fluffy pieces and slice as desired.
Leave a Reply