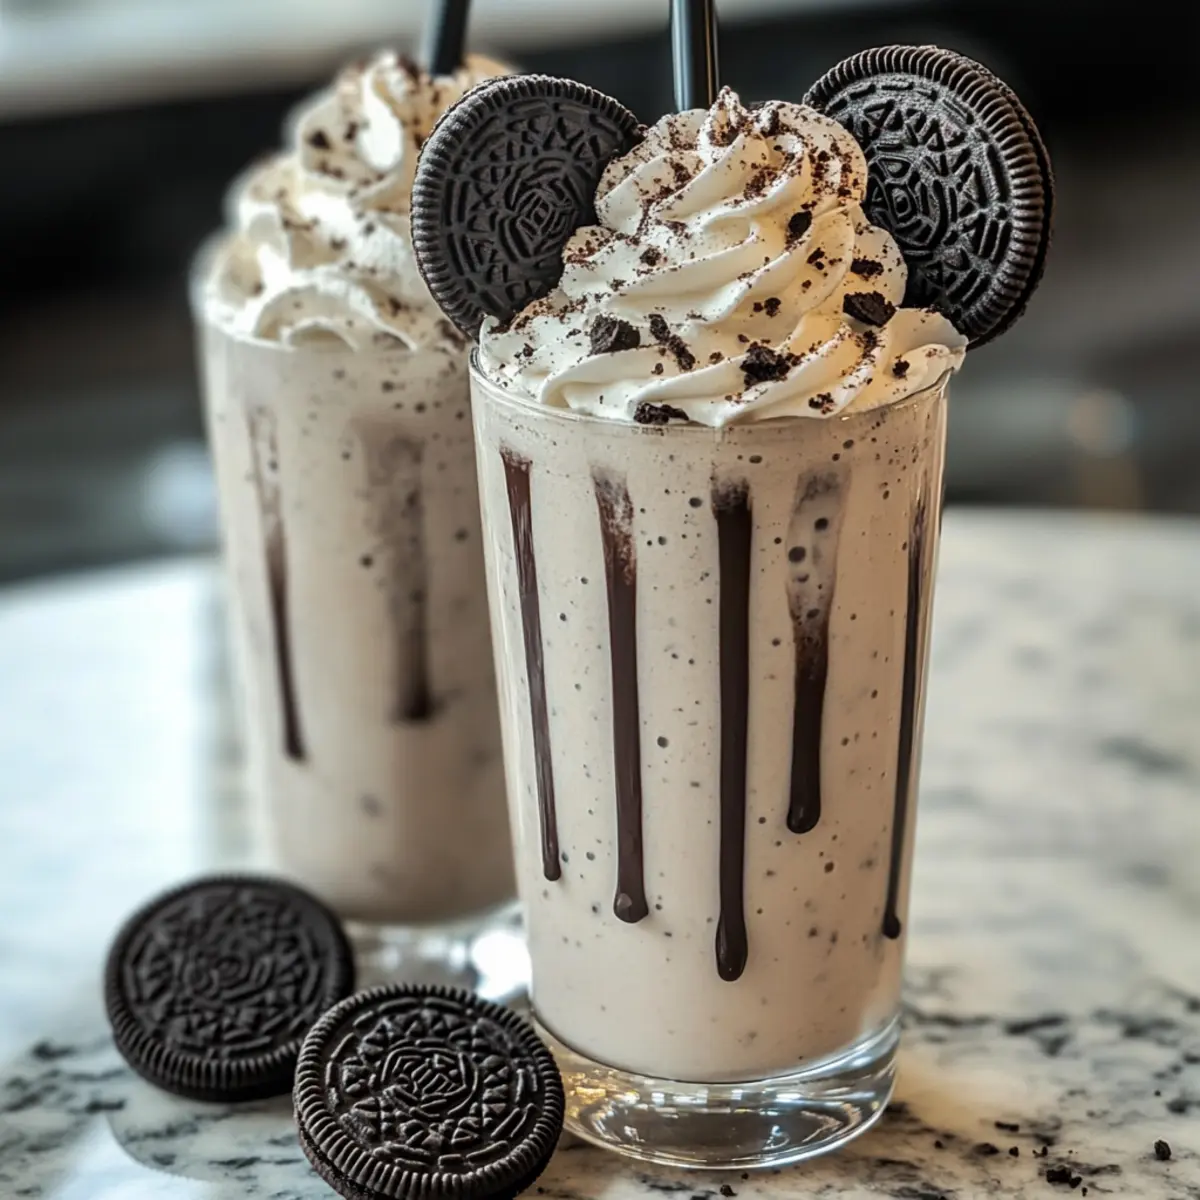
On a scorching summer afternoon, the allure of a cool treat becomes hard to resist. That’s when I turn to my go-to recipe: the 3-Ingredient Oreo Milkshake. This creamy delight isn’t just a quick fix; it’s a luscious escape that captures the magic of cookies and cream. With minimal effort, you can whip up a rich, satisfying dessert that impresses everyone, from family to friends. Plus, it’s the perfect vehicle for creative variations—think Peanut Butter Bliss or Golden Caramel Swirl—which keeps things exciting each time you blend. So, what do you say? Ready to cool off with a flavorful sip of nostalgia?
Why You’ll Crave This Oreo Milkshake?
Quick and Easy: With just three simple ingredients, you can have a creamy Oreo milkshake ready in minutes, making it the ideal treat for those hot summer days.
Endless Variations: Whether you prefer a classic creaminess or want to explore fun twists like the Peanut Butter Bliss or the fruity Strawberry Oreo Shake, this recipe is perfect for experimentation.
Crowd-Pleaser: It’s not just a milkshake; it’s a party in a glass! Perfect for family gatherings or casual get-togethers, everyone will love diving into this delicious treat.
Satisfying Texture: The blend of crunchy cookie pieces and creamy ice cream creates a delightful texture that keeps every sip exciting.
Garnish Galore: Top it off with whipped cream, chocolate syrup, or even more Oreos for an impressive presentation that looks as good as it tastes!
Oreo Milkshake Ingredients
For the Shake
- Oreo Cookies – Essential for that nostalgic cookies and cream flavor; regular or Golden Oreos will work beautifully.
- Vanilla Ice Cream – Adds richness and creaminess; feel free to swap for chocolate ice cream for a twist!
- Whole Milk – For a perfectly smooth texture; low-fat or almond milk can lighten things up without losing the creamy goodness.
For the Optional Garnish
- Whipped Cream – A delightful finishing touch to add some elegance; homemade gives the best flavor!
- Chocolate Syrup – Drizzle it on for that extra chocolatey sweetness; it really elevates the whole experience!
- Extra Oreo Cookies – Crumble some on top or use as a garnish for an eye-catching treat that reflects the delicious Oreo milkshake recipe.
Step‑by‑Step Instructions for Oreo Milkshake Recipe
Step 1: Crush the Oreos
Begin by taking 8 Oreo cookies and placing them inside a sturdy plastic bag. Use a rolling pin to crush them into coarsely broken pieces, ensuring there are both fine crumbs and larger chunks for a delightful texture. This process should take about 3–5 minutes, and the crushed Oreos will be essential for giving your milkshake that iconic cookies and cream flavor.
Step 2: Blend the Base
In a blender, combine 1 cup of whole milk and 2 cups of vanilla ice cream. Add the crushed Oreos to the blender for that rich, creamy consistency. Blend the mixture on medium speed for about 30 seconds or until it reaches a smooth, creamy texture. Avoid over-blending, as you want to maintain some of those delicious cookie bits in your Oreo milkshake.
Step 3: Prepare to Serve
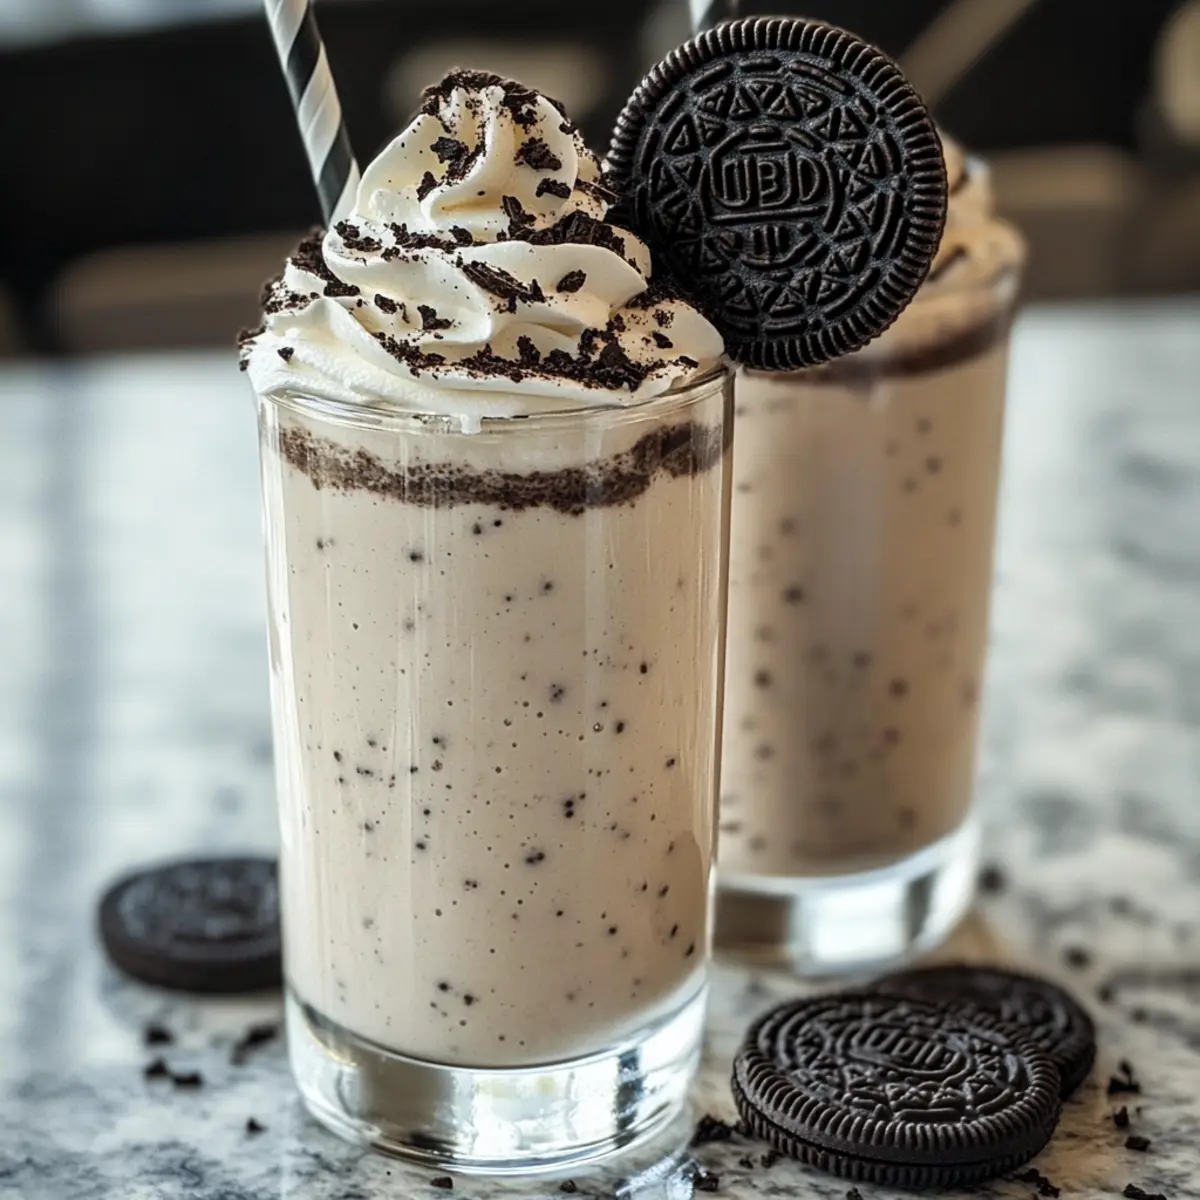
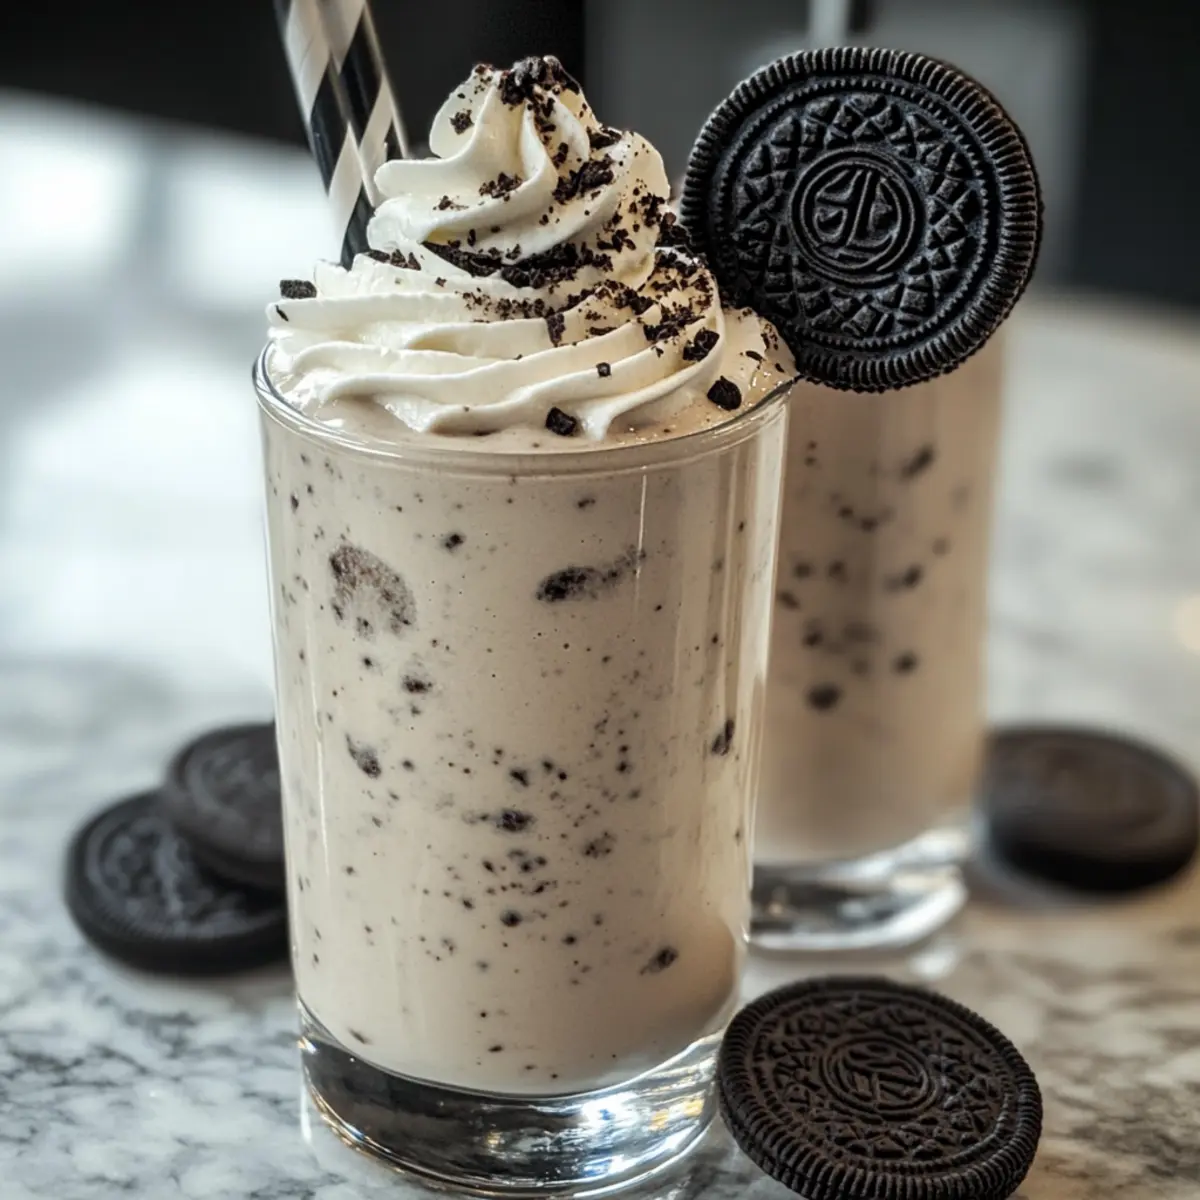
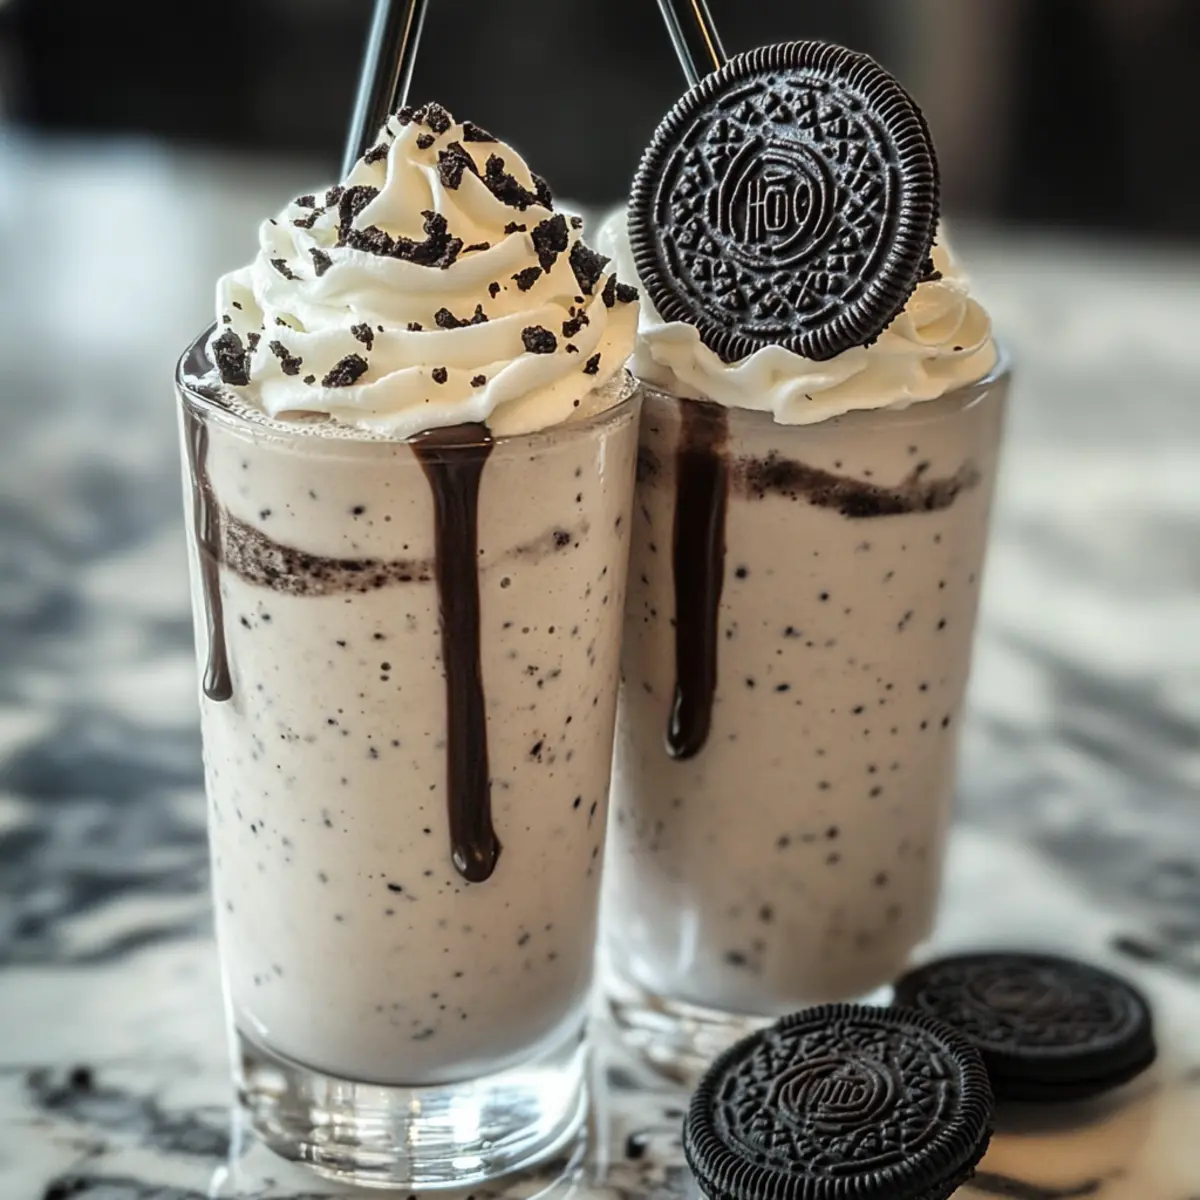
Once your mixture is blended to perfection, grab a pair of tall glasses. Carefully pour the Oreo milkshake into each glass, filling them generously. As you pour, you’ll notice the thick, creamy texture that makes this treat so irresistible. This step should take just a minute or two, and the sight of the distinct dark flecks of Oreos will make everyone’s mouth water in anticipation.
Step 4: Add Garnishes
To elevate your Oreo milkshake, add a generous dollop of whipped cream on top of each glass. Drizzle chocolate syrup over the whipped cream for an extra touch of sweetness and visual appeal. For the finishing touch, place an additional Oreo cookie on each shake, either whole or crushed, for a delightful garnish that adds flavor and flair. This step takes only a couple of minutes but makes a world of difference in presentation!
Step 5: Enjoy Your Creation
Now that your Oreo milkshake is beautifully garnished, it’s time to dig in! Use a straw and a spoon to enjoy this creamy delight. Give it a stir to mix the layers if you’d like! And there you have it—the perfect homemade Oreo milkshake that offers a cool, satisfying treat on a warm day. Sip, savor, and relish every bit of this delightful indulgence!
What to Serve with 3-Ingredient Creamy Oreo Milkshake?
Imagine sipping on a dreamy Oreo milkshake, complemented by delightful sides that enhance your indulgent experience.
-
Chocolate Chip Cookies: The classic pairing, their soft and chewy texture beautifully contrasts the milkshake’s creaminess, making every bite and sip worthwhile.
-
French Fries: The salty crunch of fries balances the milkshake’s sweetness, creating a perfect harmony of flavors and textures that keeps your palate entertained.
-
Brownie Sundae: Rich chocolate brownies topped with ice cream echo the dessert vibes of your milkshake, making for a decadent treat when served together.
-
Fresh Fruit Salad: Bright and refreshing, a fruit salad provides a burst of natural sweetness and contrasting textures, cleansing the palate between creamy sips.
-
Gourmet Popcorn: Try caramel or chocolate-drizzled popcorn! It adds a fun crunch and gourmet flair while enhancing the sweet vibe of your milkshake.
-
Iced Coffee: For a soothing beverage that complements the milkshake, iced coffee offers a rich, smooth contrast, making your treat feel even more indulgent.
How to Store and Freeze Oreo Milkshake
Fridge: Enjoy your Oreo milkshake fresh for the best taste, but you can store it in the fridge for up to 1 hour if needed. Just give it a stir before serving again.
Freezer: If you have leftovers, pour the milkshake into an airtight container and freeze it. It can last in the freezer for up to 2 weeks, although the texture may change slightly.
Reheating: To restore some creaminess after freezing, let it sit at room temperature for about 10 minutes before blending again. This helps bring back the delicious texture of your Oreo milkshake recipe.
Garnish Storage: Keep any whipped cream and extra Oreos separate if you plan to store your milkshake. This way, you can add fresh toppings when you’re ready to enjoy your treat!
Make Ahead Options
These Oreo Milkshake recipes are perfect for busy home cooks looking to save time! You can crush the Oreo cookies (about 8 cookies) and store them in an airtight container up to 3 days in advance to maintain their freshness. Additionally, you can pre-measure the milk and ice cream (2 cups of ice cream and 1 cup of whole milk) and keep them in the refrigerator. When you’re ready to serve, simply blend the prepped ingredients along with the crushed Oreos for a quick shake. This preparation ensures that your milkshake remains deliciously creamy, minimizing your time in the kitchen while still delivering that indulgent, cookies-and-cream experience!
Expert Tips for the Best Oreo Milkshake
-
Ice Cream Softening: Let your ice cream sit at room temperature for about 5 minutes before blending. This makes it easier to achieve that creamy texture in your Oreo milkshake.
-
Chunky Delight: For a fabulous texture, don’t over-blend! Blend just until smooth, allowing some crushed Oreo bits to remain for that delightful crunch in every sip.
-
Milk Alternatives: If you’re looking to lighten things up, opt for almond milk or oat milk. Just be cautious with measurements, as these can alter the creaminess of your Oreo milkshake.
-
Personalized Flavors: Feel free to introduce other ice cream flavors, such as mint chocolate or cookie dough. This adventurous thinking can transform your classic Oreo milkshake into something uniquely yours!
-
Garnish Goals: Enhance your presentation with homemade whipped cream and extra Oreo crumbs. A little effort in garnishing goes a long way in impressing your guests!
Oreo Milkshake Recipe Variations
Feel free to explore these delightful twists to make the Oreo milkshake uniquely yours—your taste buds will thank you!
-
Peanut Butter: Add 1 tablespoon of peanut butter for a nutty flavor that’ll enchant your palate.
-
Strawberry Oreo Shake: Swap vanilla ice cream with strawberry ice cream for a fruity twist that’s refreshing and vibrant.
-
Chocolate Overload: Use chocolate ice cream instead of vanilla for a decadently rich chocolate experience in every sip.
-
Golden Caramel Swirl: Replace with Golden Oreos and drizzle in caramel syrup for a sweet treat that’s sure to impress.
-
Boozy Adult Shake: For a grown-up version, mix in a splash of whipped cream vodka, giving your milkshake a delightful kick.
-
Minty Fresh: Add a few drops of mint extract to the blend for a refreshing mint chocolate chip version; it’s better than a summer breeze!
-
Coconut Dream: Toss in some shredded coconut to create a tropical vibe that pairs delightfully with the creamy base.
-
Coffee Boost: Add a shot of espresso to your milkshake for a caffeine kick—perfect for all coffee lovers out there!
For even more delicious options, you might want to check out the Gingerbread Latte Cake or whip up a fruity Dirty Strawberry Soda to complement your creamy creation!
Oreo Milkshake Recipe FAQs
How do I choose the best Oreo cookies for my milkshake?
Absolutely! For that classic cookies-and-cream flavor, regular Oreo cookies are your best bet. However, if you want a twist, Golden Oreos can add a delightful sweetness. You can even experiment with various flavors like mint or peanut butter Oreos to create a unique shake that tantalizes your taste buds.
How long can I store my leftover Oreo milkshake in the fridge?
You can keep your Oreo milkshake in the fridge for up to 1 hour before it starts to lose its creamy texture. If you need to store it longer, it’s best to freeze it instead to maintain its deliciousness.
Can I freeze my Oreo milkshake, and how should I do it?
Certainly! To freeze your Oreo milkshake, pour it into an airtight container, ensuring it’s sealed tightly. It can last in the freezer for up to 2 weeks. When you’re ready to enjoy it again, let it sit at room temperature for about 10 minutes before giving it a quick blend to restore the creamy consistency. This way, you won’t miss out on that luxurious texture!
What if my milkshake is too thick or too thin?
Very! If your Oreo milkshake turns out too thick, simply add a splash of milk and blend it in until you achieve the desired consistency. On the flip side, if it’s too thin, adding more ice cream or crushed Oreos can help thicken it up. Aim for that perfect blend of creaminess and just a bit of texture!
Are there any dietary considerations I should be aware of?
Absolutely! If you’re catering to specific dietary needs, consider using non-dairy ice cream and almond or oat milk as alternatives. For those with allergies, be mindful of the Oreo cookies, as they may contain allergens like wheat, soy, or milk. Always check labels to ensure everyone can indulge without worry.
How can I make my Oreo milkshake vegan?
If you’re looking to craft a vegan Oreo milkshake, start by substituting the vanilla ice cream with a vegan version made from coconut or almond milk. Use almond or oat milk instead of whole milk, and make sure to check that the Oreos you choose are certified vegan. This way, you can have all the joy of a delicious Oreo milkshake without compromising your dietary preferences!
Creamy Oreo Milkshake Recipe That You Can Whip Up Fast
Ingredients
Equipment
Method
- Crush the Oreos by placing them in a sturdy plastic bag and using a rolling pin to break them into coarsely broken pieces for texture.
- Blend 1 cup of whole milk, 2 cups of vanilla ice cream, and the crushed Oreos until smooth, about 30 seconds.
- Pour the blended mixture into tall glasses, filling them generously.
- Add whipped cream on top, drizzle chocolate syrup over it, and place an additional Oreo cookie for garnish.
- Enjoy with a straw and spoon, mixing if desired.
Leave a Reply