“What on earth is mochi?” I overheard a friend exclaim while scrolling through dessert recipes one afternoon. This quirky Japanese treat is the star of today’s show: an irresistible Oreo Mochi Recipe that combines the chewy delight of traditional mochi with the familiar, rich flavor of Oreos. This dessert comes together effortlessly—perfect for a sweet weekend project or a last-minute dinner party treat. You’ll love how simple it is to whip up, plus the satisfaction of impressing friends with a unique twist on their favorite cookie. Picture a soft, pillowy interior meeting a crunchy, chocolately exterior that’s sure to leave everyone craving just one more bite. Ready to dive into the wonderful world of mochi? Let’s get started!
Why Is Mochi So Irresistible?
Unique Texture: The combination of chewy mochi and crunchy Oreos creates a delightful mouthfeel that’s unlike any other dessert.
Quick and Easy: This recipe requires minimal effort and time, making it perfect for both beginner cooks and seasoned chefs who want a delicious treat without hassle.
Crowd-Pleaser: Whether for a casual movie night or a fancy dinner party, these Oreo mochis are sure to impress everyone.
Customizable Flavor: Feel free to swap out Oreos for your favorite cookies or even fill the mochi with delicious fruit preserves for an extra twist!
Perfect for Sharing: Enjoy these chewy delights as sweet snacks with family and friends or package them up for a thoughtful dessert gift.
Get ready to treat your loved ones to something special with this fantastic Oreo Mochi Recipe that brings the magic of Japanese cuisine right into your home!
Oreo Mochi Ingredients
• To create this delightful dessert, you’ll need a few key ingredients that work together to achieve that incredible chewy texture and rich flavor.
For the Mochi Base
- Glutinous Rice Flour – Essential for that characteristic chewy texture; don’t swap for regular flour!
- Cornstarch – This helps soften the mochi; if unavailable, potato starch works as a substitute.
- Cocoa Powder – It gives the mochi a deep chocolate flavor; always opt for unsweetened cocoa for best results.
- White Sugar – Sweetens the mochi nicely; feel free to switch to coconut sugar if you prefer.
- Corn Oil – Adds moisture and prevents sticking; neutral oils, like vegetable oil, can be used instead.
- Milk – Provides hydration and tenderness; a non-dairy milk can make it lactose-free.
For the Crunchy Coating
- Oreo Cookies (Crushed) – They add a crunchy layer and rich chocolate flavor; alternative cookies can be used here based on your preference.
Craft your own batch of delicious Oreo Mochi and surprise your family with this simple yet fabulous dessert that fuses the essence of Japanese cuisine right at home!
Step‑by‑Step Instructions for Oreo Mochi Recipe
Step 1: Mix Ingredients
In a large mixing bowl, combine 1 cup of glutinous rice flour, ¼ cup of cornstarch, 2 tablespoons of unsweetened cocoa powder, and ¼ cup of white sugar. Pour in 1 tablespoon of corn oil and ¾ cup of milk, then whisk together until the mixture is smooth without lumps. This will be the base of your Oreo mochi, so ensure it’s well combined before moving on.
Step 2: Sift the Batter
To create a velvety mochi batter, sift the mixed ingredients through a fine mesh strainer directly into a medium-sized pot. This step eliminates any lumps and helps ensure a consistent texture. Once sifted, place the pot over low heat and prepare to cook the batter, stirring continuously to prevent sticking and ensure even cooking.
Step 3: Cook the Batter
With the pot on low heat, stir the batter constantly for about 10 to 15 minutes. As you mix, watch for the batter thickening and pulling away from the sides of the pot, which indicates it’s ready. The consistency should resemble a thick, sticky dough; remove it from the heat once it has reached this stage, ensuring a perfect chewy texture for your Oreo mochi.
Step 4: Cool and Pull Dough
Transfer the cooked batter onto a clean surface dusted with cornstarch to prevent sticking. Allow it to cool for a few minutes until it’s warm but manageable. Once cool enough to handle, stretch and knead the dough for about 10 minutes until it becomes smooth and elastic, creating that signature chewy texture you find in authentic mochi.
Step 5: Shape Mochi Balls
Cut the mochi dough into small, even portions using a knife or bench scraper. Roll each piece into a ball of about 1 inch in diameter. Ensure they are uniformly shaped to provide a consistent treat. This step is crucial as it gives the Oreo mochi its delightful form, setting the stage for the next flavorful coating.
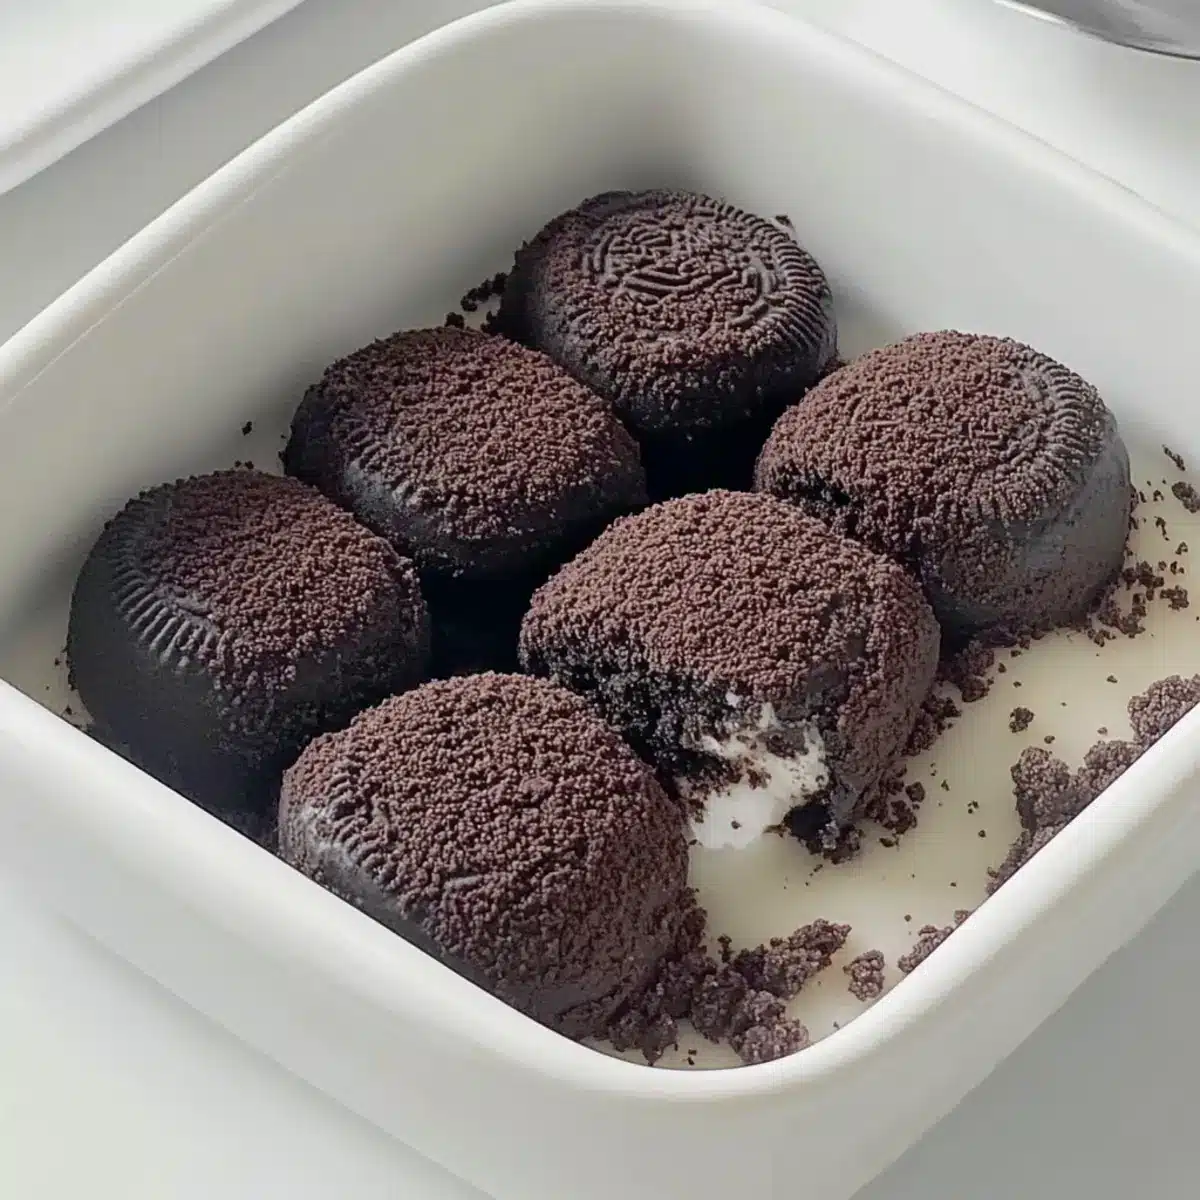
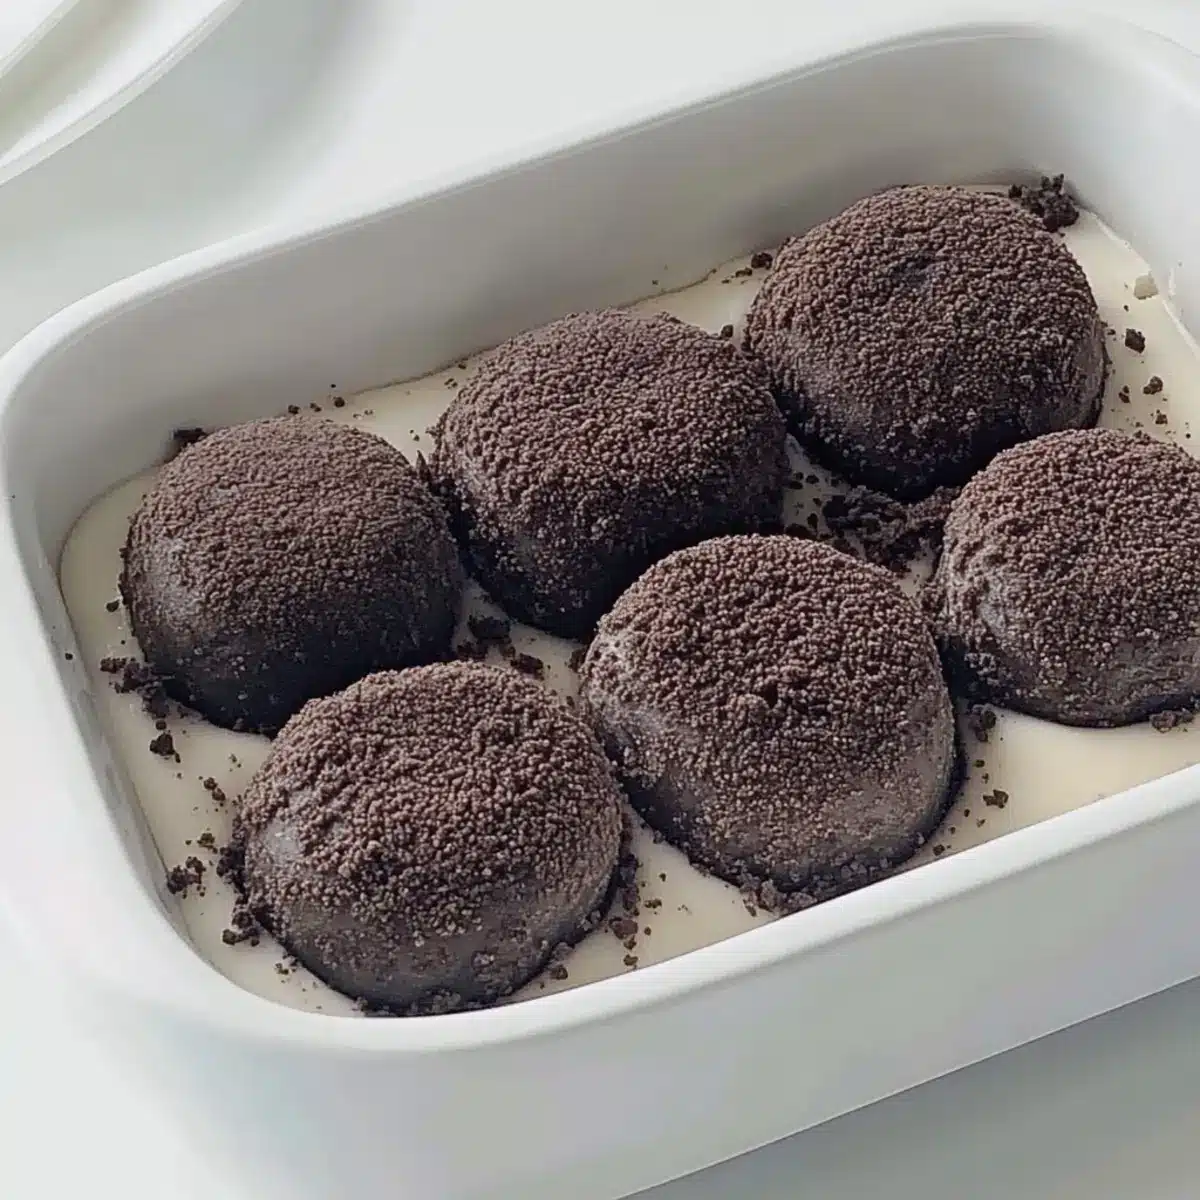
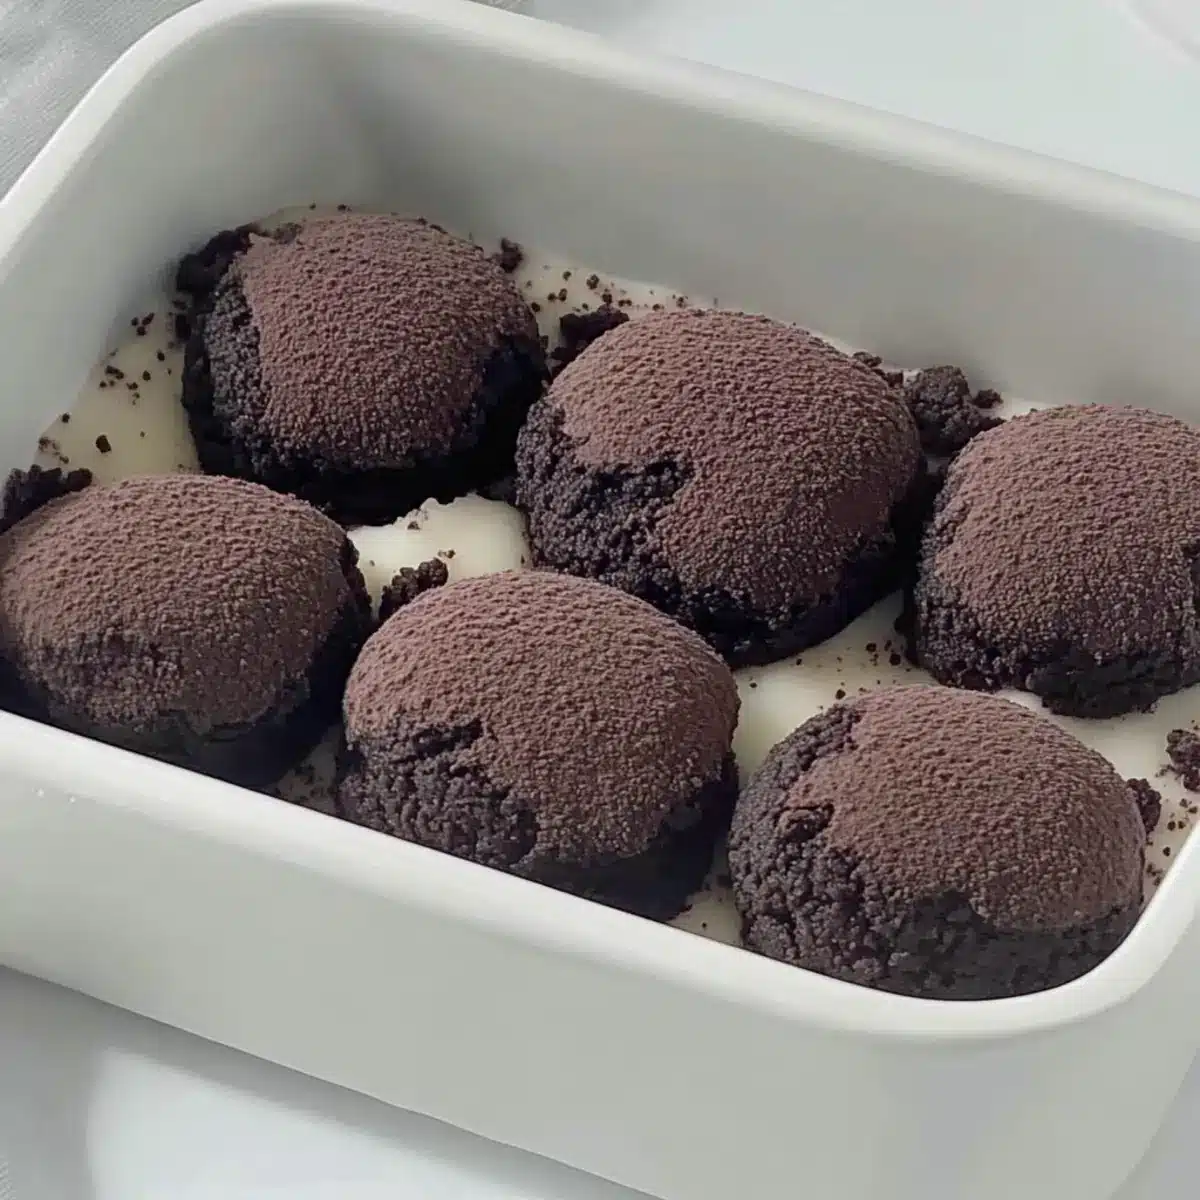
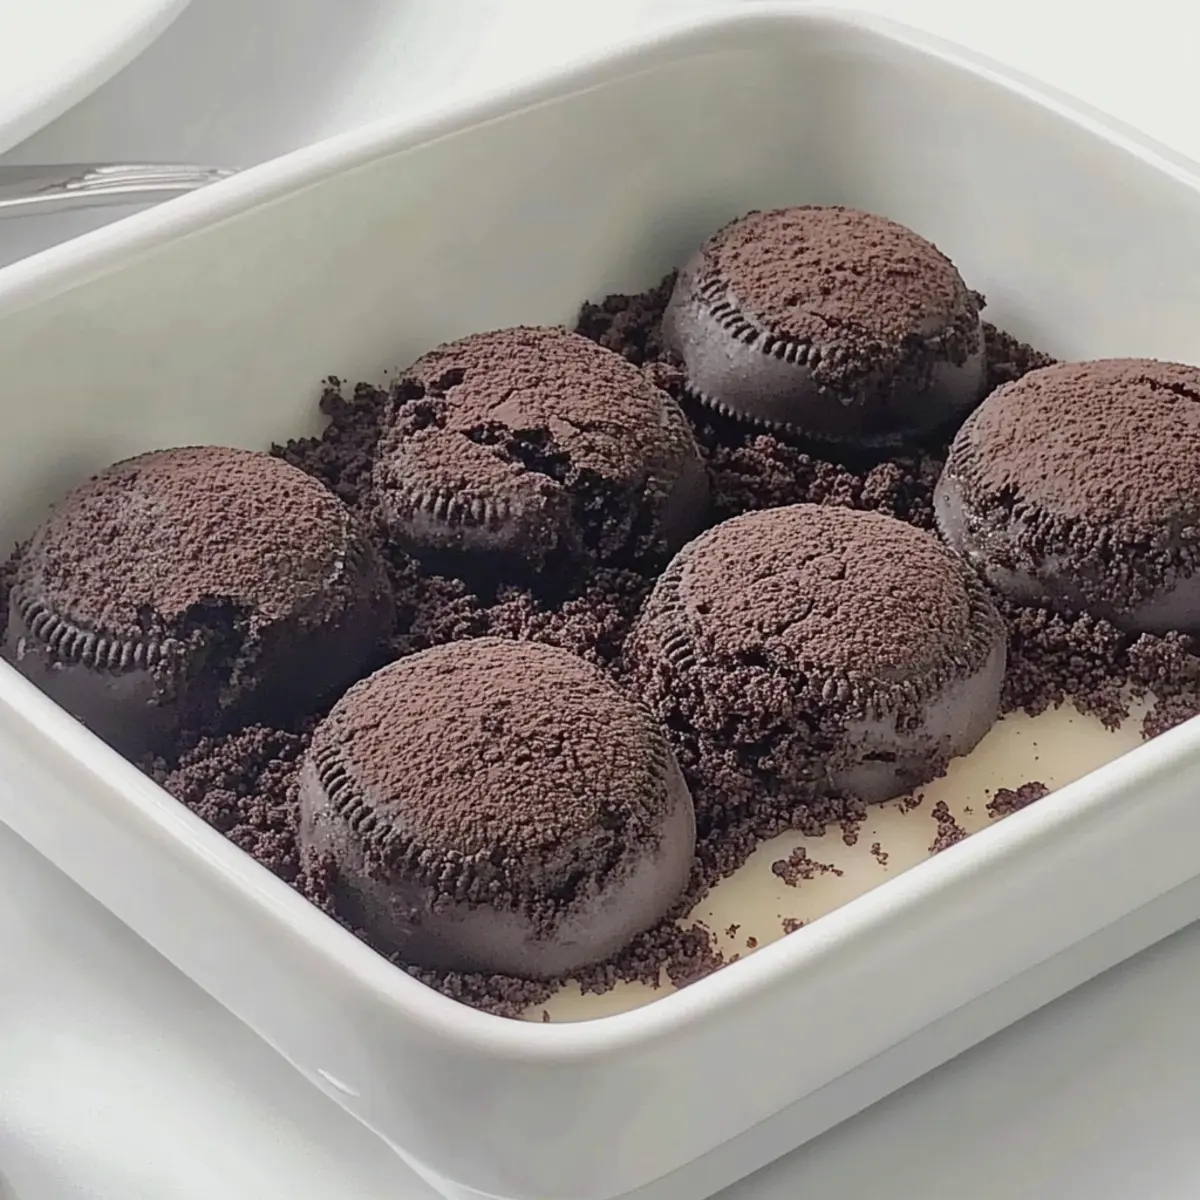
Step 6: Coat in Oreos
Crush several Oreo cookies into fine crumbs and place them in a shallow dish. Roll each mochi ball in the crushed Oreos until fully coated, allowing the chocolatey cookie bits to adhere to the surface. This step not only adds a delightful crunch to your Oreo mochi but also enhances its flavor, creating a fantastic contrast with the chewy center.
Expert Tips for Oreo Mochi
-
Use Quality Ingredients: Opt for good-quality Oreos and glutinous rice flour. Fresh ingredients ensure the best flavor and texture in your Oreo mochi.
-
Monitor Batter Consistency: Stir continuously while cooking the batter. If it’s too runny, the mochi will be gummy. Look for a thick, sticky dough to achieve that perfect chew!
-
Cool Properly: Allow the batter to cool adequately before handling. If it’s too hot, it will stick to your hands; a little warmth makes it easier to stretch and shape.
-
Uniform Size: When shaping the mochi balls, keep them uniform in size. This not only looks appealing but also ensures even cooking and coating.
-
Storage Solutions: Store leftover Oreo mochi in an airtight container. Refrigeration extends freshness, but they can also be enjoyed at room temperature for a delightful treat!
Storage Tips for Oreo Mochi
Room Temperature: Store your Oreo mochi in an airtight container at room temperature for up to 2-3 days to maintain its chewy texture.
Fridge: If you want to extend their freshness, refrigerate the mochi in an airtight container for up to a week. Just allow them to come to room temperature before serving.
Freezer: For longer storage, wrap the mochi tightly in plastic wrap, then place them in a freezer bag. They can be frozen for up to a month without losing flavor.
Reheating: Enjoy frozen Oreo mochi directly from the freezer, or let them thaw for a few minutes at room temperature before savoring that delightful chew!
Oreo Mochi Variations & Substitutions
Invite your creativity to shine by customizing this delightful dessert with these fun variations!
-
Dairy-Free: Substitute regular milk with your favorite non-dairy milk like almond or oat milk for a lactose-free treat.
-
Flavor Boost: Swap out Oreos for other cookies like chocolate chip, peanut butter, or even graham crackers for a different taste experience.
-
Fruit-Filled: Try adding a spoonful of fruit preserves or a dollop of whipped cream inside the mochi before sealing for a sweet surprise!
-
Nutty Texture: Incorporate finely chopped nuts into the mochi dough or sprinkle them on top for added crunch and flavor.
-
Spicy Kick: Add a dash of chili powder or cinnamon to the cocoa powder during mixing for a surprising twist of heat.
-
Vegan Delight: Use flaxseed meal mixed with water instead of milk and ensure cookie swaps align with non-animal products for a vegan treat.
-
Chocolate Lovers: Drizzle melted chocolate over the finished mochi or mix chocolate chips into the dough for an indulgent touch.
-
Mini Mochi: Shape the dough into smaller balls for bite-sized treats, perfect for sharing at parties or gatherings.
Feeling adventurous? Create your unique versions alongside these delightful modifications, and enjoy the chats your delicious creations will spark! For more sweet inspirations, check out my Gingerbread Latte Cake or try a fizzy twist with Dirty Strawberry Soda!
What to Serve with Chewy Oreo Mochi
Indulging in a plate of chewy bliss is just the beginning—let’s explore what delicious companions will elevate your dessert experience.
-
Vanilla Ice Cream: The creamy sweetness of vanilla ice cream perfectly complements the rich chocolate notes of the Oreo mochi, creating a delightful contrast in textures. A scoop of this classic flavor adds a refreshing chill that balances the soft chewiness wonderfully.
-
Fruit Salad: A bright and vibrant fruit salad made with strawberries, kiwi, and mango adds a refreshing burst of flavor. The juicy sweetness of fresh fruit beautifully complements the rich chocolatey mochi while introducing a refreshing element to the meal.
-
Chocolate Drizzle: Add a luscious drizzle of melted chocolate on top for an extra decadent touch. This simple addition amplifies the dessert’s indulgence and adds an appealing visual flair for an elegant presentation.
-
Coconut Whipped Cream: Light and airy coconut whipped cream brings a tropical twist that pairs well with the crunchy Oreo coating. Its subtly sweet flavor enhances the mochi’s richness, making each bite a little piece of paradise.
-
Matcha Tea: The earthy notes of matcha tea create a beautiful contrast with the sweetness of the mochi. Enjoying this calming beverage alongside your dessert not only enhances the experience but also infuses a bit of Japanese culture into your dining table.
-
Caramel Sauce: Drizzling a warm caramel sauce over your Oreo mochi creates an irresistible sweet and salty flavor profile. The smooth richness of caramel melds perfectly with the chewy texture, making every bite truly unforgettable.
-
Almond Milkshake: A creamy almond milkshake offers a deliciously nutty flavor to accompany the sweetness of the mochi. The shake provides a delightful cold contrast that refreshes your palate between bites of this chewy dessert.
Make Ahead Options
These Oreo Mochis are perfect for busy home cooks looking to save time during dessert prep! You can prepare the mochi dough up to 24 hours in advance by following the first five steps of the recipe. Once shaped, allow the mochi balls to cool completely and store them in an airtight container at room temperature. If you choose to refrigerate, they can last for up to 3 days while maintaining their delightful chewy texture. When you’re ready to serve, simply roll the mochi balls in crushed Oreo cookies just before enjoying, ensuring that every bite is as fresh and delicious as possible. With these make-ahead tips, you’ll have a stunning dessert ready with minimal last-minute effort!
Oreo Mochi Recipe FAQs
What kind of glutinous rice flour should I use?
Use a high-quality glutinous rice flour specifically labeled for mochi-making. Avoid regular rice flour or all-purpose flour as they won’t provide the chewy texture essential for authentic mochi. Look for brands like Mochiko, as they are widely recommended and easy to find in most grocery stores.
How should I store leftover Oreo mochi?
To keep your Oreo mochi fresh, place them in an airtight container at room temperature for about 2-3 days. If you want to store them for a longer period, refrigerate them in a sealed container; they’ll stay good for up to a week. Just be sure to let them come to room temperature before serving for optimal texture!
Can I freeze Oreo mochi?
Absolutely! To freeze your Oreo mochi, first wrap each piece individually in plastic wrap. Then, place them in a freezer bag or airtight container. They can be frozen for up to a month. When you’re ready to enjoy them, simply let them thaw at room temperature for a few minutes or enjoy them directly from the freezer.
What should I do if my mochi dough is too sticky?
If your mochi dough becomes too sticky while handling, dust your hands and the work surface lightly with cornstarch. This will help you knead and shape the dough without it sticking. Additionally, ensure your cooking time was sufficient; undercooked mochi will be sticky instead of chewy, so always aim for a thick, sticky consistency while cooking the batter.
Are there any dietary considerations for this recipe?
Yes! This Oreo mochi recipe can easily be made dairy-free by substituting the milk with almond, soy, or oat milk. Additionally, if you have allergies to gluten, make sure to check that the ingredients used (like the cookies) are gluten-free alternatives. Always feel free to swap Oreo cookies with your favorite cookie to cater to different dietary needs!
Oreo Mochi Recipe: Chewy Bliss You Can Make at Home
Ingredients
Equipment
Method
- In a large mixing bowl, combine glutinous rice flour, cornstarch, cocoa powder, and white sugar. Pour in corn oil and milk, then whisk until smooth.
- Sift the mixed ingredients through a fine mesh strainer into a medium-sized pot. Cook over low heat, stirring continuously.
- Continue stirring for about 10 to 15 minutes until the batter thickens and pulls away from the sides of the pot.
- Transfer the batter onto a cornstarch-dusted surface and let it cool. Knead for about 10 minutes until smooth and elastic.
- Cut the dough into small pieces and roll each into a ball about 1 inch in diameter.
- Roll each mochi ball in crushed Oreos until fully coated.
Leave a Reply