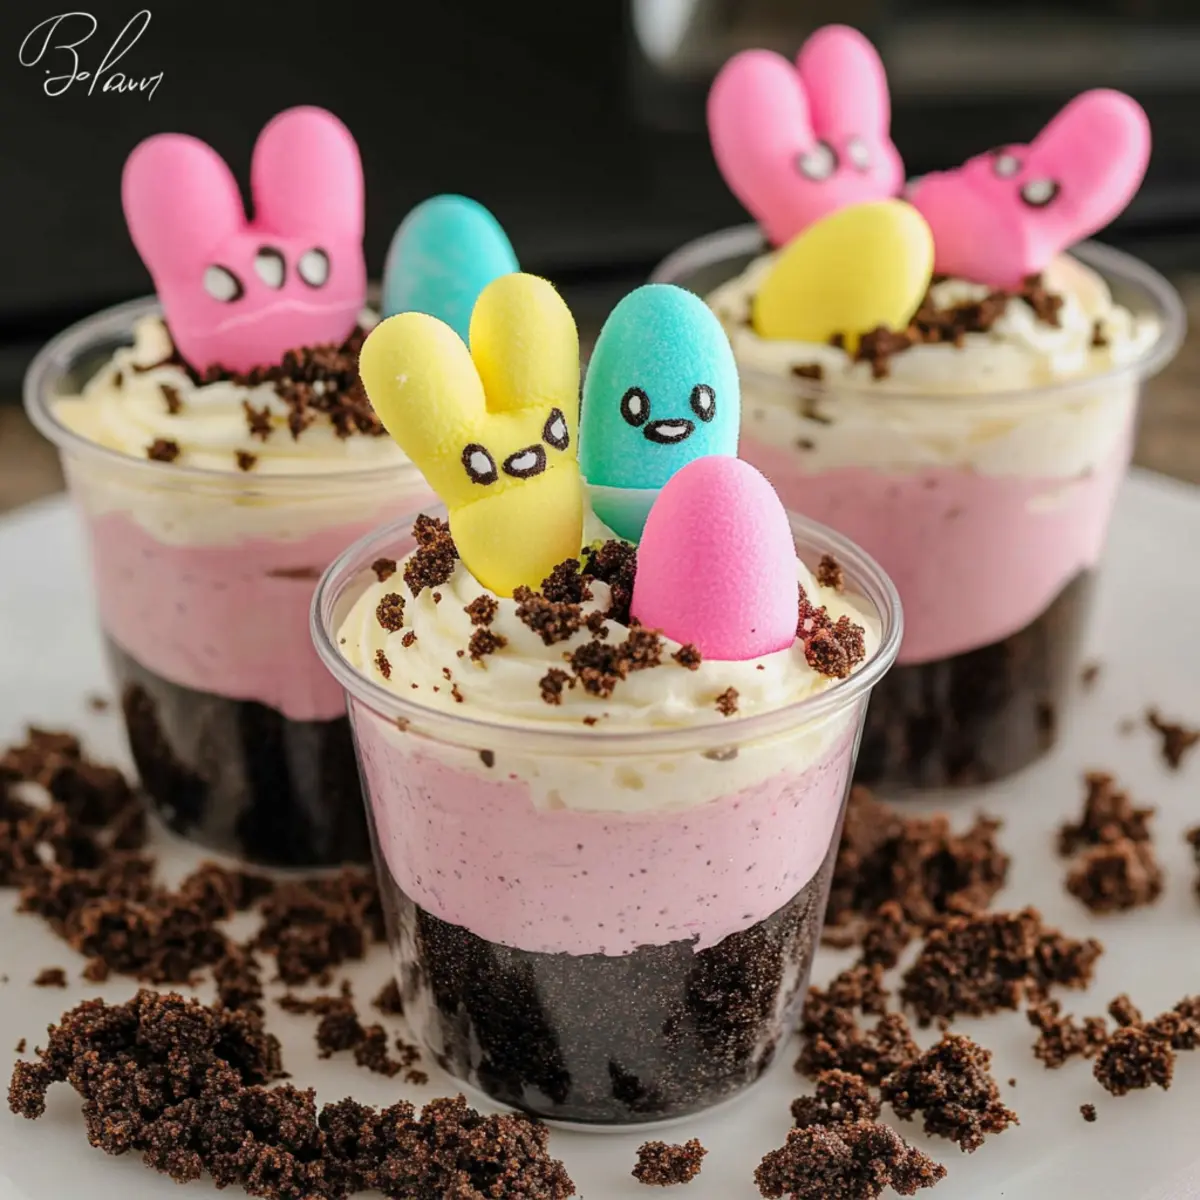
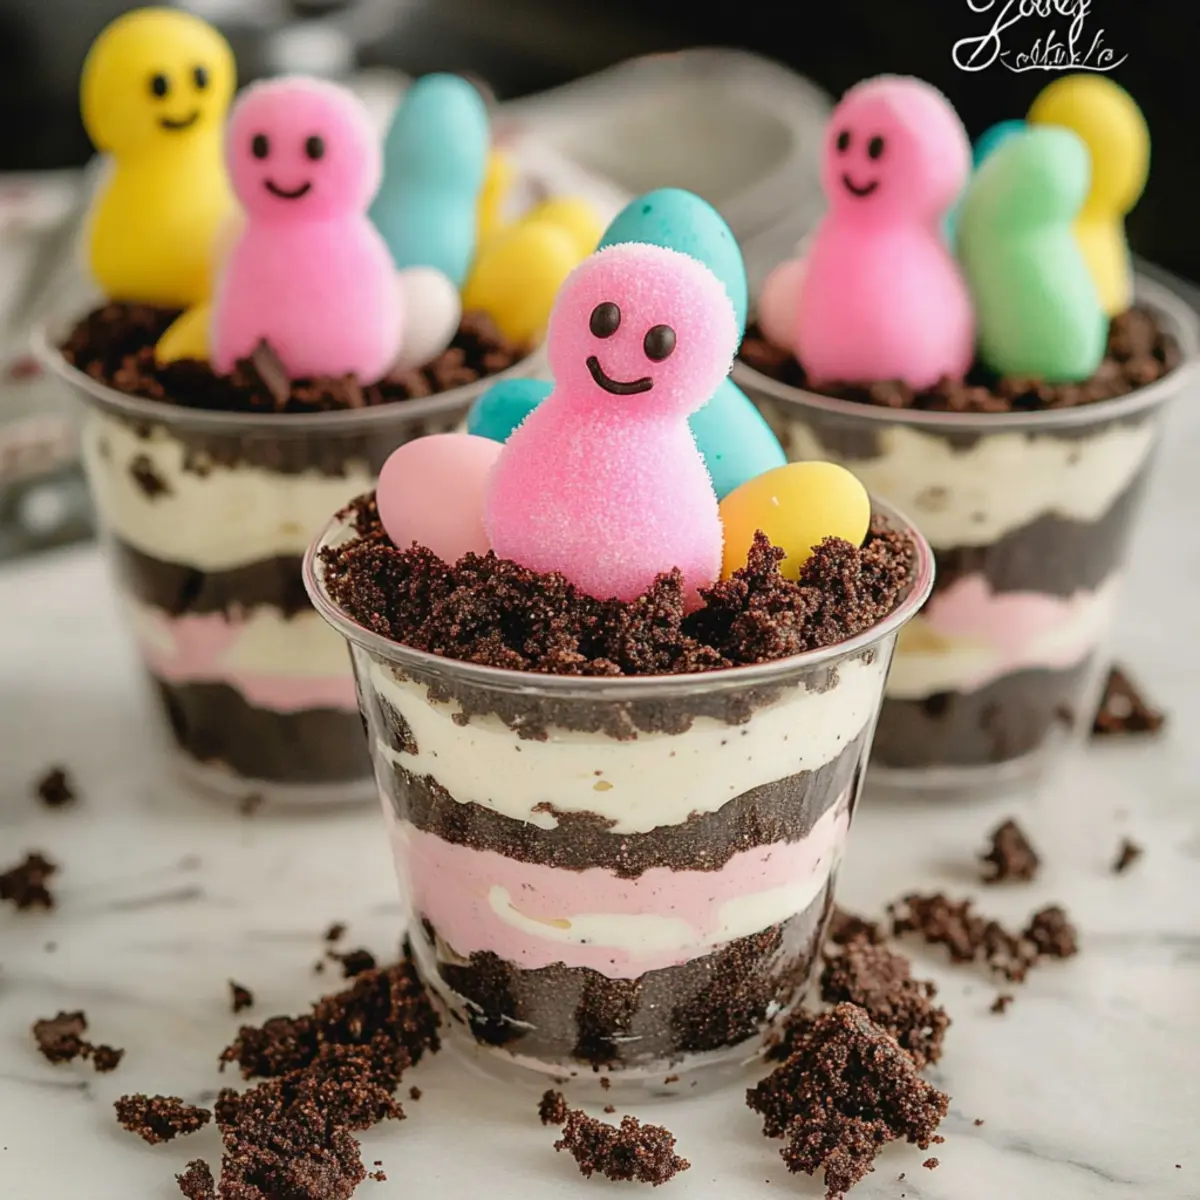
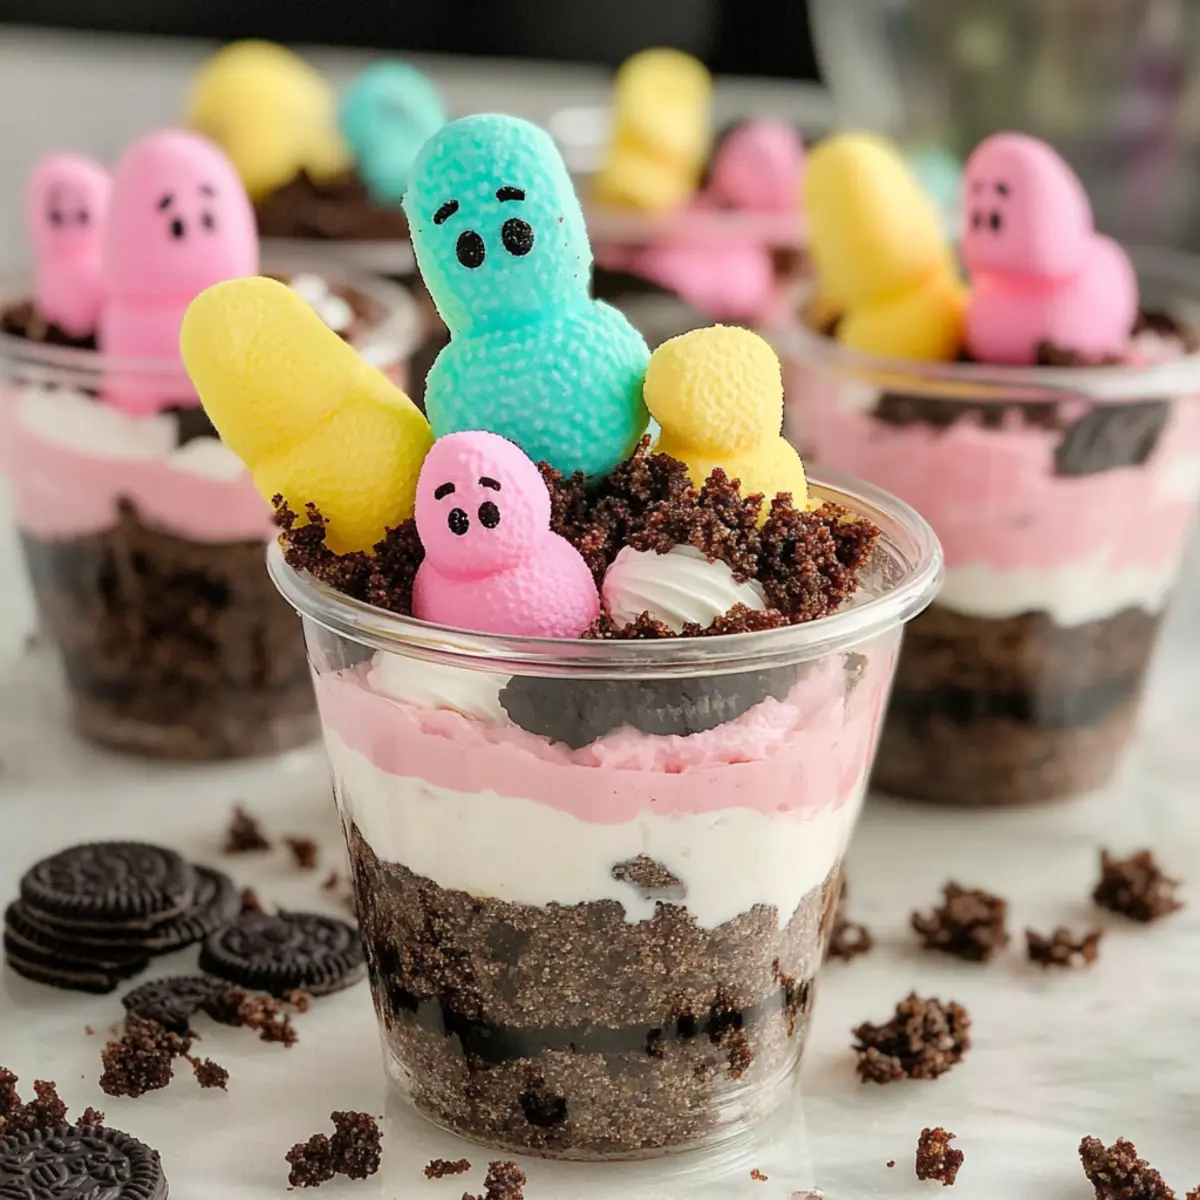
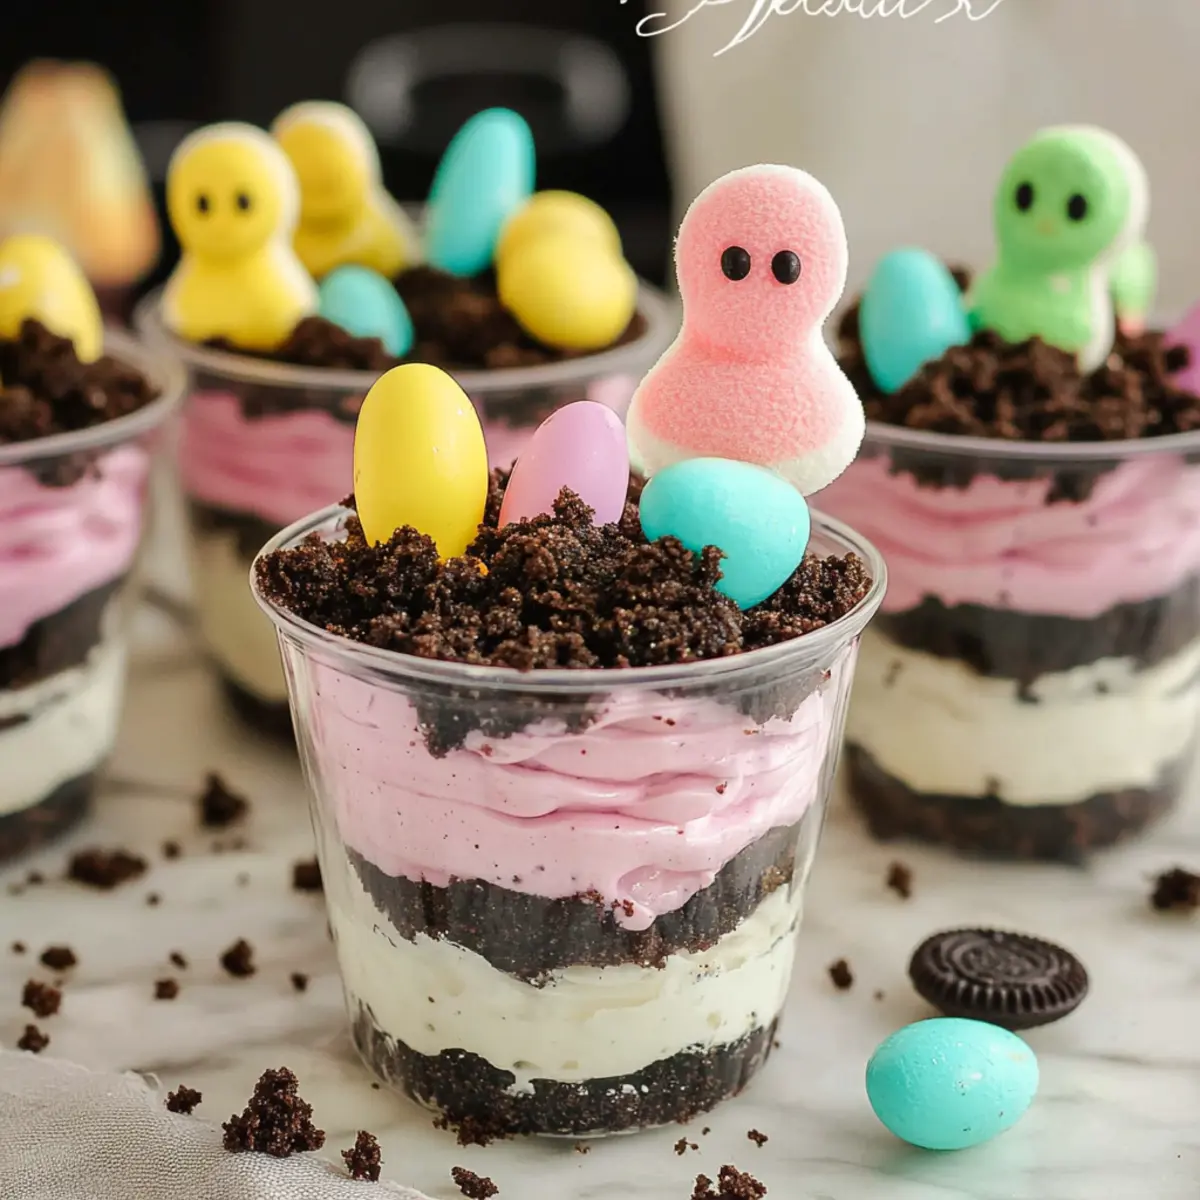
As I prepared for our Easter gathering, I stumbled upon a delightful combination of flavors that instantly transported me back to childhood—these Easter Dirt Cups! This whimsical, no-bake dessert brings together creamy vanilla pudding, crunchy Oreo crumbs, and the cheerful presence of marshmallow Peeps. Not only are these treats an absolute hit with kids and adults alike, but you can whip them up in no time, making them a lifesaver for busy cooks during the holiday. Imagine serving up individual cups of fun that are rich in flavor and texture, making every bite a joyous celebration of spring. Who can resist such a charming dessert? Let’s dive into making these Easter Dirt Cups that are sure to brighten your festivities!
Why Are Easter Dirt Cups a Must-Try?
Easy to Assemble: These delightful cups require no baking, making them perfect for anyone with a busy schedule.
Kid-Friendly Fun: The colorful layers and playful Peeps are sure to spark joy in children, turning dessert prep into a family activity.
Versatile Ingredients: Feel free to swap out vanilla pudding for chocolate or banana, customizing these treats to suit your taste.
Crowd-Pleasing Delight: Whether it’s Easter brunch or a spring gathering, these Dirt Cups are bound to impress guests, just like my Raspberry Dream Dirty drink!
Charming Presentation: Each cup is like a mini celebration, adding a festive touch to your table while keeping cleanup simple.
Make-Ahead Option: Prepare them the day before for a hassle-free dessert that tastes fresh, allowing you to enjoy the festivities stress-free!
Easter Dirt Cups Ingredients
• Get ready to create a delightful treat with these essential components!
For the Base
- Oreos – This crunchy layer adds the perfect texture; consider chocolate sandwich cookies as a tasty substitute!
- Whole Milk – Needed to hydrate the pudding mix; almond milk works wonderfully for a dairy-free twist.
For the Creamy Filling
- Vanilla Pudding – Provides a sweet, smooth layer; feel free to switch to chocolate pudding for a different flavor.
- Cool Whip – This ingredient makes the dessert light and fluffy; homemade whipped cream can enhance freshness.
For the Festive Topping
- Mini Egg Chocolate Candy – A decorative touch that brings that Easter spirit; any chocolate-covered candy makes a delightful alternative.
- Peeps – These adorable marshmallow treats add color and whimsy; swap them out for seasonal fruits or chocolate bunnies for a unique flair.
Enjoy crafting these Easter Dirt Cups, a simple yet enchanting dessert that’ll bring joy to your spring celebrations!
Step‑by‑Step Instructions for Easter Dirt Cups
Step 1: Prepare the Cups
Start by gathering 12 (8-ounce) cups and placing them on a clean countertop. Then, add 1 ½ tablespoons of crushed Oreos to the bottom of each cup, creating a delightful base layer. Ensure the crumbs are evenly distributed to establish a solid foundation for your Easter Dirt Cups.
Step 2: Make the Pudding Mixture
In a large mixing bowl, whisk together the vanilla pudding mix and 2 cups of cold whole milk using a hand mixer for 2 minutes. This step is crucial as it allows the mixture to thicken and develop a smooth consistency, so keep your eye on it. You’ll know it’s ready when it becomes noticeably thicker, resembling a delicious cream.
Step 3: Fold in the Cool Whip
Carefully fold the entire container of Cool Whip into the thickened pudding mixture. Use a spatula to gently combine them without overmixing, as you want to retain that light and airy texture. The goal here is to achieve a silky and creamy filling for your Easter Dirt Cups, so take your time to blend them smoothly.
Step 4: Layer the Cups
Begin layering by adding 2 heaping spoonfuls of the pudding mixture into each cup on top of the Oreo base. Follow this with another layer of 1 ½ tablespoons of crushed Oreos, repeating this process until you fill the cups. You should end with a smaller layer of Oreo crumbs on top, which will add a delightful crunch to the finished dessert.
Step 5: Chill the Cups
Once all cups are assembled, cover them with plastic wrap and refrigerate for at least 1 hour. This chilling time is essential for the Easter Dirt Cups to set properly, allowing the flavors to meld together. If you have time, letting them chill for a few hours or even overnight will enhance their taste and texture.
Step 6: Decorate Before Serving
Before serving, bring out the chilled Easter Dirt Cups and get ready to add a fun finishing touch! Decorate each cup with three mini chocolate eggs and one Peeps Marshmallow Treat on top. This final step not only adds color but also makes these treats irresistible, ensuring they are a hit at your spring celebration.
Storage Tips for Easter Dirt Cups
Fridge: Keep covered in the refrigerator for up to 3 days to maintain freshness and prevent drying out. Use plastic wrap or an airtight container for best results.
Freezer: These Easter Dirt Cups can be frozen for up to 1 month. However, note that the texture of the Cool Whip may change after thawing, so consume fresh for optimum enjoyment.
Thawing: If frozen, thaw in the fridge overnight before serving to retain the delicious layers and flavors of your Easter Dirt Cups.
Reheating: There’s no need to reheat; enjoy these delightful no-bake cups chilled for the perfect dessert experience!
Easter Dirt Cups Variations & Substitutions
Feel free to let your creativity shine as you customize these delightful Easter Dirt Cups for your next celebration!
- Chocolate Pudding: Swap vanilla pudding for chocolate pudding to deliver a rich, indulgent flavor that chocolate lovers will adore.
- Banana Pudding: For a fruity twist, use banana pudding instead of vanilla; the mellow, sweet taste adds a nice surprise!
- Almond Milk: Use almond milk in place of whole milk for a dairy-free option, creating a deliciously creamy texture everyone can enjoy.
- Homemade Whipped Cream: Replace Cool Whip with homemade whipped cream for a fresher taste; simply whip heavy cream with a touch of sugar until fluffy.
- Seasonal Fruits: Instead of Peeps, decorate with seasonal fruits like strawberries or blueberries for a refreshing and colorful topping.
- Chocolate Bunnies: Opt for chocolate bunnies instead of Peeps to add a fun, traditional touch, perfect for enhancing the Easter theme.
- Oreo Variations: Exchange regular Oreos for peanut butter or mint-flavored Oreos; these swaps provide an exciting flavor burst in each delightful cup.
- Add Heat: For a fun kick, sprinkle a bit of cayenne pepper on top of the whipped cream; the sweet and spicy combo will surprise your taste buds, elevating your dessert!
These Easter Dirt Cups are adaptable, making them perfect for your spring festivities, much like my delightful Butter Cheesecake Cups that you can enjoy year-round!
Make Ahead Options
These Easter Dirt Cups are a fantastic choice for meal prep! You can prepare the entire dessert up to 24 hours in advance, making them ideal for busy holiday schedules. Simply layer the cups with crushed Oreos and the creamy vanilla pudding mixture, then cover tightly with plastic wrap and refrigerate. If you’re feeling extra ahead of the game, you can even chill them overnight for truly infused flavors! Just remember to add the mini chocolate eggs and Peeps on top right before serving to maintain their vibrant appearance and freshness. By prepping in advance, you’ll save valuable time while still serving an irresistible treat that everyone will love!
What to Serve with Easter Dirt Cups
As you prepare for delightful spring gatherings, think about adding some scrumptious sides and drinks that will elevate your delicious dessert.
-
Fresh Fruit Salad: Sweet and juicy fruits like strawberries and orange segments refresh the palate and provide a lovely contrast to the creamy dessert.
-
Creamy Vanilla Ice Cream: A scoop of vanilla ice cream adds richness and a delightful temperature contrast, making each bite of Dirt Cups even more indulgent.
-
Chocolate-Covered Strawberries: These treats not only add a festive look but also complement the chocolate in the Oreos, creating a harmonious flavor experience.
-
Pineapple Coconut Mocktail: This refreshing non-alcoholic drink, with its tropical flavors, brings a sunny vibe to your celebration, perfectly balancing the sweetness of the Dirt Cups.
-
Mini Easter Cupcakes: Brightly decorated and fun to eat, they serve as an alternative sweet treat that ties into your festive theme and pleases both kids and adults alike.
-
Chocolate Milk: Serving up glasses of chilled chocolate milk creates a nostalgic atmosphere and pairs wonderfully with the layers of Oreos and pudding in this dreamy dessert.
With these delightful pairings, your Easter festivities are bound to be a hit, as both looks and flavors come together in joyful harmony!
Expert Tips for Easter Dirt Cups
Whip Until Smooth: Ensure your pudding is thick enough by whisking for the full 2 minutes. This step is essential for the right texture in your Easter Dirt Cups.
Gentle Folding: When combining the Cool Whip and pudding, fold gently to retain that delightful airiness; overmixing can lead to a dense filling.
Layering Mastery: Proper layer distribution is crucial. Make sure each cup gets equal layers of oreos and pudding for a balanced treat.
Chill Time Matters: Refrigerate for at least 1 hour, but longer is better! This helps the flavors meld and improves the overall taste of your Easter Dirt Cups.
Creative Decorations: Don’t be afraid to customize! Use seasonal fruits or fun chocolate shapes instead of Peeps to personalize your dessert while maintaining festive flair.
Easter Dirt Cups Recipe FAQs
How do I choose ripe ingredients for Easter Dirt Cups?
Absolutely! When selecting your Oreos, look for packages that aren’t damaged, and make sure there are no dark spots on the cookies. For the pudding, check the expiration date on the mix; fresh pudding mix will give you the best results. If opting for milk, choose whole or almond milk that’s not near its expiration date as well.
How should I store my Easter Dirt Cups?
Very! After preparing, keep the cups covered in the refrigerator. They will stay fresh for up to 3 days. Just ensure they’re in an airtight container or tightly covered with plastic wrap to prevent drying out. If you want to prep ahead of time, you can make them a day in advance, setting them up to chill overnight before serving.
Can I freeze Easter Dirt Cups?
Certainly! You can freeze the assembled Easter Dirt Cups for up to 1 month. To do this, place them in an airtight container or cover them tightly with plastic wrap. However, keep in mind that the texture of the Cool Whip may change slightly upon thawing. For best enjoyment, thaw in the refrigerator overnight before serving—this way, you preserve those delicious layers.
What if my pudding mixture isn’t thickening properly?
Great question! If your pudding mix isn’t thickening after whisking for the full 2 minutes, you might need to check your milk temperature. Make sure you’re using cold milk as indicated in the recipe. If it still doesn’t thicken, consider letting it rest for a few minutes before folding in the Cool Whip. This helps the consistency achieve that perfect creaminess.
Are there any dietary considerations for Easter Dirt Cups?
Indeed! If you’re catering to dietary restrictions, you can make these cups dairy-free by using almond milk and opting for a dairy-free Cool Whip alternative. Always check the ingredients for potential allergens like gluten in the Oreos or chocolate eggs. If serving to young children or pets, supervise to avoid any choking hazards from small decorative items like mini eggs or Peeps.
Easter Dirt Cups: Delightful No-Bake Treat for Spring Fun
Ingredients
Equipment
Method
- Gather 12 (8-ounce) cups and place them on a clean countertop. Add 1 ½ tablespoons of crushed Oreos to the bottom of each cup.
- In a large mixing bowl, whisk together the vanilla pudding mix and 2 cups of cold whole milk using a hand mixer for 2 minutes.
- Carefully fold the entire container of Cool Whip into the thickened pudding mixture.
- Layer 2 heaping spoonfuls of the pudding mixture into each cup on top of the Oreo base, followed by another layer of 1 ½ tablespoons of crushed Oreos.
- Cover the assembled cups with plastic wrap and refrigerate for at least 1 hour.
- Before serving, decorate each cup with three mini chocolate eggs and one Peeps Marshmallow Treat on top.
Leave a Reply