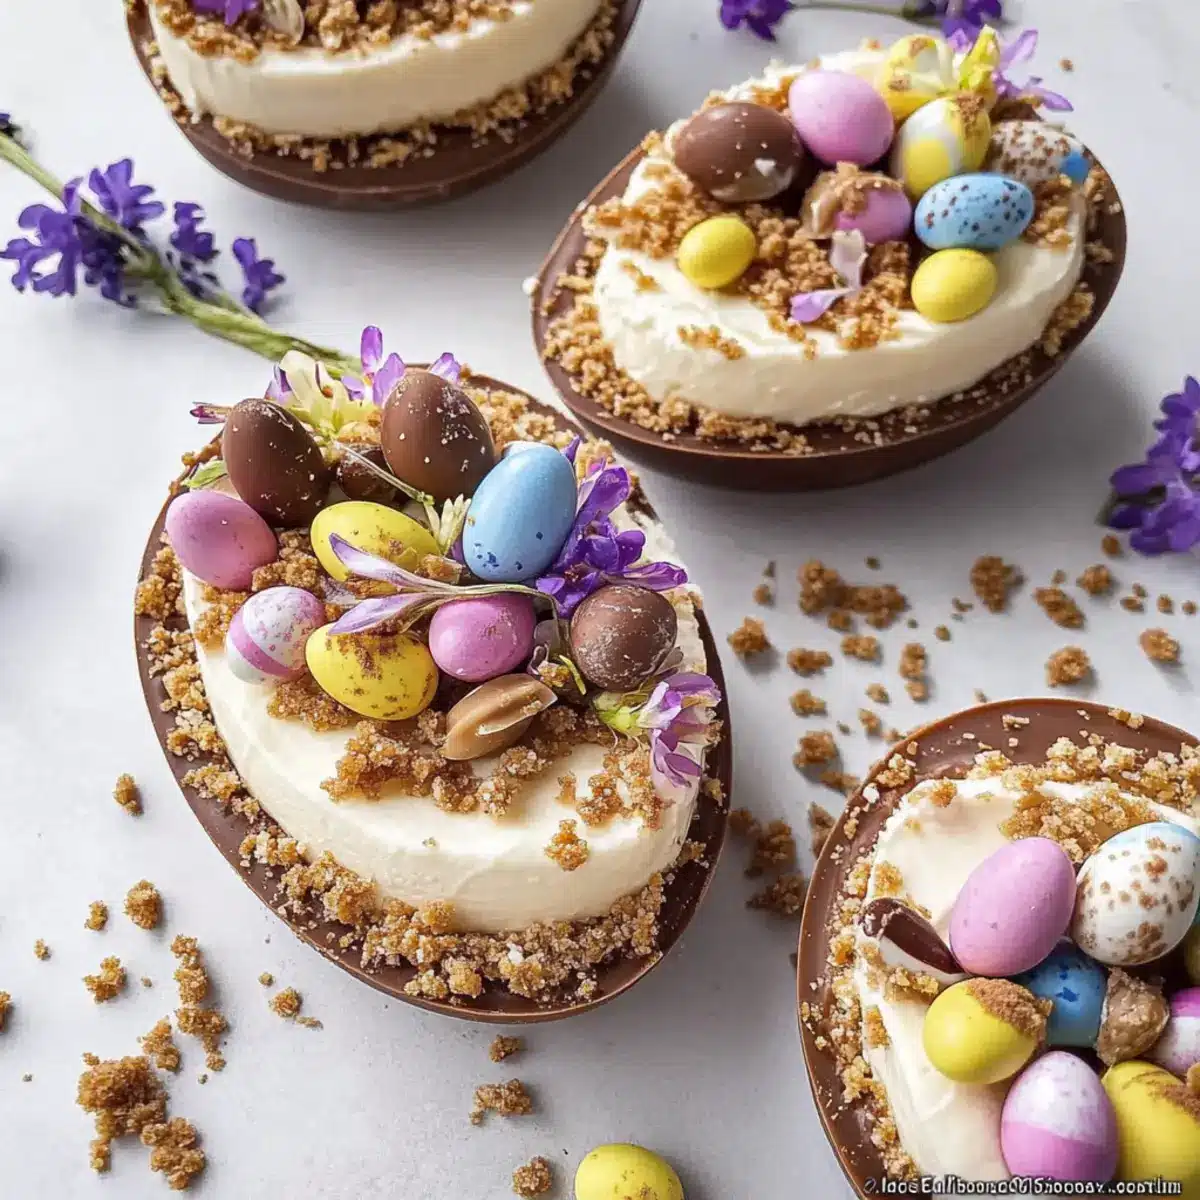
As I strolled through the aisles of the local market, the vibrant Easter displays caught my eye, filling me with a sudden rush of nostalgia and excitement for the holiday. This No-Bake Easter Egg Cheesecake brings a playful twist to traditional desserts, featuring a delightful buttery crumb base and an irresistibly creamy filling nestled within charming hollow chocolate eggs. Not only is this treat a fun conversation starter at gatherings, but it’s also a stress-free dessert option that you can whip up in advance, leaving you more time to enjoy the festivities. Imagine blissful bites of sweet cheesecake combined with the satisfyingly crisp chocolate shell—it’s a dessert the whole family will adore. Curious to find out how to create this festive masterpiece? Let’s get started!
Why is this Easter Egg Cheesecake special?
Unforgettable Presentation: The whimsical hollow chocolate eggs serve as the perfect vessel for this cheesecake, instantly elevating your dessert game.
No-Bake Convenience: This recipe saves you from the oven, making it a breeze to whip up, leaving more time for family and festivities.
Creamy Indulgence: The rich, velvety filling blends beautifully with the crunch of the chocolate shell, delivering a delightful texture in every bite.
Versatile Flavor: Don’t be afraid to get creative—swap in your favorite cookie crumbs or flavor extracts, like almond or lemon, to customize your cheesecakes further!
Crowd-Pleasing Appeal: Perfect for Easter gatherings, this dessert will have everyone raving, making it a standout centerpiece among other treats. Looking for more cheesecake inspiration? Try our Cookie Butter Cheesecake or Brown Butter Cheesecake for some delicious alternatives!
Easter Egg Cheesecake Ingredients
• Get ready for a delicious treat!
For the Chocolate Shells
• Hollow Chocolate Eggs – Look for milk chocolate eggs around Easter, approximately 4 inches long for the best presentation.
For the Crust
• Graham Cracker or Digestive Biscuits – These provide the perfect crunchy crust; you can substitute any plain cookie crumbs if preferred.
• Butter – Unsalted butter helps bind the crust together for a rich flavor.
For the Filling
• Cream Cheese – Use full-fat cream cheese for an ultra-creamy cheesecake texture.
• Powdered Sugar – This ingredient adds just the right amount of sweetness to keep the filling smooth.
• Heavy Cream – Whipping this adds lightness to the filling; you can opt for a dairy-free alternative if desired.
• Vanilla Extract – This enhances the overall flavor; feel free to substitute with another extract for a unique touch.
For the Toppings
• Melted Chocolate (for drizzling) – Use any type of chocolate you enjoy to elevate both the look and taste of your cheesecake.
• Mini Chocolate Eggs – Perfect for decoration and adds a festive touch; substitute with your favorite candy if you like.
Now that you have all the ingredients for this delightful Easter Egg Cheesecake, it’s time to dive into the fun of creating this beautiful dessert!
Step‑by‑Step Instructions for Easter Egg Cheesecake
Step 1: Prepare Chocolate Shells
Begin by carefully cutting the hollow chocolate eggs in half. Use a heated knife to ensure a clean cut, making the shells easier to fill later. Take your time to avoid cracking the delicate chocolate. Set the two halves aside on a tray lined with parchment paper to keep them steady while you prepare the filling.
Step 2: Make Cookie Base
In a mixing bowl, combine crushed graham crackers or digestive biscuits with melted unsalted butter until the mixture resembles wet sand. Depending on your preference, you can use a food processor to achieve fine crumbs. Once the mixture is ready, it should easily hold together when pressed between your fingers, indicating it’s perfect for your crust base.
Step 3: Fill Egg Shells
Press the cookie mixture firmly into the base of each chocolate egg half, ensuring it’s evenly distributed and compact. Aim for a layer that’s about half an inch thick so it provides a sturdy foundation. Just like building a solid dessert, this step is essential to keep your Easter Egg Cheesecake balanced and delicious.
Step 4: Prepare Cheesecake Filling
In a large mixing bowl, beat the full-fat cream cheese with powdered sugar and vanilla extract until the mixture is smooth and creamy. This should take about 2-3 minutes, and you’ll know it’s ready when there are no lumps left. In a separate bowl, whip the heavy cream until stiff peaks form, then gently fold it into the cream cheese mixture, creating a light and airy filling.
Step 5: Assemble
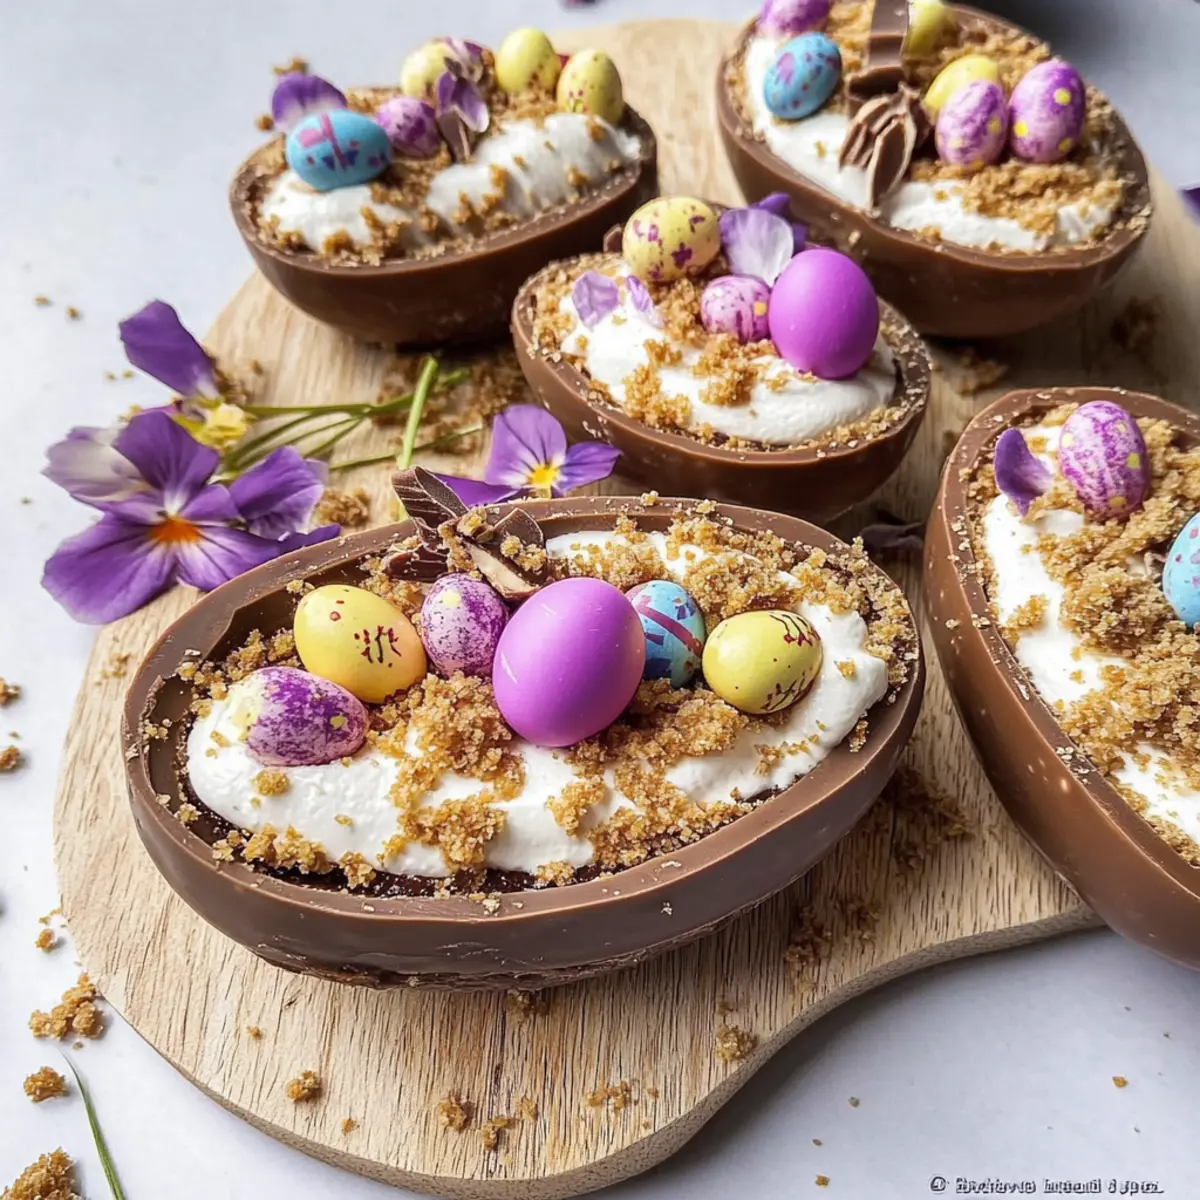
Using a spoon or piping bag, carefully spoon the cheesecake filling into the prepared chocolate shells, smoothing the tops with a spatula or the back of the spoon. Make sure not to overfill the shells, as you’ll want a nice presentation. Each egg should look inviting and perfectly filled with the creamy layer, ready to be dressed up.
Step 6: Decorate and Chill
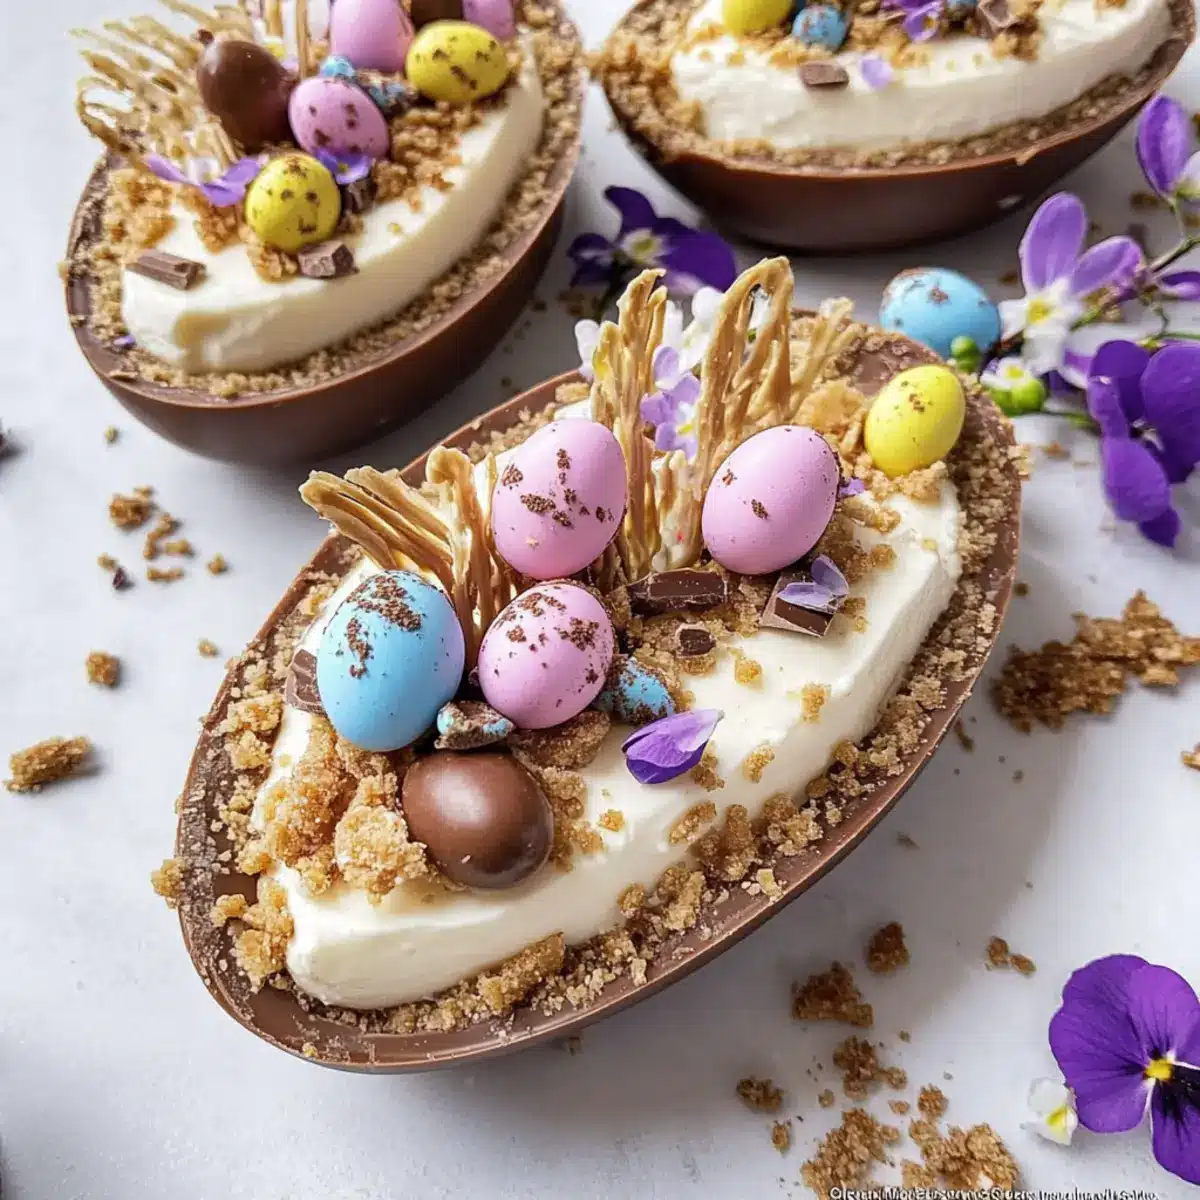
Drizzle melted chocolate over the top of each filled chocolate egg and top them with mini chocolate eggs for a festive touch. This step not only adds flavor but also enhances the presentation of your Easter Egg Cheesecake. Refrigerate the decorated eggs for at least 2 hours to allow the filling to set and the flavors to meld together beautifully.
Storage Tips for Easter Egg Cheesecake
Fridge: Keep your Easter Egg Cheesecake in the refrigerator, where it will stay fresh for up to 3 days. Make sure to cover it with plastic wrap or place it in an airtight container to avoid any absorption of odors.
Freezer: If you want to preserve your cheesecake for later, it can be frozen for up to 3 months. Wrap each chocolate egg securely with plastic wrap, then place them in a freezer-safe container or bag.
Reheating: For best results, thaw the cheesecake in the fridge overnight before serving. Once thawed, enjoy them chilled directly from the fridge for the ultimate creamy experience.
What to Serve with No-Bake Easter Egg Cheesecake
Prepare to elevate your dessert experience with these delightful pairing suggestions that complement the playful sweetness of your cheesecake.
-
Fresh Berries: Their tartness perfectly balances the rich cheesecake, adding a refreshing bite that brightens each mouthful.
-
Whipped Cream: A dollop of lightly sweetened whipped cream adds an airy touch that enhances the creamy texture of the cheesecake.
-
Chocolate Drizzle: Enhance the chocolate theme with a rich chocolate sauce for extra indulgence that resonates with chocolate lovers.
-
Mint Leaves: A sprig of fresh mint adds a burst of fragrance and color, making each bite feel like a spring celebration.
-
Coffee or Espresso: Pairing your cheesecake with a warm cup of coffee or espresso creates a delightful contrast, enriching the dessert experience.
-
Caramel Sauce: A drizzle of salted caramel brings a buttery sweetness, harmonizing beautifully with the chocolate shell and creamy filling.
-
Nuts: Chopped nuts, like pistachios or almonds, can add an unexpected crunch, making for a satisfying texture contrast against the smooth cheesecake.
-
Sparkling Beverage: A fruity sparkling water or champagne can add an effervescent note, enhancing the festive spirit of your Easter gathering.
Make Ahead Options
These No-Bake Easter Egg Cheesecakes are perfect for meal prep, making your holiday festivities smoother and more enjoyable! You can prepare the chocolate shells and cookie base up to 24 hours in advance—simply store them in an airtight container in the refrigerator to maintain freshness. The creamy cheesecake filling can also be made ahead and refrigerated for up to 3 days before assembling. Just remember to fill the chocolate egg halves right before serving to prevent the crumbs from getting soggy. When it’s time to impress your guests, spoon the filling into the prepared shells, drizzle with chocolate, and add your festive mini eggs for a truly delightful dessert without the last-minute rush!
Expert Tips for the Best Easter Egg Cheesecake
- Careful Handling: Ensure chocolate eggs are handled with care to prevent breakages. Cracks can ruin the presentation!
- Fixes for Failures: If a shell breaks, consider transforming your mixture into cheesecake jars—better safe than sorry!
- Avoid Sogginess: Decorate just before serving to keep the crust crunchy and the filling fresh in your Easter Egg Cheesecake.
- Prep in Advance: Making this cheesecake a day ahead not only enhances flavors but also saves you stress on the big day.
- Storage Smart: Store in the refrigerator for up to 3 days or freeze for up to 3 months—perfect for Easter meal planning!
Easter Egg Cheesecake Variations
Feel free to customize your Easter Egg Cheesecake and create your own delightful version bursting with flavor!
-
Oreo Crust: Swap the graham crackers for crushed Oreo cookies for a deliciously decadent chocolate base. The rich flavor will elevate your cheesecake to new heights!
-
Nut-Free Option: Replace the butter with coconut oil and use gluten-free cookies for a safe and inclusive dessert. Enjoy without worrying about nut allergies while still indulging in a creamy delight.
-
Dairy-Free Delight: Use vegan cream cheese and coconut cream for a totally dairy-free cheesecake. The flavors will remain deliciously rich and satisfying, perfect for plant-based celebrations.
-
Flavor Infusion: Experiment with flavored extracts, such as almond or lemon, in place of vanilla. These subtle tweaks can create a refreshing twist that makes your cheesecake stand out this Easter!
-
Fruity Additions: Incorporate pureed strawberries or raspberry swirls into your filling for a fruity burst. This will add a pop of color and a fresh flavor that complements the chocolate beautifully.
-
Extra Crunch: Toss in chopped nuts or chocolate chips into your filling for added texture and flavor contrast. The crunch will balance the creaminess and keep every bite interesting.
-
Spicy Sweet: Add a pinch of cinnamon or ginger to the filling for a warm, spicy kick. This unexpected twist will bring a cozy warmth to a festive dessert, making it a favorite at gatherings.
-
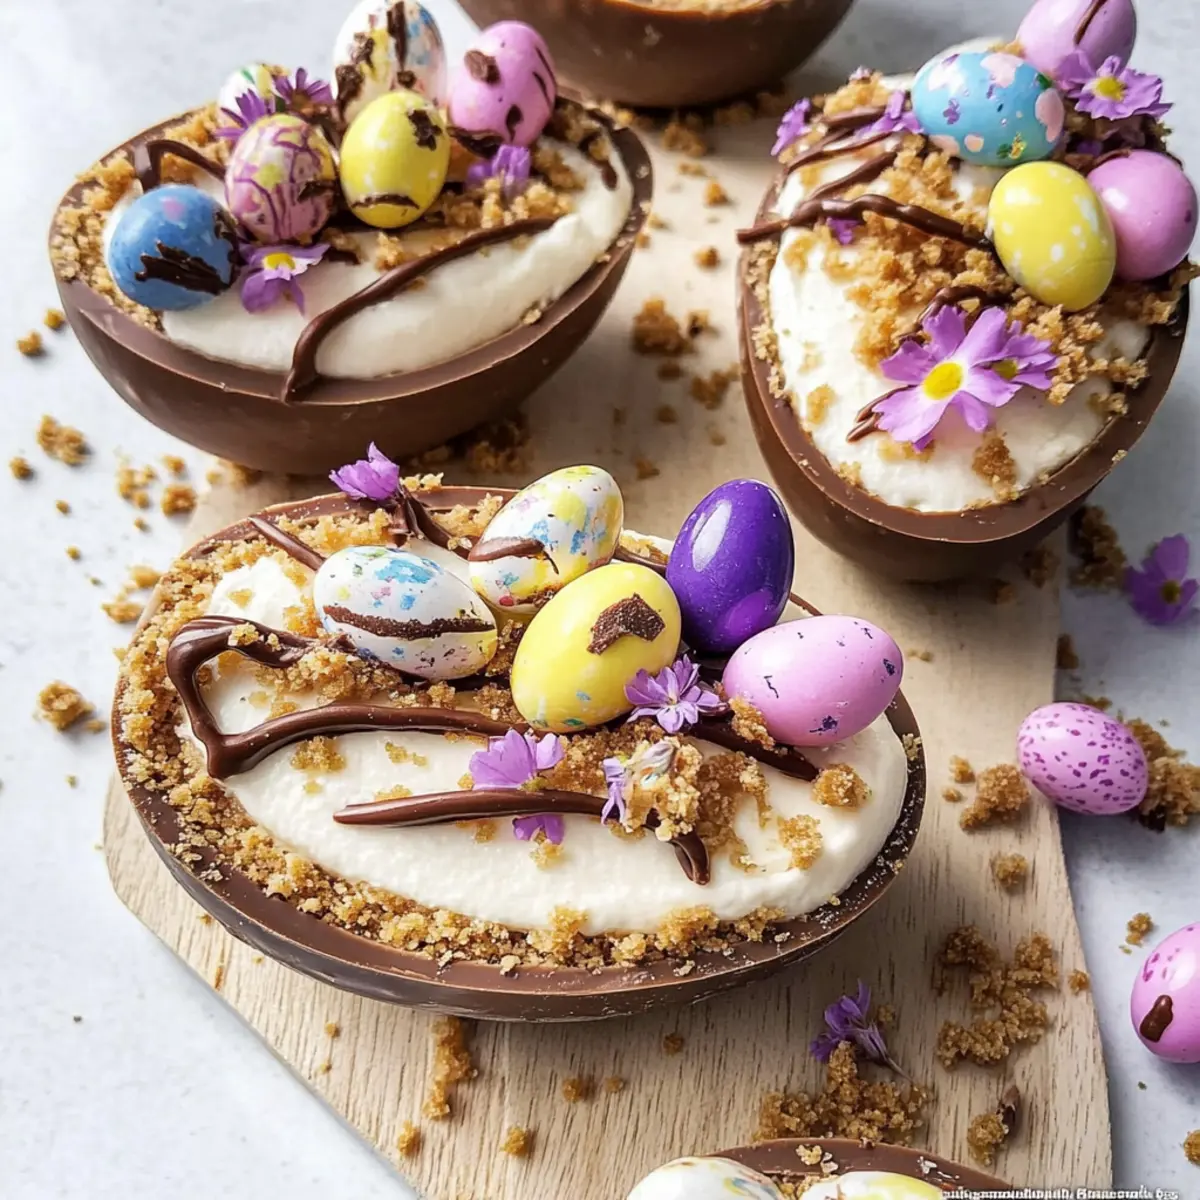
Mini Egg Switch-Up: Decorate with colored candies or seasonal chocolates instead of mini eggs. It’s a fun way to personalize the appearance and satisfy different palates, so everyone leaves happy!
Need more cheesecake ideas? Explore our delightful Apple Cheesecake Bars or try the rich flavors of Brown Butter Cheesecake for your next celebration!
Easter Egg Cheesecake Recipe FAQs
What kind of chocolate eggs should I use for the Easter Egg Cheesecake?
Absolutely! I recommend using hollow milk chocolate eggs that are around 4 inches long. These provide a great balance of chocolate flavor and creamy cheesecake filling. You can usually find these in stores during the Easter season.
How should I store the Easter Egg Cheesecake?
It’s best to keep your Easter Egg Cheesecake in the refrigerator for up to 3 days. Make sure to cover it tightly with plastic wrap or place it in an airtight container to prevent it from drying out or absorbing any odors.
Can I freeze the Easter Egg Cheesecake? How?
Certainly! To freeze the cheesecake, wrap each filled chocolate egg securely with plastic wrap and place them in a freezer-safe container or bag. They can last in the freezer for up to 3 months. When you’re ready to enjoy them, thaw them gradually in the fridge for optimal texture—this typically takes about 6-8 hours.
What should I do if my chocolate egg shells break?
Very! If you find that your chocolate egg shells break, don’t worry; you can easily turn this into a cheesecake jar instead. Just follow these quick steps: scoop out any remaining filling from the broken shells, layer the cookie base at the bottom of a glass jar, fill with the cheesecake mixture, and top with decorations. It makes for a fun and delicious alternative!
Can I make this cheesecake for someone with allergies?
Of course! If you’re catering to allergies, consider using dairy-free cream cheese and whipped cream for the filling. You can also check the ingredients of the chocolate eggs and choose candy decorations that are free from common allergens, such as nuts or gluten. Always check labels carefully to be safe!
How long does it take for the cheesecake to set in the fridge?
The cheesecake needs to chill in the refrigerator for at least 2 hours to properly set. This allows the filling to firm up and makes it easier to slice and enjoy. It’s best to make this dessert ahead of time, giving it a chance to chill while you focus on other Easter preparations!
Easter Egg Cheesecake: Creamy Delight for Your Celebration
Ingredients
Equipment
Method
- Begin by carefully cutting the hollow chocolate eggs in half. Use a heated knife to ensure a clean cut and set the two halves aside on a tray lined with parchment paper.
- In a mixing bowl, combine crushed graham crackers or digestive biscuits with melted unsalted butter until the mixture resembles wet sand.
- Press the cookie mixture firmly into the base of each chocolate egg half, ensuring it’s evenly distributed and compact.
- In a large mixing bowl, beat the full-fat cream cheese with powdered sugar and vanilla extract until smooth and creamy. In a separate bowl, whip the heavy cream until stiff peaks form, then fold it into the cream cheese mixture.
- Using a spoon or piping bag, carefully spoon the cheesecake filling into the prepared chocolate shells, smoothing the tops.
- Drizzle melted chocolate over the top of each filled chocolate egg and top them with mini chocolate eggs. Refrigerate the decorated eggs for at least 2 hours.
Leave a Reply