As the sweet aroma of freshly baked bread wafts through my kitchen, I can’t help but feel a nostalgic warmth in my heart. There’s something magical about creating Classic Ensaymada Bread—an iconic Filipino pastry that’s soft, fluffy, and simply irresistible. Not only is this delightful treat perfect for breakfast or an afternoon snack, but it also allows you to customize it with your favorite toppings, from cream cheese to a sprinkle of sugar. The best part? This recipe is straightforward, making it perfect for home bakers eager to impress family and friends. Ready to embark on a delicious journey that brings the flavors of the Philippines right to your table? Let’s get baking!
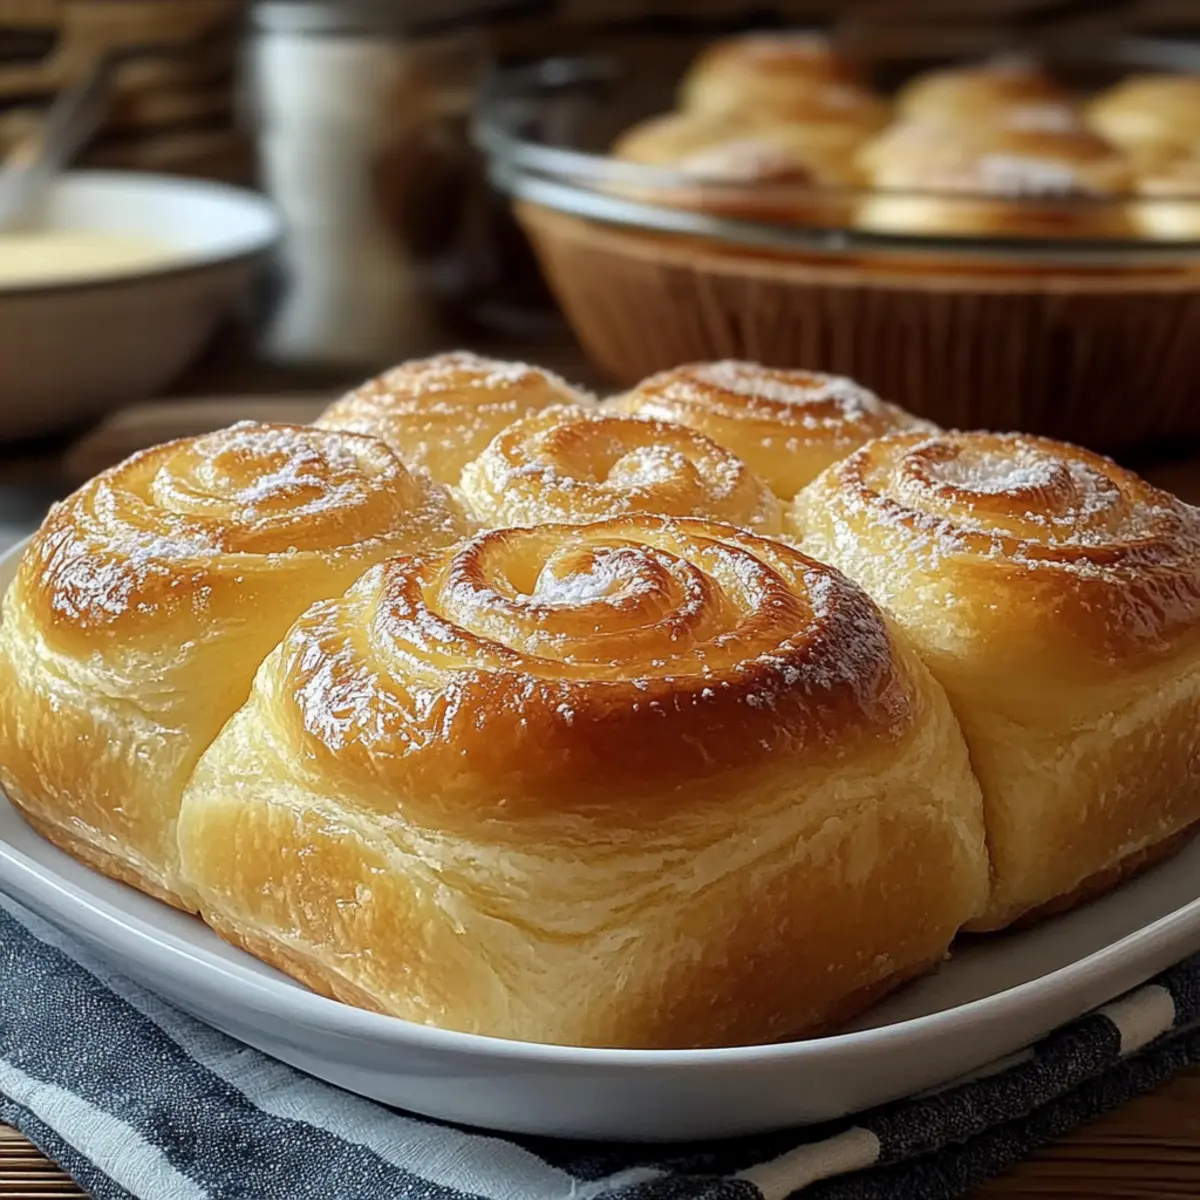
What Makes Classic Ensaymada Bread Special?
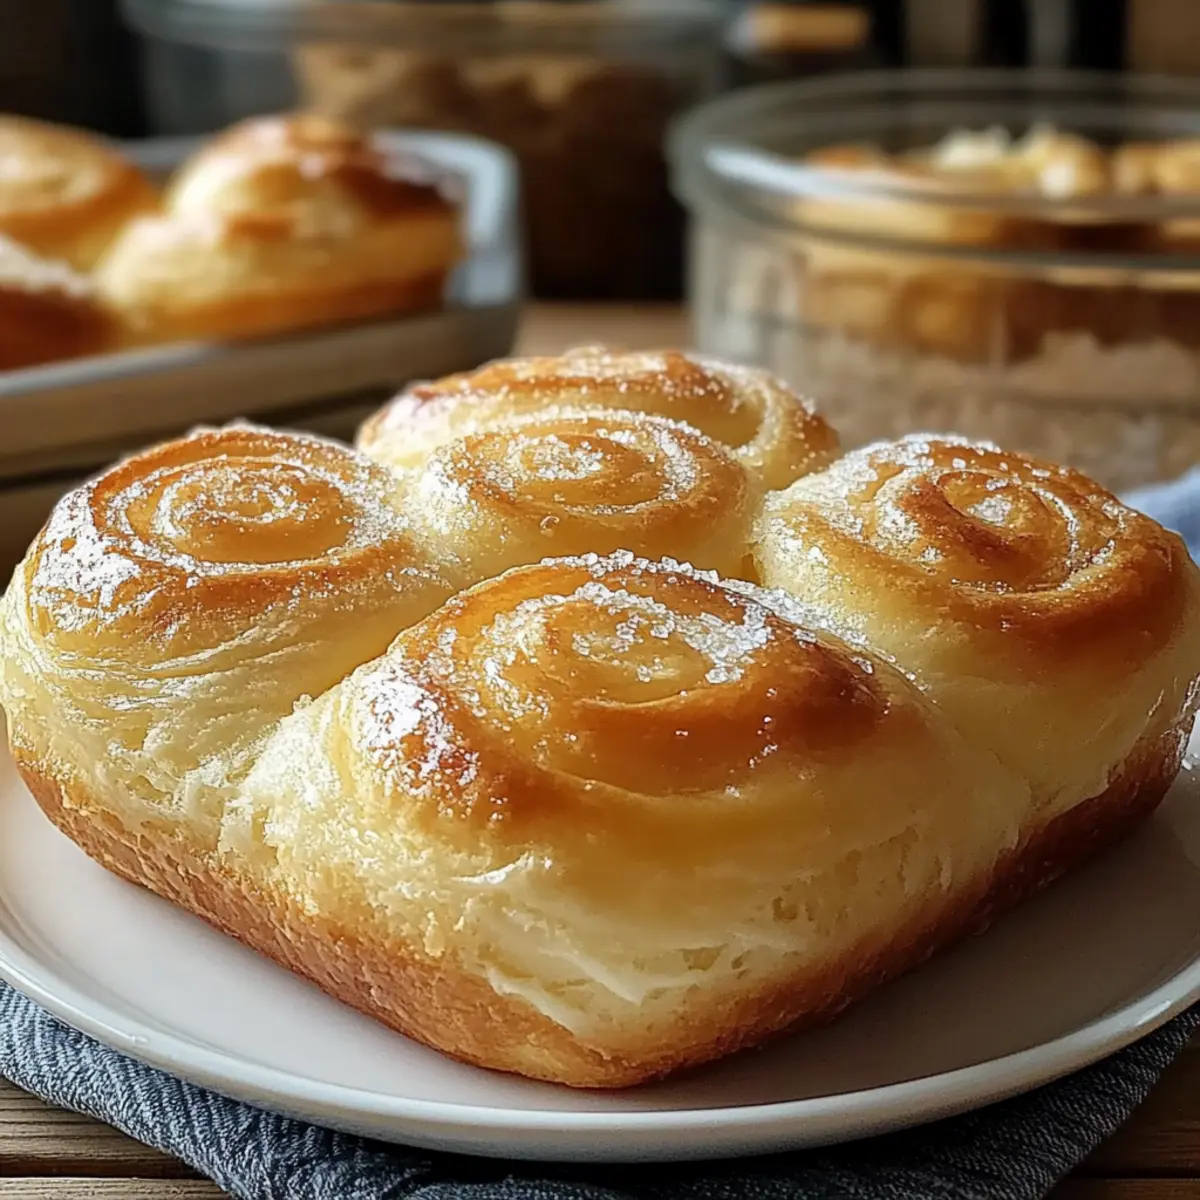
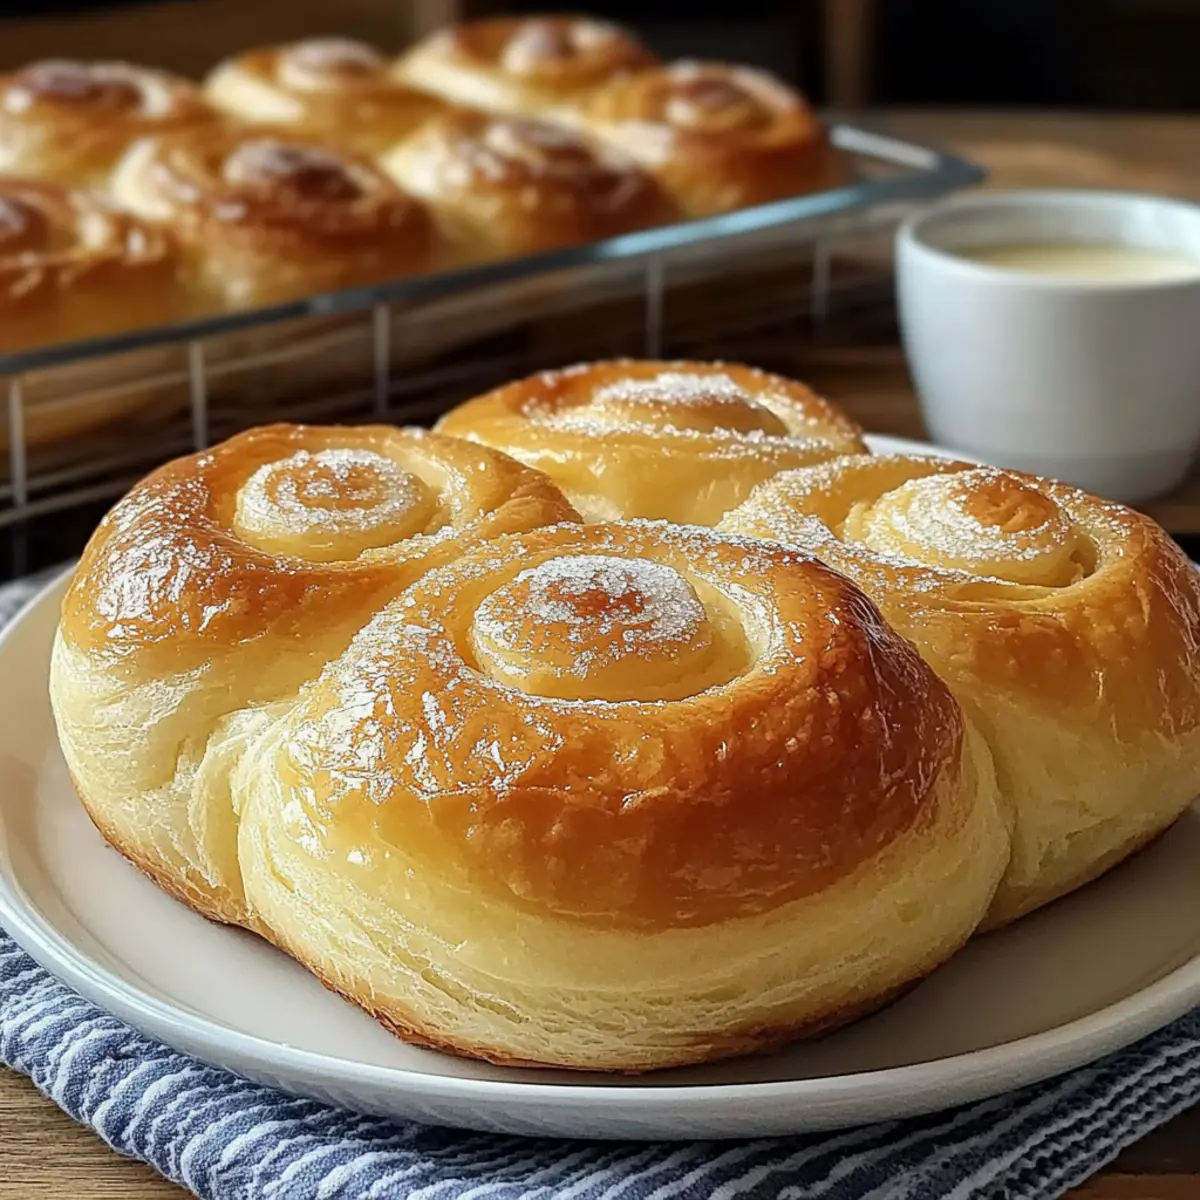
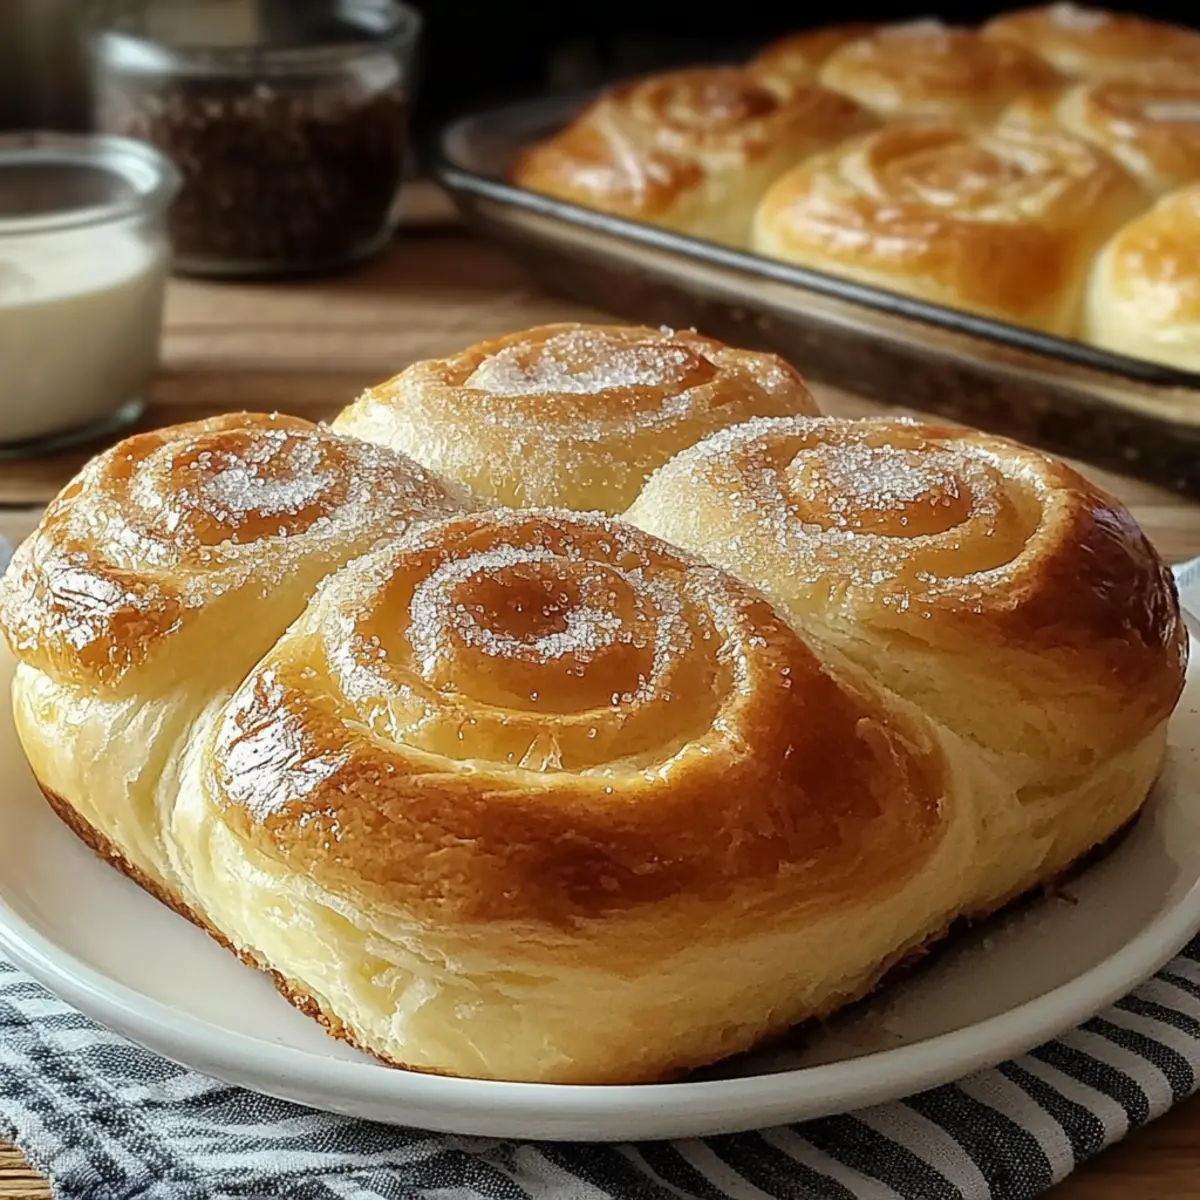
Fluffy Texture: This delectable bread boasts a soft, airy crumb that melts in your mouth, making it the ultimate comfort food.
Endless Customization: You can experiment with various toppings, such as cheese, butter, or even a sweet spread, allowing for a different tasty experience every time.
Quick Prep Time: With an easy-to-follow recipe, you’ll have these delightful pastries ready to enjoy in no time, perfect for any busy weekday breakfast!
Cultural Significance: Classic Ensaymada Bread is more than just a treat; it celebrates Filipino hospitality, making it ideal for gatherings and special occasions.
Perfect Pairing: Enjoy warm with your favorite coffee or hot chocolate—truly a match made in culinary heaven! If you’re interested in more delightful recipes, check out my Sticky Toffee Pudding for another taste of comfort.
Classic Ensaymada Bread Ingredients
For the Dough
• All-purpose flour – Provides structure and texture for the bread; can be substituted with whole wheat flour for a denser texture, though it may affect fluffiness.
• Granulated sugar – Adds sweetness to the bread; feel free to adjust the quantity for a less sweet treat.
• Salt – Balances flavor and enhances overall sweetness.
• Instant yeast – A crucial leavening agent that makes the bread rise; make sure it’s fresh for best results.
• Milk – Hydrates the dough, contributing to its softness; almond or oat milk works well for a dairy-free version.
• Unsalted butter – Provides richness and flavor; using softened butter makes mixing easier.
• Eggs – Add moisture and a rich flavor; flaxseed meal or applesauce can be used as substitutes, but this may affect texture.
• Vanilla extract – Provides a pleasant aroma and enhances flavor.
For Topping
• Melted butter – Brush on top before serving for an extra burst of flavor and gloss.
• Grated cheese – A traditional topping for a savory twist; feel free to use mozzarella or cream cheese as alternatives.
• Sugar (for dusting) – A finishing touch to enhance sweetness, making your Classic Ensaymada Bread irresistibly delightful.
Enjoy baking this delightful Filipino pastry that brings warmth to every bite!
Step‑by‑Step Instructions for Classic Ensaymada Bread
Step 1: Prepare Your Ingredients
Begin by gathering all your ingredients: all-purpose flour, granulated sugar, salt, instant yeast, milk, unsalted butter, eggs, and vanilla extract. Make sure your butter is softened and your milk is warm—this will activate the yeast properly. Having everything ready at hand will make the process smoother and more enjoyable as you create your Classic Ensaymada Bread.
Step 2: Activate the Yeast
In a small bowl, combine warm milk and a tablespoon of sugar, then sprinkle the instant yeast on top. Allow this mixture to sit for about 5–10 minutes, or until it becomes frothy and bubbly. This visual cue indicates that your yeast is active and ready to create the fluffy texture essential for the Classic Ensaymada Bread.
Step 3: Mix the Dry Ingredients
In a large mixing bowl, whisk together the all-purpose flour, remaining granulated sugar, and salt until well combined. This mixture creates the base for your Classic Ensaymada Bread, ensuring an even distribution of flavors. Make a well in the center of the dry ingredients to prepare for the wet mixture in the next step.
Step 4: Combine Wet Ingredients
In another bowl, beat the eggs and then add the softened unsalted butter and vanilla extract. Mix thoroughly until smooth. Once your yeast mixture is ready, pour that along with the wet ingredients into the well of the dry mixture. Stir until a soft, slightly sticky dough forms, signaling that you’re on the right track to a delicious Classic Ensaymada Bread.
Step 5: Knead the Dough
Transfer the dough onto a floured surface and knead for 8–10 minutes, until it becomes smooth and elastic. You should be able to stretch the dough without tearing. This kneading process develops gluten, crucial for achieving that light and fluffy texture in your Classic Ensaymada Bread.
Step 6: First Rise
Place the kneaded dough in a greased bowl, covering it with a damp cloth or plastic wrap. Let it rise in a warm spot for about 1 hour, or until it has doubled in size. This visual growth indicates that your yeast is doing its job, and your Classic Ensaymada Bread will be wonderfully airy.
Step 7: Shape the Dough
After the first rise, gently punch down the dough to release any air bubbles. Divide it into equal portions and shape each piece into rolls. Brush each roll with melted butter, then place them in greased molds or a baking dish, ensuring they are close but not touching, for that perfect rise.
Step 8: Second Rise
Cover the shaped dough again with a cloth and let it rise for another 30–45 minutes. You’ll know it’s ready when the rolls have puffed up nicely. This second rise is essential for achieving the soft, airy texture characteristic of Classic Ensaymada Bread.
Step 9: Preheat the Oven
While the dough is rising, preheat your oven to 350°F (175°C). This ensures that your Classic Ensaymada Bread will bake evenly right away. Proper oven temperature is key to achieving that golden-brown exterior while keeping the inside fluffy.
Step 10: Bake the Bread
Once risen, place your dough in the preheated oven and bake for 20–25 minutes. You’ll know they are done when the tops are golden brown and a toothpick inserted comes out clean. The aroma filling your kitchen will be irresistible!
Step 11: Brush with Butter
After baking, let the rolls cool briefly, then brush the tops generously with melted butter. This added layer of flavor brings your Classic Ensaymada Bread to life and enhances the glossy finish, creating an inviting look.
Step 12: Add Topping
Finally, sprinkle grated cheese and a light dusting of sugar over the warm rolls. This delightful combination balances the savory and sweet, making your Classic Ensaymada Bread absolutely irresistible. Let them sit for a moment to allow the toppings to melt beautifully.
Classic Ensaymada Bread Variations
Feel free to let your creativity soar as you customize this fluffy delight with exciting twists and toppings!
-
Coconut Delight: Add shredded coconut to the dough for a tropical flair that complements the sweetness beautifully.
Embrace the chewy texture of coconut combined with the soft bread for a delightful surprise in every bite. -
Ube Twist: Incorporate ube powder or extract into the dough for a vibrant, purple treat bursting with unique flavor.
This colorful version not only looks stunning but also offers a sweet, nutty experience that’s simply irresistible! -
Choco-Lover’s Dream: Mix cocoa powder into the dough and top with rich chocolate frosting for a dessert-inspired version.
This tasty twist will satisfy any chocolate craving, making it perfect for brunch or dessert! -
Nutty Crunch: Fold in a mix of chopped nuts, like walnuts or pecans, for added crunch and a hint of nuttiness.
The delightful texture contrast elevates your classic ensaymada into a wholesome snack filled with goodness! -
Spicy Kick: Add a pinch of cayenne pepper or chili flakes to the dough for an unexpected spicy twist.
This variation is perfect for those who love a little heat with their sweetness—a conversation starter at any gathering! -
Sweet Cream Cheese: Spread a layer of sweetened cream cheese on top before dusting with sugar for a creamy finish.
This addition brings a rich tang that balances the sweetness perfectly, making every bite incredibly indulgent! -
Matcha Magic: Stir in matcha green tea powder into the dough for a vibrant and earthy flavor, topped with white chocolate glaze.
The combination of matcha and sweetness creates a delightful harmony that’s sure to impress your guests! -
Caramel Drizzle: Drizzle warm caramel sauce over the finished bread for a decadent, gooey topping that elevates this classic.
Sweet, buttery, and richly flavored, this ensures your ensaymada is a show-stopper at any occasion!
Ready for more wonderful baking ideas? Check out my recipe for Gingerbread Latte Cake for another delightful addition to your baking repertoire!
How to Store and Freeze Classic Ensaymada Bread
Room Temperature: Store your Classic Ensaymada Bread in an airtight container at room temperature for up to 3 days to maintain its soft texture.
Fridge: If you live in a particularly warm climate, refrigerate in an airtight container for up to 5 days to prevent spoilage. Just remember to bring it back to room temperature before serving.
Freezer: Wrap individual rolls tightly in plastic wrap and then place them in a freezer-safe bag for up to 2 months. To enjoy, thaw overnight in the fridge and reheat in the oven for a few minutes to bring back that fresh-baked taste.
Reheating: For best results, reheat your Classic Ensaymada Bread in a preheated oven at 350°F (175°C) for about 5-10 minutes, or until warm. This restores its delightful fluffiness and buttery sheen.
Expert Tips for Classic Ensaymada Bread
-
Check Yeast Freshness: Always ensure your instant yeast is active by verifying its freshness. If using older yeast, it may not rise properly, resulting in dense bread.
-
Mind Your Dough Temperature: Use warm (not hot) milk to activate the yeast. Too much heat can kill the yeast, preventing your Classic Ensaymada Bread from rising.
-
Knead Thoroughly: Knead the dough for 8-10 minutes until smooth and elastic. This step is essential for achieving that fluffy texture that ensaymada is known for.
-
Shape Evenly: When dividing and shaping the dough, make sure to keep the pieces uniform in size. This ensures even rising and baking for your Classic Ensaymada Bread.
-
Customize Toppings: Feel free to experiment with various toppings! Whether you prefer savory cheese, sweet spreads, or a combination of both, getting creative makes each batch uniquely delightful.
Make Ahead Options
These Classic Ensaymada Bread rolls are perfect for meal prep! You can prepare the dough up to 24 hours in advance. Simply follow the first rise instructions, then punch down the dough and shape it into rolls. At this point, you can place them in a greased baking dish, cover, and refrigerate them. Before baking, allow them to rise at room temperature for about 30-45 minutes. It’s crucial to lightly brush the dough with melted butter before the second rise to ensure a golden finish. When you’re ready to enjoy, preheat the oven and bake until they are golden brown and fluffy—just as delicious as when freshly made!
What to Serve with Classic Ensaymada Bread
Indulging in a warm piece of ensaymada evokes feelings of comfort and delight, making it the perfect centerpiece for a cozy meal.
-
Creamy Hot Chocolate: This rich, velvety drink enhances the sweetness of the ensaymada, creating a delightful balance of flavors perfect for breakfast or an afternoon treat.
-
Fresh Fruit Salad: A vibrant mix of seasonal fruits adds a refreshing crunch, complementing the soft, sweet richness of the bread with each vibrant bite.
-
Scrambled Eggs: Fluffy and savory, these eggs offer a delicious contrast to the sweet bread while providing a hearty, protein-packed option for a fulfilling breakfast.
-
Cheesy Garlic Spread: A savory spread brings an unexpected twist to the meal, enhancing the classic ensaymada’s buttery notes with a burst of flavor that ties everything together beautifully.
-
Traditional Filipino Coffee: Brewed strong and aromatic, this robust coffee pairs exquisitely with ensaymada, creating a warm and nostalgic experience reminiscent of mornings in the Philippines.
-
Coconut Jam: This sweet, creamy spread is the ideal topping, enhancing the ensaymada’s sweetness while introducing a tropical flair that captivates the senses and invites indulgence.
-
Cinnamon Sugar Tossed Nuts: Crunchy nuts coated in cinnamon and sugar provide a delightful crunch, adding an interesting texture that contrasts beautifully with the fluffy bread.
Each pairing complements the rich, sweet profile of Classic Ensaymada Bread, turning every meal into a loving experience worth sharing.
Classic Ensaymada Bread Recipe FAQs
What type of flour should I use for Classic Ensaymada Bread?
I recommend using all-purpose flour as it provides the best structure and texture for the bread. If you prefer a denser option, you can use whole wheat flour instead, but keep in mind that it may affect the fluffiness of the final product.
How long can I store Classic Ensaymada Bread?
You can store your Classic Ensaymada Bread in an airtight container at room temperature for up to 3 days. If you live in a warm climate, refrigeration can extend its freshness for up to 5 days, but remember to bring it back to room temperature before serving for the best texture.
Can I freeze Classic Ensaymada Bread?
Absolutely! To freeze, wrap each roll tightly in plastic wrap and place them in a freezer-safe bag. They can last for up to 2 months in the freezer. When you’re ready to enjoy them, thaw overnight in the refrigerator and reheat in the oven at 350°F (175°C) for about 5-10 minutes. This method will help restore that fresh-baked taste and delightful fluffiness.
What if my dough doesn’t rise properly?
If your dough doesn’t rise, it might be due to inactive yeast. Make sure your instant yeast is fresh by checking its expiration date. Also, remember to activate it in warm (not hot) milk with sugar until it becomes frothy—if it doesn’t foam, discard it and try again with new yeast.
Can I modify this recipe for special dietary needs?
Definitely! You can use plant-based milk like almond or oat for a dairy-free version of Classic Ensaymada Bread. For egg substitutions, consider using flaxseed meal or unsweetened applesauce, though this may slightly alter the texture. Always ensure that any toppings you choose align with your dietary requirements too.
What toppings can I use for Classic Ensaymada Bread?
While the traditional toppings include grated cheese and sugar, feel free to customize based on your preference! You can try cream cheese, sweet jams, chocolate spreads, or even shredded coconut for a unique twist. The beauty of Classic Ensaymada Bread lies in its versatility!
Classic Ensaymada Bread: Soft, Sweet Filipino Treasure
Ingredients
Equipment
Method
- Prepare Your Ingredients: Gather all your ingredients and ensure butter is softened and milk is warm.
- Activate the Yeast: Combine warm milk and a tablespoon of sugar, sprinkle yeast and let it sit for 5-10 minutes.
- Mix the Dry Ingredients: Whisk together flour, sugar, and salt in a large bowl.
- Combine Wet Ingredients: Beat eggs, then add butter and vanilla, mix, and pour into the dry ingredients.
- Knead the Dough: Transfer dough to a floured surface and knead for 8-10 minutes.
- First Rise: Place dough in a greased bowl, cover, and let rise in a warm spot for 1 hour.
- Shape the Dough: Punch down the dough, divide into equal portions, and shape into rolls.
- Second Rise: Cover shaped rolls and let rise for another 30-45 minutes.
- Preheat the Oven: Preheat to 350°F (175°C).
- Bake the Bread: Bake for 20-25 minutes until golden brown.
- Brush with Butter: Let rolls cool briefly, then brush with melted butter.
- Add Topping: Sprinkle cheese and sugar over warm rolls.
Leave a Reply