As I flipped the golden brown pancake, the tantalizing aroma wafting through my kitchen instantly transported me to the bustling streets of Osaka. This Vegetarian Okonomiyaki recipe is my go-to for those hectic weeknights when fast food just won’t do. It’s a delightful savory pancake that transforms pantry staples like cabbage and scallions into something extraordinary, all while being quick to prepare. Plus, it’s designed for flexibility—feel free to toss in any veggies you have on hand! Whether you’re feeding a crowd or enjoying a cozy dinner solo, this dish is not just satisfying but also nourishing. Ready to bring a touch of Japanese comfort to your dinner table? Let’s get cooking!
Why is Okonomiyaki a Must-Try?
Flavor Explosion: This dish combines savory and umami flavors that will make your taste buds dance. Every bite of this vegetarian okonomiyaki is packed with deliciousness, making it an instant favorite.
Quick to Make: Ideal for busy weeknights, this recipe comes together in just 30 minutes, allowing you to whip up a hearty meal without a ton of effort.
Pantry-Friendly: Using simple ingredients, this recipe encourages creativity—feel free to use whatever veggies you have on hand, just like in my Dirty Strawberry Soda recipe, which offers a refreshing twist!
Crowd-Pleasing: Perfect for family dinners or entertaining friends, this dish not only satisfies hunger but also sparks delight with its unique presentation.
Versatile Options: You can customize the ingredient mix to match your nutritional needs. Try adding shredded zucchini or colorful bell peppers for a different taste every time.
Okonomiyaki Recipe Ingredients
For the Batter
- Cabbage – Must be finely shredded; can use green cabbage or napa cabbage for variation.
- Scallions – Adds freshness and a mild onion flavor to enhance the overall taste.
- Panko Breadcrumbs – Contributes to texture; gives a light and crispy finish. Substitute with regular breadcrumbs, but the texture will differ.
- Sea Salt – Enhances flavor; ensure balance to prevent overwhelming saltiness.
- Eggs – Binds the mixture together and adds richness; large eggs are preferred, or use flax eggs for a vegan option.
For Cooking
- Extra-virgin Olive Oil – Used for cooking; provides a lovely golden color. Other oils can be substituted as per your preference.
- Vegan Worcestershire Sauce – Adds an authentic flavor; alternatives include tamari or homemade sauces.
For the Toppings
- Mayo – Traditionally Kewpie mayo, but any preferred mayo or vegan version works fine.
- Sesame Seeds – Adds a delicious crunch and nuttiness.
- Pickled Ginger – Provides a tangy contrast; optional for garnish.
- Nori (seaweed) – For a traditional flavor; optional, easily cut with scissors.
- Microgreens – Optional for garnish; substitute with any fresh herbs you enjoy.
Immerse yourself in this delightful okonomiyaki recipe and witness the magic unfold in your kitchen!
Step‑by‑Step Instructions for Quick and Easy Vegetarian Okonomiyaki: A Savory Japanese Pancake Delight
Step 1: Prepare the Batter Mix
In a large mixing bowl, combine finely shredded cabbage, chopped scallions, panko breadcrumbs, and sea salt. Use a wooden spoon to mix until well incorporated, ensuring all the ingredients are evenly distributed. This mixture creates the foundation of your vegetarian okonomiyaki, providing structure and flavor.
Step 2: Incorporate the Eggs
Gently fold in beaten eggs using a spatula until just combined, creating a loose batter. The mixture will appear a bit chunky but should hold together. If it feels too dry, let it rest for 10 minutes to allow the cabbage to release moisture, ensuring a perfect consistency when cooking.
Step 3: Heat the Skillet
Place a non-stick skillet over medium heat and allow it to warm for a minute. Add a brush of extra-virgin olive oil, ensuring the surface is evenly coated. This step is crucial for achieving that lovely golden crust on your okonomiyaki while preventing it from sticking.
Step 4: Cook the Okonomiyaki
Scoop about ¼ cup of the batter mixture into the skillet, gently flattening it to form a pancake that is about ½ inch thick. Cook for approximately 3 minutes or until the bottom is golden brown. Make sure not to overcrowd the skillet to maintain an even cooking temperature.
Step 5: Flip and Finish Cooking
Carefully flip the okonomiyaki using a spatula and cook for an additional 3 minutes on the other side. If the pancake starts to brown too quickly, reduce the heat slightly to ensure it cooks through without burning. You’re looking for a crispy exterior and a soft, fluffy interior.
Step 6: Repeat Cooking Process
Continue the process with the remaining batter, wiping the skillet clean and brushing it with more olive oil as needed. Allow each okonomiyaki to cook thoroughly, fully enhancing the flavors of this delicious vegetarian dish. Keep monitoring the heat to ensure consistent cooking results.
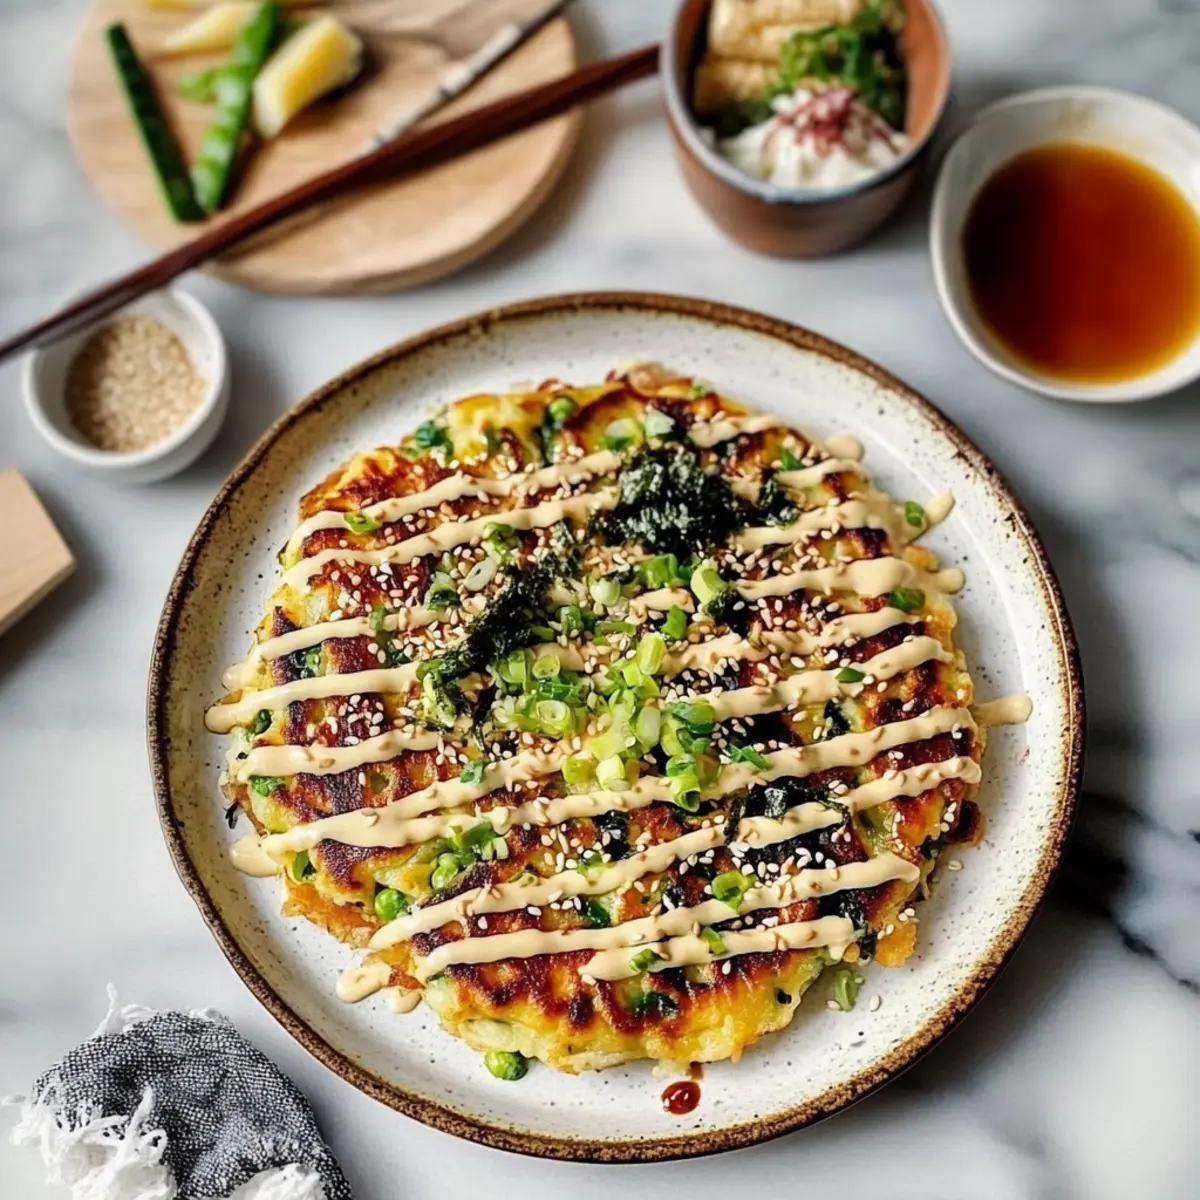
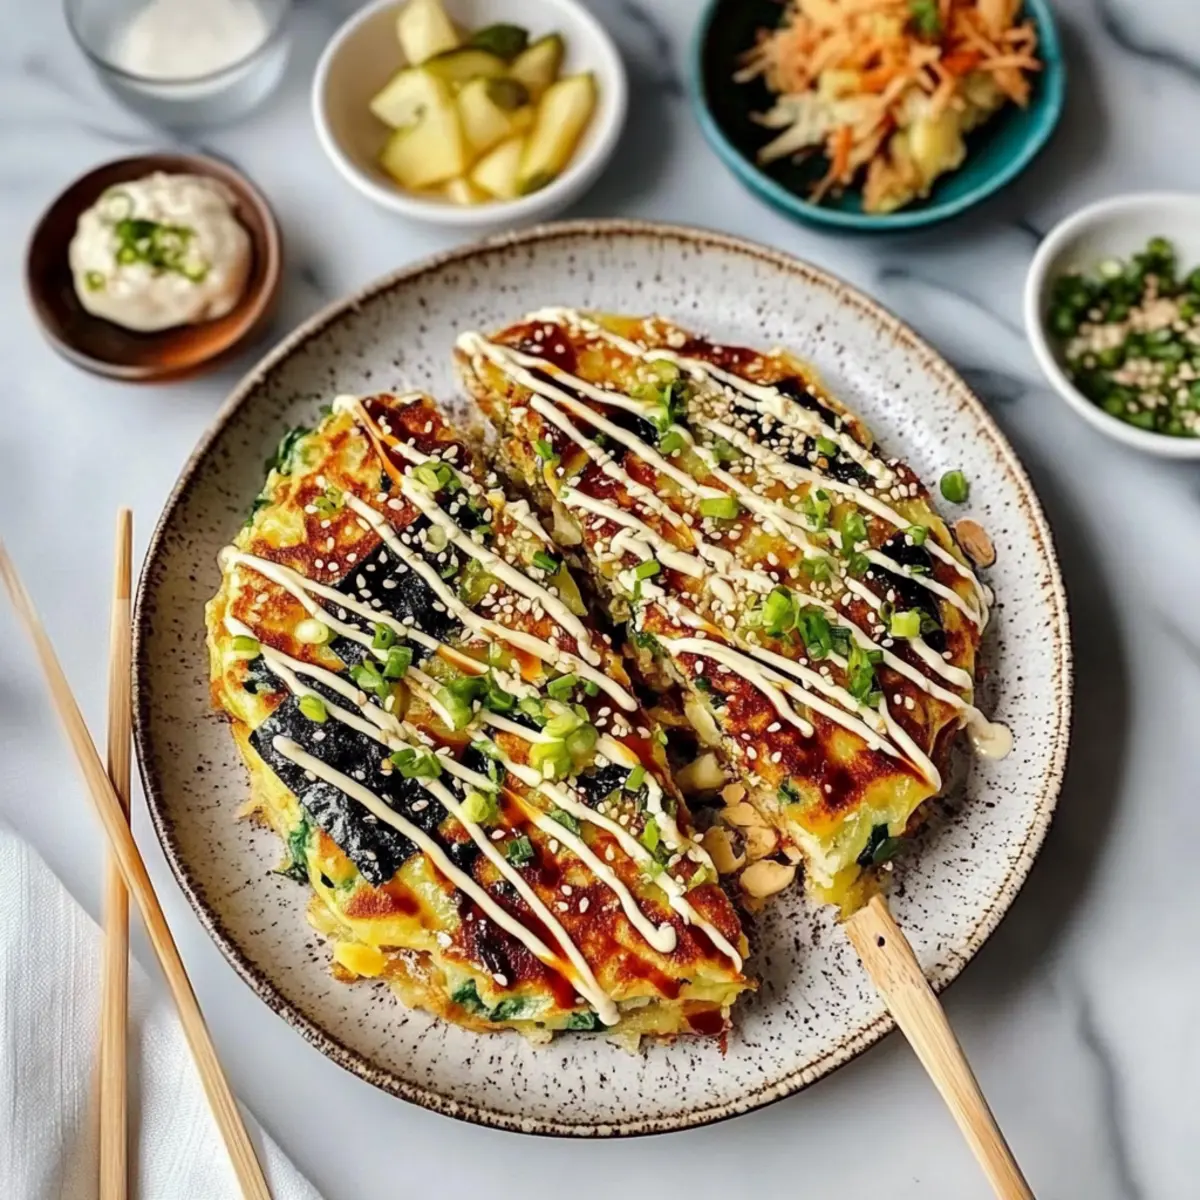
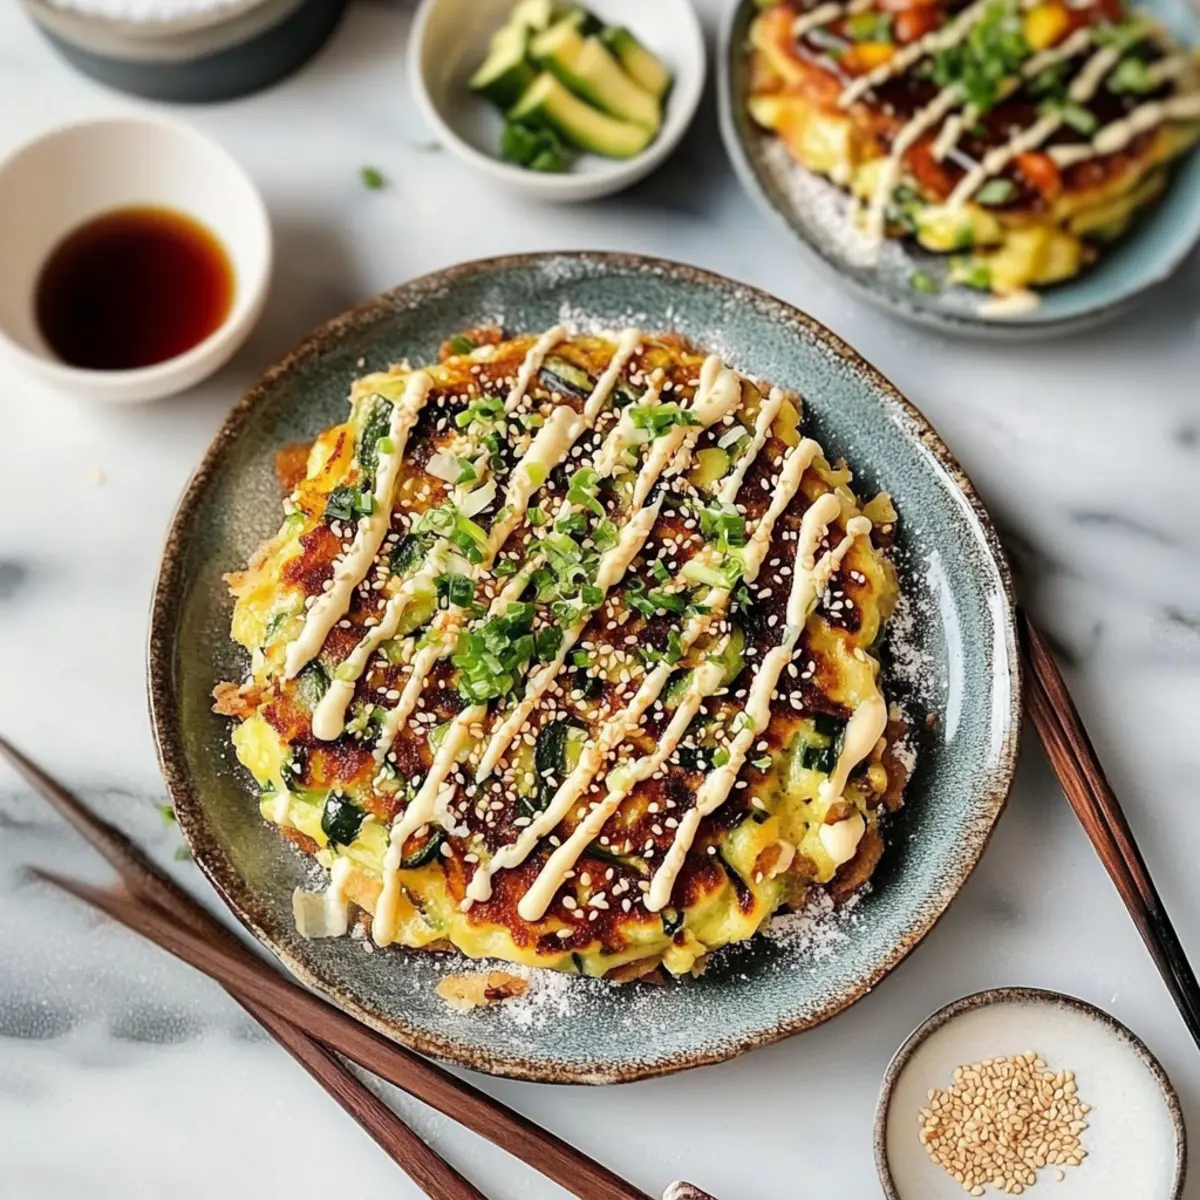
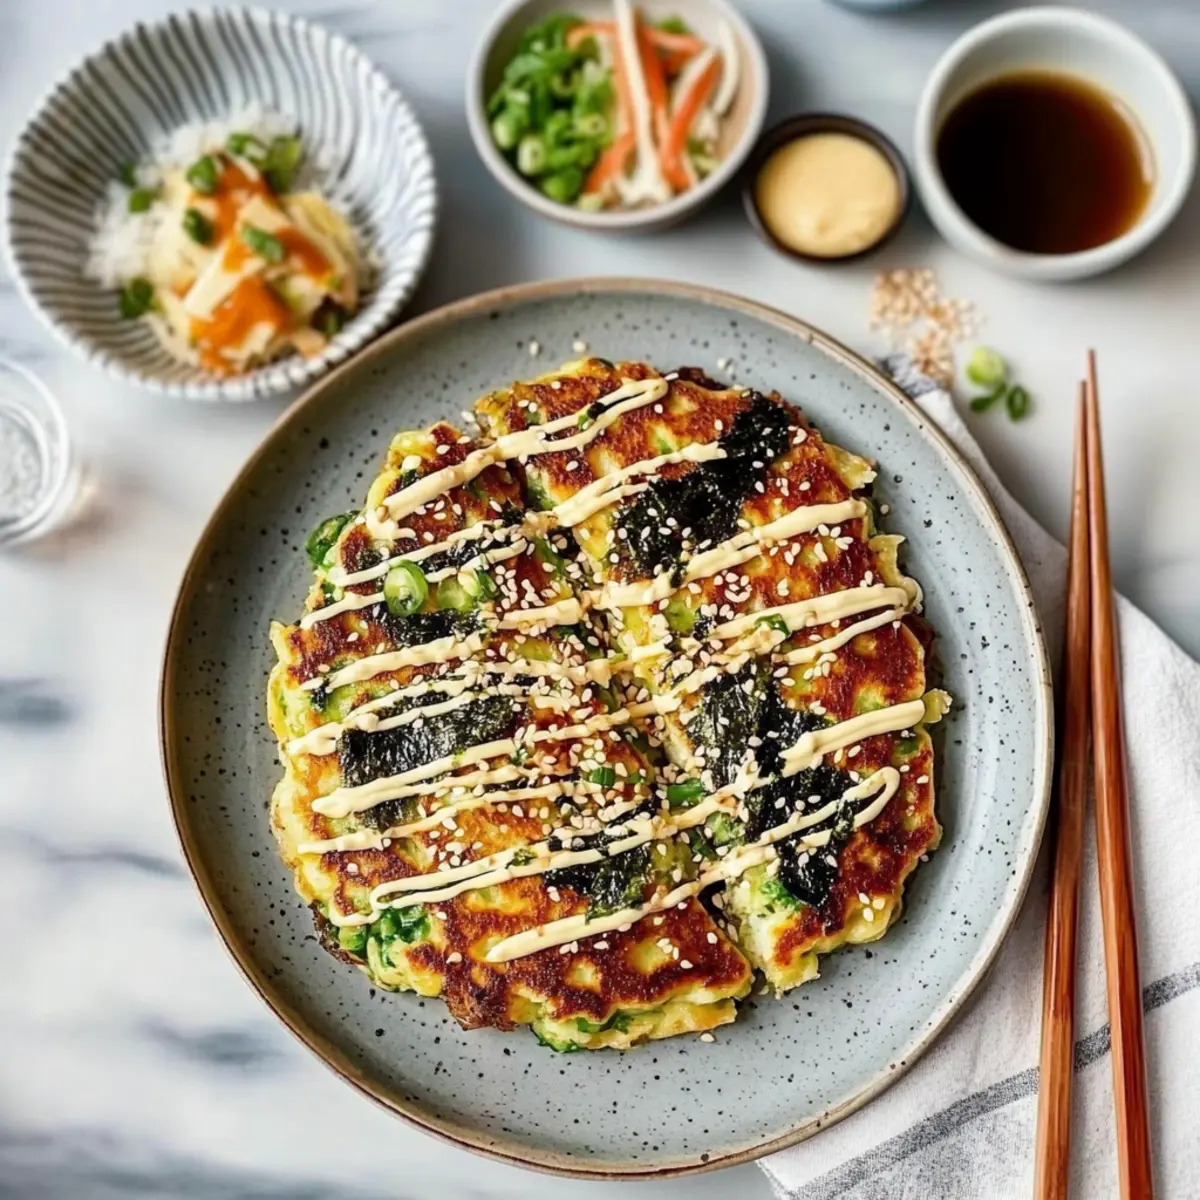
Step 7: Add Flavorful Toppings
Once cooked, drizzle the pancakes generously with vegan Worcestershire sauce and your mayo of choice. Add a sprinkle of sesame seeds, pickled ginger, and nori for extra crunch and umami flavor. Serve your vegetarian okonomiyaki hot, and let the delightful aroma fill your home.
What to Serve with Quick and Easy Vegetarian Okonomiyaki
When it comes to creating a memorable meal, the right side dishes can elevate your vegetarian okonomiyaki to something truly special.
- Fresh Green Salad: A refreshing salad with cucumber and sesame dressing adds crunch and balances the savory pancakes beautifully.
- Pickled Vegetables: The tangy bite of pickled daikon or carrots complements the umami flavors of okonomiyaki, offering a delightful contrast.
- Miso Soup: A warm bowl of miso soup filled with tofu and seaweed creates a cozy, heartwarming experience alongside your savory pancakes.
- Edamame: Lightly salted edamame brings a bit of protein and a satisfying bite, enhancing the meal’s overall texture and flavor.
- Teriyaki Tofu Skewers: Sweet and smoky teriyaki tofu perfectly pairs with okonomiyaki, providing a hearty and filling addition to your table.
- Grilled Tempura Vegetables: Lightly battered and fried seasonal vegetables deliver a crunchy texture, making for an exciting side dish to enjoy with each bite.
Mingle these delightful accompaniments alongside your okonomiyaki for a range of flavors and heartwarming comfort that truly celebrates homemade cooking!
Okonomiyaki Recipe Variations & Substitutions
Feel free to get creative with this delightful okonomiyaki recipe—there are endless ways to make it your own!
-
Zucchini Swap: Replace cabbage with finely shredded zucchini for a fresh, summer twist. This adds moisture and a slightly different flavor profile, perfect for using up seasonal produce.
-
Cooking Noodles: Incorporate cooked yakisoba or udon noodles into the batter for an extra hearty bite. This twist not only enhances the texture but also adds a fun twist to traditional okonomiyaki.
-
Different Veggies: Experiment with bell peppers, carrots, or mushrooms to add vibrant colors and extra nutrition. Each vegetable infusion brings unique flavors, making every pancake a new adventure.
-
Spicy Kick: Add finely chopped jalapeños or sriracha to the batter for a delightful kick. This variation will warm up your okonomiyaki, creating a perfect balance with the creamy mayo toppings.
-
Gluten-Free Version: Swap panko breadcrumbs with almond flour or gluten-free breadcrumbs to cater to gluten-sensitive eaters. The texture remains beautiful while keeping everyone happy!
-
Herby Freshness: Stir in fresh herbs like cilantro or basil for an aromatic flair. This complements the umami flavors and elevates the dish with a burst of freshness.
-
Cooking Oils: Instead of olive oil, try sesame oil for a nutty aroma that enhances the traditional Japanese flavor. It adds an excellent depth while achieving that lovely golden crisp.
-
Vegan Addition: Replace eggs with a mixture of flaxseed meal and water for a vegan-friendly version. This substitution binds the ingredients well while making your okonomiyaki a plant-based delight.
With such versatility, this vegetarian okonomiyaki recipe caters to all taste preferences and dietary needs—enjoy every bite, and be sure to check out my Gingerbread Latte Cake or further variations of the Gingerbread Latte Cake for more culinary inspiration!
Make Ahead Options
These Vegetarian Okonomiyaki are perfect for meal prep enthusiasts! You can prepare the batter (cabbage, scallions, panko breadcrumbs, and sea salt) up to 24 hours in advance by mixing and refrigerating it in an airtight container. This helps the flavors meld while keeping the ingredients fresh. When ready to cook, simply fold in the beaten eggs and proceed with frying for a quick weeknight dinner. If you have leftovers, they can be stored in the refrigerator for up to 2 days; just reheat them in a skillet over medium heat to restore that crispy texture. This method not only saves time but also delivers restaurant-quality results with minimal effort!
Storage Tips for Okonomiyaki Recipe
Fridge: Store cooked okonomiyaki in an airtight container for up to 2 days. This will keep it fresh while preserving its delightful texture and flavor.
Freezer: For longer storage, freeze individual okonomiyaki wrapped tightly in plastic wrap for up to 1 month. Thaw in the refrigerator overnight before reheating.
Reheating: To restore crispness, reheat in a skillet over medium heat for about 4-5 minutes on each side. This will help bring back that delicious, golden exterior.
Serving During Reheating: After reheating, feel free to drizzle with additional vegan Worcestershire sauce and mayo before serving your okonomiyaki, enhancing its flavor while enjoying this comforting dish!
Expert Tips for Perfect Okonomiyaki
-
Cabbage Preparation: Shred cabbage finely to ensure it cooks evenly and integrates well into the batter for a delightful texture in your okonomiyaki.
-
Egg Consistency: Avoid overmixing the batter after adding eggs; a few lumps are okay. This helps maintain a light and fluffy pancake.
-
Heat Control: Keep the skillet at medium heat to avoid burning the outside while ensuring the inside cooks thoroughly; adjust as necessary.
-
Don’t Overcrowd: Cook one at a time if your skillet is small. Overcrowding can lead to steaming rather than the crispy finish you desire in your okonomiyaki.
-
Flavor Variations: Experiment by adding different veggies or spices to suit your taste! This way, every okonomiyaki recipe can be a unique flavor adventure.
Okonomiyaki Recipe FAQs
How do I choose the best cabbage for okonomiyaki?
Absolutely! For okonomiyaki, look for a cabbage that feels heavy for its size and has vibrant green leaves. I recommend using green cabbage or napa cabbage, which should be finely shredded for the best texture. Avoid any heads with dark spots or wilting leaves.
What is the best way to store leftovers of okonomiyaki?
You can store cooked okonomiyaki in an airtight container in the fridge for up to 2 days. Just make sure it cools completely before sealing it to prevent moisture build-up. This way, it retains its delicious flavors and crunchy texture!
Can I freeze okonomiyaki?
Absolutely! To freeze, wrap individual okonomiyaki tightly in plastic wrap and place them in a freezer bag or container. They can be kept frozen for up to 3 months. When ready to enjoy, just thaw in the fridge overnight and reheat in a skillet to restore their crispy goodness.
What should I do if my okonomiyaki is too thick or dry?
Very common! If the batter feels too dry, let it sit for about 10 minutes—the cabbage will release moisture during this time. If you’re still finding it too thick, you could add an extra beaten egg or a little water to loosen it up. This ensures a light, fluffy pancake!
Are there any dietary considerations I should keep in mind?
Yes, if you’re cooking for someone with allergies, it’s good to know that okonomiyaki can contain eggs and panko breadcrumbs, which may not be suitable for gluten-free diets. For a vegan alternative, you can replace eggs with flax eggs and use gluten-free breadcrumbs. Always check packaging for allergens if needed!
How do I know if my okonomiyaki is perfectly cooked?
To ensure it’s just right, you want a golden-brown color on the outside. Cook it for about 3 minutes on each side, adjusting heat if necessary to avoid burning. The inside should be soft and slightly fluffy—if it feels firm, it may need a bit longer to cook through but without pressing down on it while cooking!
Irresistible Okonomiyaki Recipe: Fluffy Japanese Pancakes at Home
Ingredients
Equipment
Method
- In a large mixing bowl, combine finely shredded cabbage, chopped scallions, panko breadcrumbs, and sea salt. Use a wooden spoon to mix until well incorporated.
- Gently fold in beaten eggs using a spatula until just combined, creating a loose batter. If it feels too dry, let it rest for 10 minutes.
- Place a non-stick skillet over medium heat and add a brush of extra-virgin olive oil.
- Scoop about ¼ cup of the batter mixture into the skillet, gently flattening it to form a pancake that is about ½ inch thick. Cook for approximately 3 minutes until golden brown.
- Carefully flip the okonomiyaki using a spatula and cook for an additional 3 minutes on the other side.
- Continue the process with the remaining batter, adding more olive oil as needed.
- Once cooked, drizzle the pancakes with vegan Worcestershire sauce and your mayo of choice. Add toppings and serve hot.
Leave a Reply