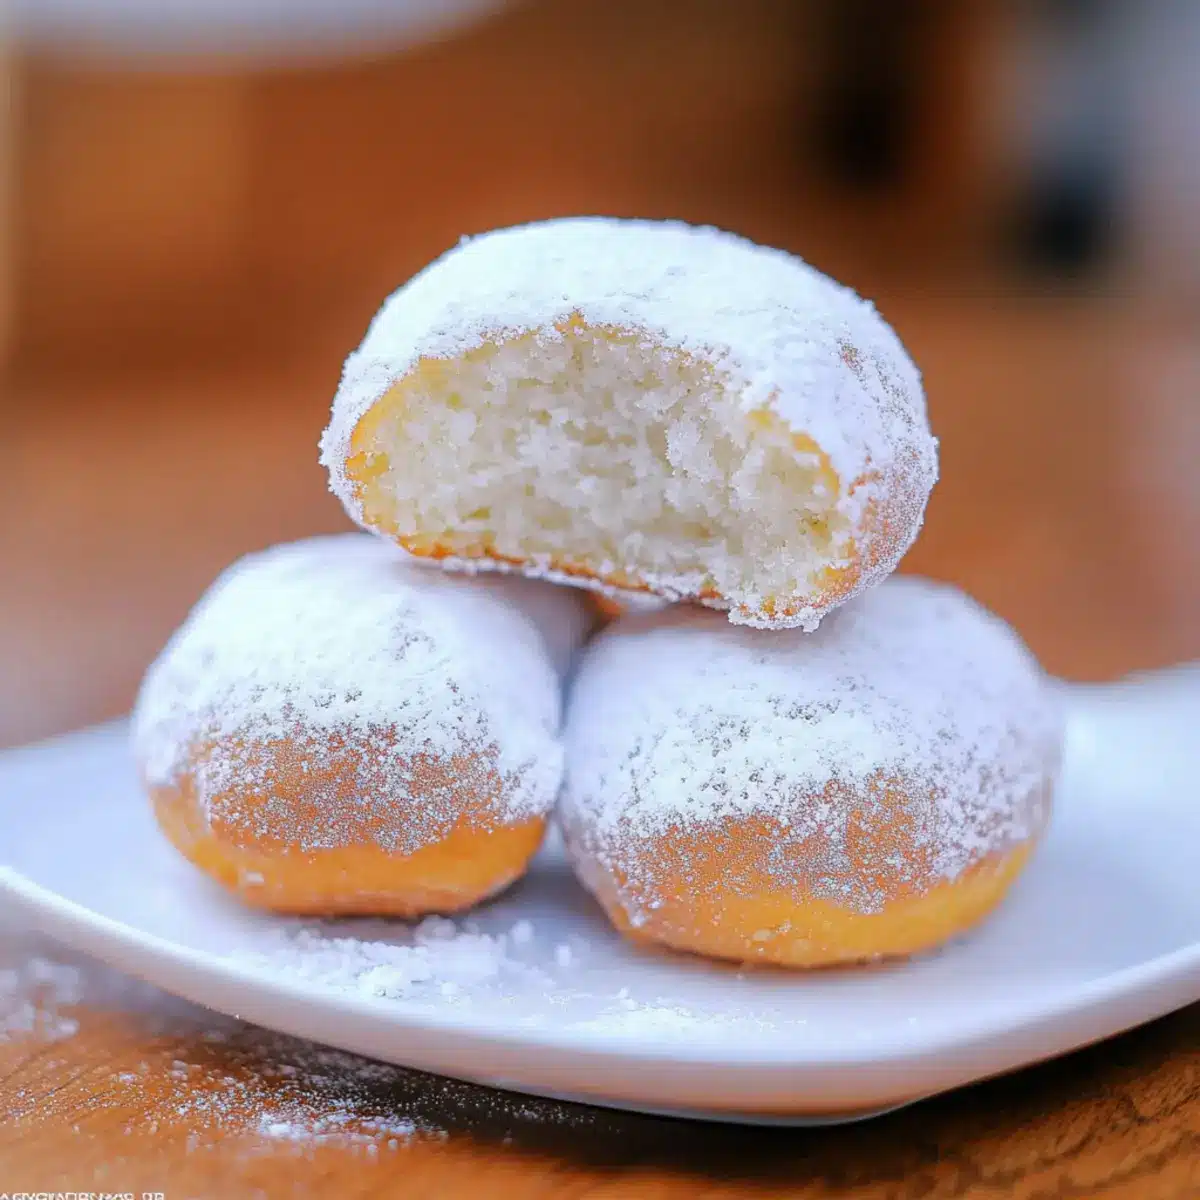
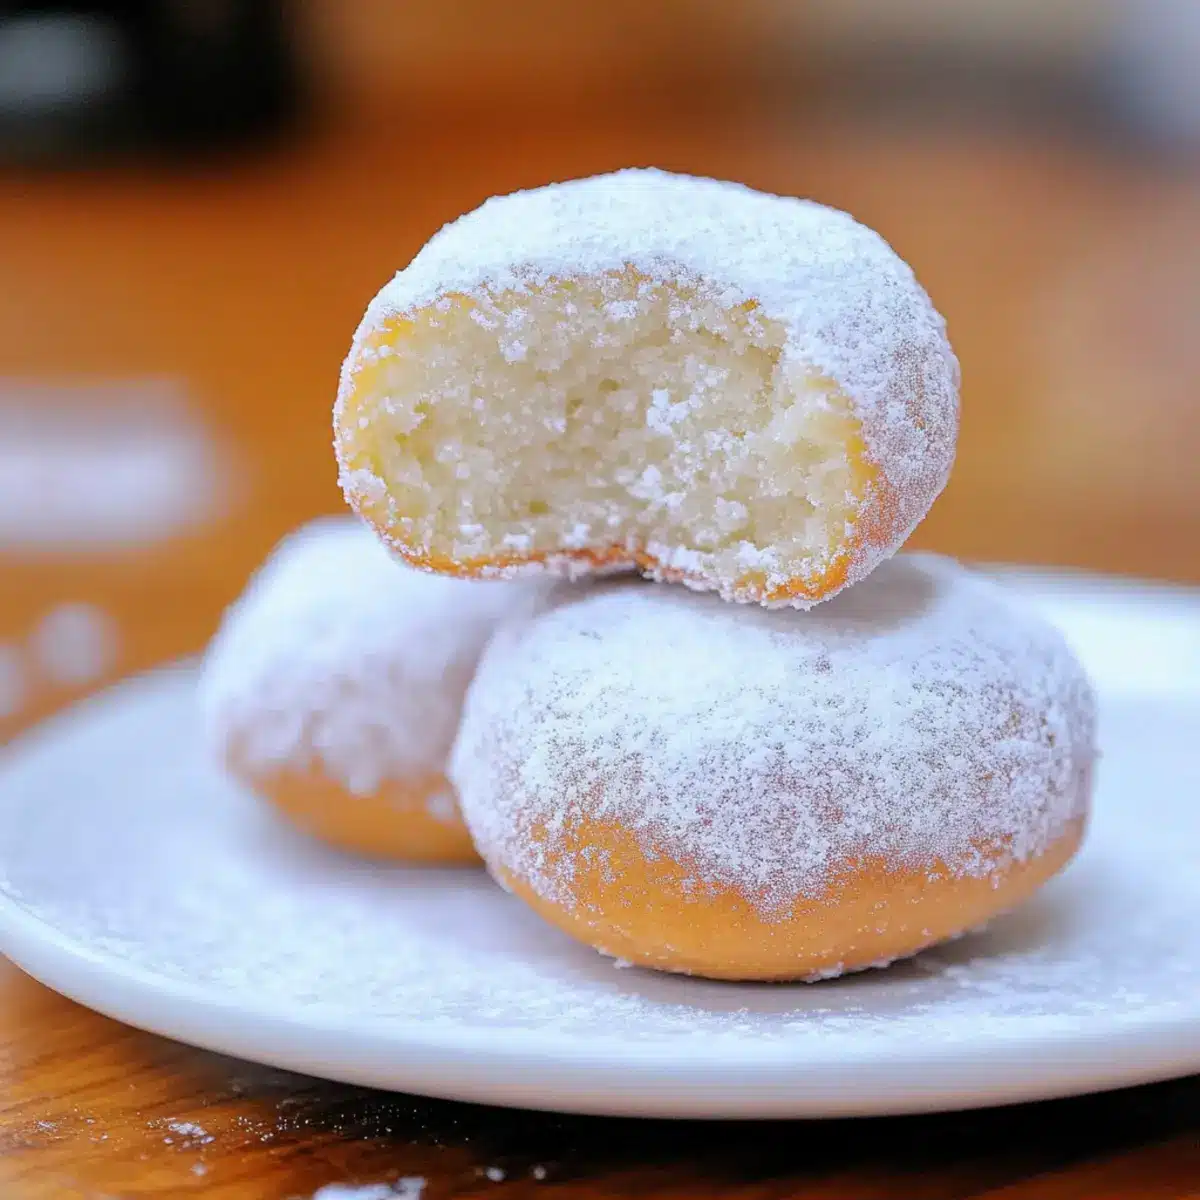
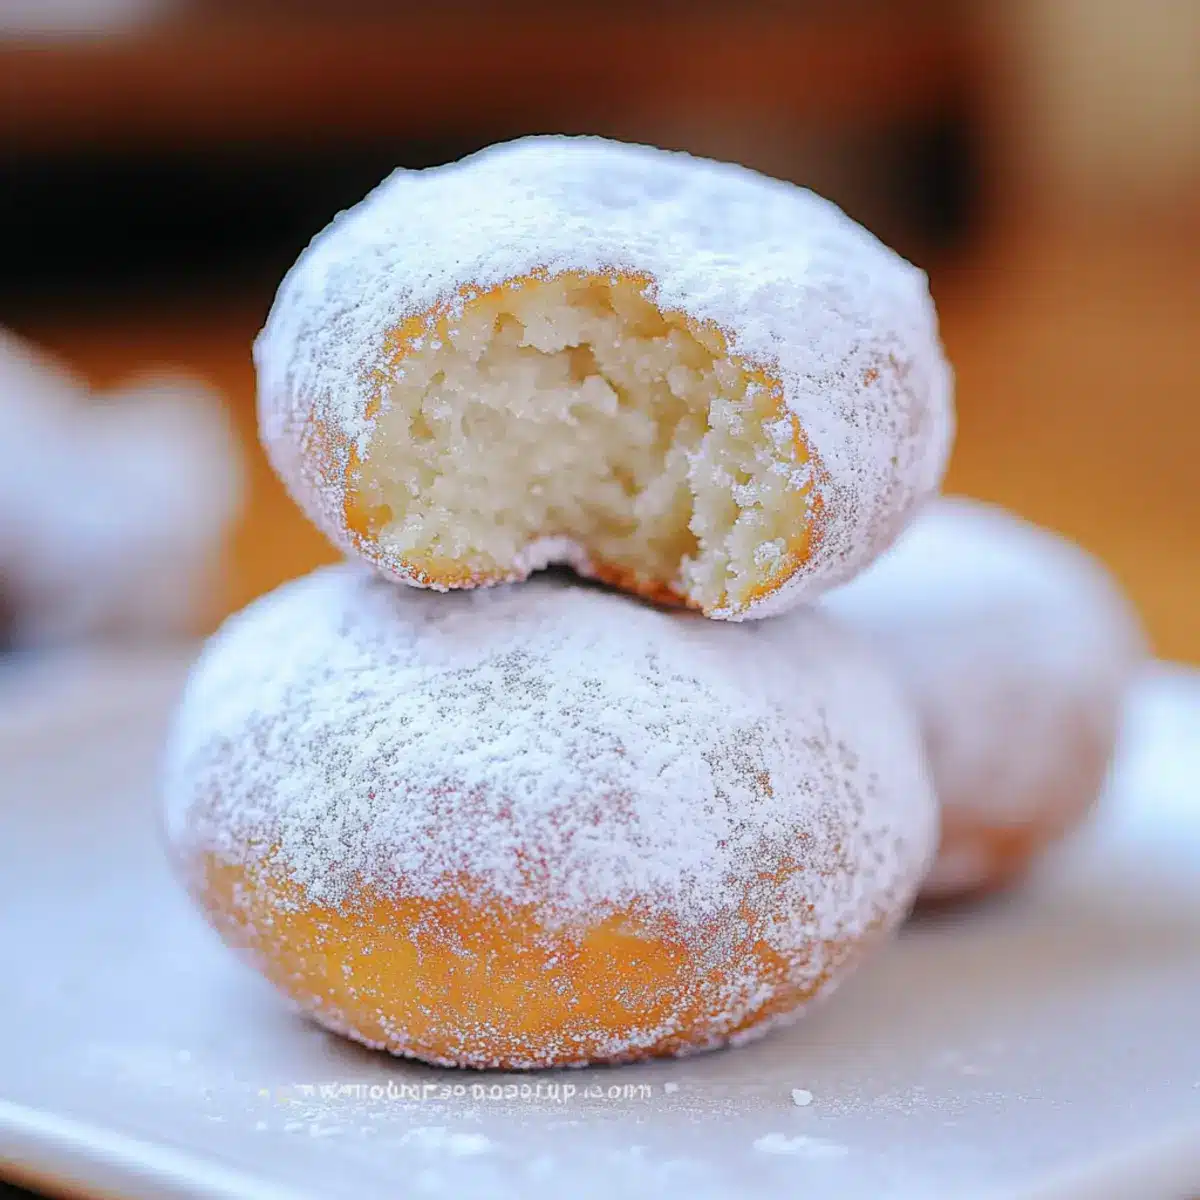
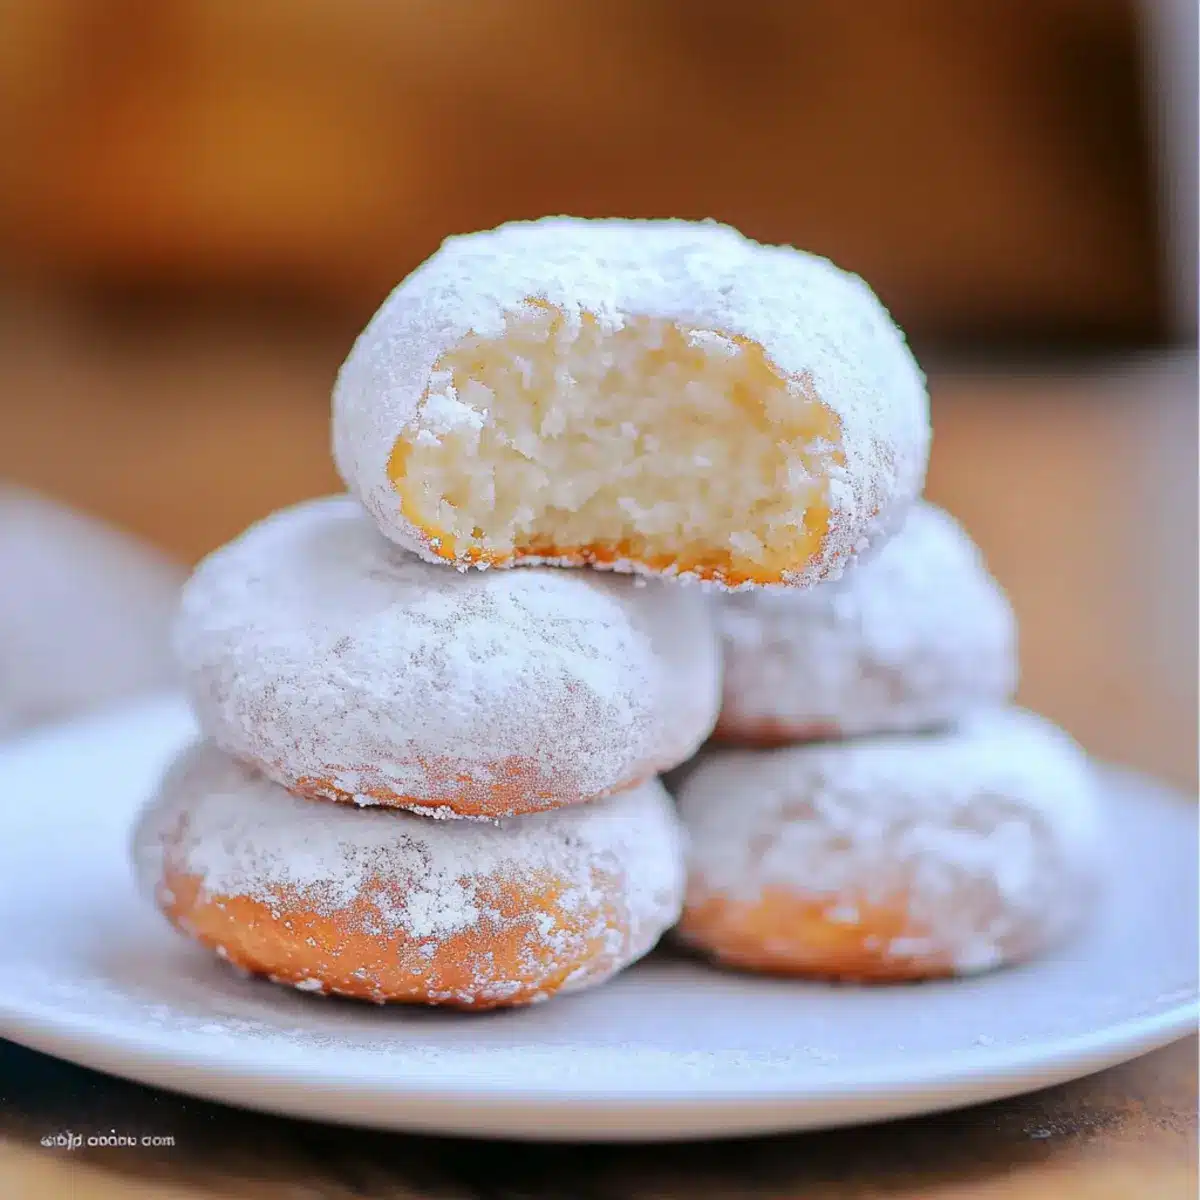
The other day, while rummaging through my kitchen, I stumbled upon a forgotten donut pan. A wave of nostalgia washed over me, instantly taking me back to carefree mornings filled with the aroma of fresh pastries. This moment sparked the inspiration for my latest creation: Irresistible Baked Snowball Donuts! These delightful treats are not only light and fluffy but also dairy-free and vegan, allowing you to satisfy any sweet cravings without guilt. The best part? You can whip up a batch in just five minutes, without the mess of frying! Whether you enjoy them as a decadent breakfast or a delightful dessert, these donuts prove that indulgence can also be healthy. So, are you ready to make a snowy sweet that delights both your taste buds and your waistline? Let’s dive into the recipe!
Why Choose Snowball Donuts Today?
Deliciously Light: These fluffy snowball donuts offer a guilt-free indulgence that won’t weigh you down.
Quick Prep: With just five minutes of prep time, you can enjoy homemade goodness in a flash.
Versatile Ingredients: Customize your donuts with maple syrup or different non-dairy milks to suit your tastes or dietary needs.
No Frying Required: Baked, not fried, these treats ensure you can enjoy every bite without the added calories.
Crowd-Pleasing Treat: Perfect for brunch or dessert, they appeal to everyone, from kids to adults—dare I say they could even rival your favorite coffee shop pastries!
Discover more about our healthy dessert options and bring joy to your kitchen with these scrumptious donuts!
Snowball Donut Ingredients
• Get ready for fluffy vegan treats with these must-have ingredients!
For the Donuts
- Milk of Choice – Provides moisture and softness; substitute with almond milk or any plant-based milk for dairy-free options.
- White or Cider Vinegar – Reacts with baking soda for that delightful lift, ensuring your snowball donuts are fluffy.
- Oil (or Banana, Applesauce, Almond Butter) – Adds moisture and richness; use fruit puree for an oil-free alternative.
- Pure Vanilla Extract – Enhances flavor depth and sweetness, making each bite even more delectable.
- Spelt, White, or Oat Flour – The backbone of your donuts; use gluten-free flour for a gluten-free option.
- Baking Powder – The magic leavening agent that makes your donuts rise to perfection.
- Sugar (or Xylitol for Sugar-Free) – Sweetens the mix for that delightful taste everyone will adore.
- Salt – Balances the sweetness and enhances the overall flavor of your snowball donuts.
For Dusting
- Powdered Sugar (or Sugar-Free Powdered Sugar) – For that signature snowy finish, adding a sweet touch to your delicious donuts.
Embrace this list to create mouthwatering Snowball Donuts that your family will love!
Step‑by‑Step Instructions for Snowball Donuts
Step 1: Preheat and Prepare Your Pan
Begin by preheating your oven to 350°F (175°C). While it heats, grease your mini or regular donut pan with non-stick spray or vegetable oil to prevent sticking. This step ensures your snowball donuts will come out smoothly once baked, ready for their delightful finish.
Step 2: Mix the Wet Ingredients
In a small mixing bowl, whisk together 1 cup of your milk of choice, 1 tablespoon of white or cider vinegar, 1/4 cup of oil (or fruit puree for a healthier twist), and 1 teaspoon of pure vanilla extract until well combined. The mixture should be smooth and slightly thickened, creating the perfect base for your fluffy donuts.
Step 3: Combine the Dry Ingredients
In a larger mixing bowl, sift together 1 1/2 cups of flour (spelt, white, or oat), 1 tablespoon of baking powder, 1/2 cup of sugar, and a pinch of salt. Stir thoroughly to ensure the baking powder is evenly distributed throughout the mix, which is essential for achieving that light and airy texture characteristic of snowball donuts.
Step 4: Combine Wet and Dry Mixtures
Pour the wet mixture into the bowl with the dry ingredients. Gently stir until just combined, being careful not to overmix the batter as this can lead to denser donuts. You want a thick yet pourable batter, with a few lumps remaining to keep your snowball donuts light and fluffy.
Step 5: Fill the Donut Pan
Using a spoon or a piping bag, carefully fill each mold of the prepared donut pan about 2/3 full to allow room for rising. Aim for even distribution to ensure all your donuts bake consistently. If you overspill, simply wipe any excess from the edges for a clean bake.
Step 6: Bake to Golden Perfection
Place the filled donut pan in your preheated oven and bake for 8 minutes. Keep an eye on your donuts; they should spring back when lightly touched. This is a sign that your snowball donuts are perfectly cooked, light, and ready to come out of the oven.
Step 7: Cool Before Removal
Once baked, remove the donut pan from the oven and allow it to cool for a few minutes on a wire rack. Letting them cool helps set the structure before you attempt to remove the donuts. Gently run a knife around the edges of each donut to help release them, ensuring they remain intact.
Step 8: Add the Sweet Finish
Finally, dust the cooled donuts generously with powdered sugar for that snowy effect. You can either dip them directly into a bowl of powdered sugar or sprinkle it over the top for a picturesque finish. Now your mouthwatering snowball donuts are ready to delight family and friends!
Make Ahead Options
These fluffy snowball donuts are perfect for meal prep enthusiasts! You can prepare the dry ingredients (flour, baking powder, sugar, and salt) up to 3 days in advance, storing the mixture in an airtight container to keep it fresh. Additionally, mix the wet ingredients (milk, vinegar, oil, and vanilla) and refrigerate for up to 24 hours. When you’re ready to enjoy your homemade treats, simply combine the wet and dry ingredients, fill the donut pan, and bake as directed. This method ensures your donuts remain just as delicious and fluffy, making it ideal for busy weeknights or surprise guests. Enjoy your time-saving secret with these delightful snowball donuts!
Snowball Donuts Variations & Substitutions
Feel free to personalize your snowball donuts with these delightful twists and swaps to suit your tastes or dietary needs!
- Dairy-Free: Substitute almond milk with any other plant-based milk for a deliciously creamy, non-dairy option.
- Fruit-Powered: Use applesauce instead of oil for a moisture boost and a touch of natural sweetness that packs flavor!
- Gluten-Free: Swap out regular flour for a cup-for-cup gluten-free flour blend, ensuring everyone can enjoy these treats.
- Add Some Spice: Mix in a teaspoon of cinnamon or nutmeg to bring warmth and comforting flavor to your donuts.
- Zesty Burst: Add a splash of lemon juice or a bit of lemon zest to the wet ingredients for a refreshing citrus twist.
- Choco-Delight: Stir in vegan chocolate chips into the batter for a rich, indulgent upgrade—who doesn’t love chocolate?
- Nutty Fusion: Incorporate finely chopped nuts or seeds to the batter for extra crunch and a touch of healthy fats.
- Surprise Dipping: Instead of powdered sugar, dip your donuts in a cinnamon-sugar blend for a sweet, spicy finish that’s oh-so-decadent!
With all these options, you’re sure to create a batch of snowball donuts that’s uniquely yours! If you’re curious about exploring even more healthy dessert ideas, check out our healthy dessert options for inspiration!
What to Serve with Irresistible Baked Snowball Donuts?
These delightful treats are just begging to be paired with something special for a complete experience.
- Vegan Hot Chocolate: Rich, creamy, and warm, this drink complements the sweetness of snowball donuts, making for a cozy indulgence.
- Fresh Berries: Juicy strawberries or blueberries add a pop of freshness and brightness, perfectly balancing the sweetness of the donuts.
- Coconut Whipped Cream: Light and airy, this fluffy topping enhances the dessert experience and brings a tropical flair to every bite.
- Chai Tea: The warm spices in chai provide a comforting contrast to the lightness of the donuts, making it an ideal pairing for breakfast.
- Maple Syrup: A drizzle of pure maple syrup can take these donuts to another level, adding a rich sweetness that complements their fluffy texture.
- Nutty Granola: For a delightful crunch, serve with granola on the side; its nutty flavor offers a fun contrast to the soft donuts.
Enjoy your whimsical snowball donut moment with these delicious pairings!
Expert Tips for Snowball Donuts
Don’t Overmix: Avoid overmixing the batter to keep your snowball donuts fluffy. Stir just until combined for the best texture.
Pan Prep Matters: Grease your donut pan thoroughly to prevent sticking, ensuring your donuts come out easily and remain intact.
Watch the Bake Time: Keep a close eye on your donuts as they bake; removing them at the right time is key for preventing dryness.
Measure Accurately: Precision in measuring flour and liquids can drastically influence the texture and flavor of your donuts—use proper measuring tools.
Cool Before Serving: Allow donuts to cool completely before dusting with powdered sugar. This ensures a beautiful presentation and prevents clumping.
Storage Tips for Snowball Donuts
Room Temperature: Store your snowball donuts in an airtight container at room temperature for up to 3 days to maintain their fluffiness.
Freezer: For longer storage, freeze your donuts in a single layer on a baking sheet, then transfer to a freezer bag for up to 2 months.
Thawing: To enjoy, thaw at room temperature or warm in the microwave for 10-15 seconds for a freshly baked taste.
Reheating: Reheat frozen donuts in a 350°F oven for about 5-7 minutes for a delightful soft texture, perfect for those yummy snowy dustings!
Snowball Donuts Recipe FAQs
What type of milk should I use for my Snowball Donuts?
Absolutely! You can use any milk of your choice for these donuts. Almond milk, coconut milk, or even oat milk are fantastic dairy-free options that provide moisture and softness. If you want to keep things simple, just grab what’s on hand—each type will yield delicious results!
How should I store my Snowball Donuts?
To keep your fluffy Snowball Donuts fresh, store them in an airtight container at room temperature for up to 3 days. If you want to enjoy them longer, you can freeze them! Just place them in a single layer on a baking sheet until solid, then transfer them to a freezer bag for up to 2 months.
Can I freeze Snowball Donuts?
Yes, indeed! Freezing is a great way to extend the life of your snowball donuts. After baking and cooling, freeze them on a baking sheet before transferring them to a freezer bag. To enjoy, simply let them thaw at room temperature or warm them in the microwave for 10-15 seconds. Voila—guilt-free goodies ready to enjoy!
What if my donuts turn out dense?
If your donuts don’t rise as light and fluffy as you’d like, it’s likely due to overmixing the batter. Make sure to mix just until combined and avoid excess stirring. Also, be sure to check the freshness of your baking powder; expired baking powder won’t provide the lift your donuts need to be airy and delightful!
Are these donuts suitable for gluten-free diets?
Absolutely! You can easily make these snowball donuts gluten-free by substituting with a gluten-free flour blend. Just ensure it’s a 1:1 replacement flour, as this will maintain the right structure and texture you want in your donuts. Feel free to experiment with different blends until you find the perfect match!
Are there any allergies I should consider?
When making these donuts, keep in mind that they are dairy-free and egg-free, making them suitable for many dietary needs. However, always read labels carefully if you are cooking for someone with allergies. If you use almond milk, be cautious if anyone has a nut allergy and opt for oat or soy milk instead!
Fluffy Snowball Donuts You'll Love – Easy Vegan Recipe
Ingredients
Equipment
Method
- Preheat your oven to 350°F (175°C) and grease your donut pan.
- In a small bowl, whisk together milk, vinegar, oil, and vanilla extract until smooth.
- In a separate bowl, sift together flour, baking powder, sugar, and salt.
- Combine wet and dry mixtures until just combined, taking care not to overmix.
- Fill each mold of the donut pan about 2/3 full.
- Bake for 8 minutes until they spring back when lightly touched.
- Cool for a few minutes, then gently release the donuts from the pan.
- Dust with powdered sugar before serving.
Leave a Reply