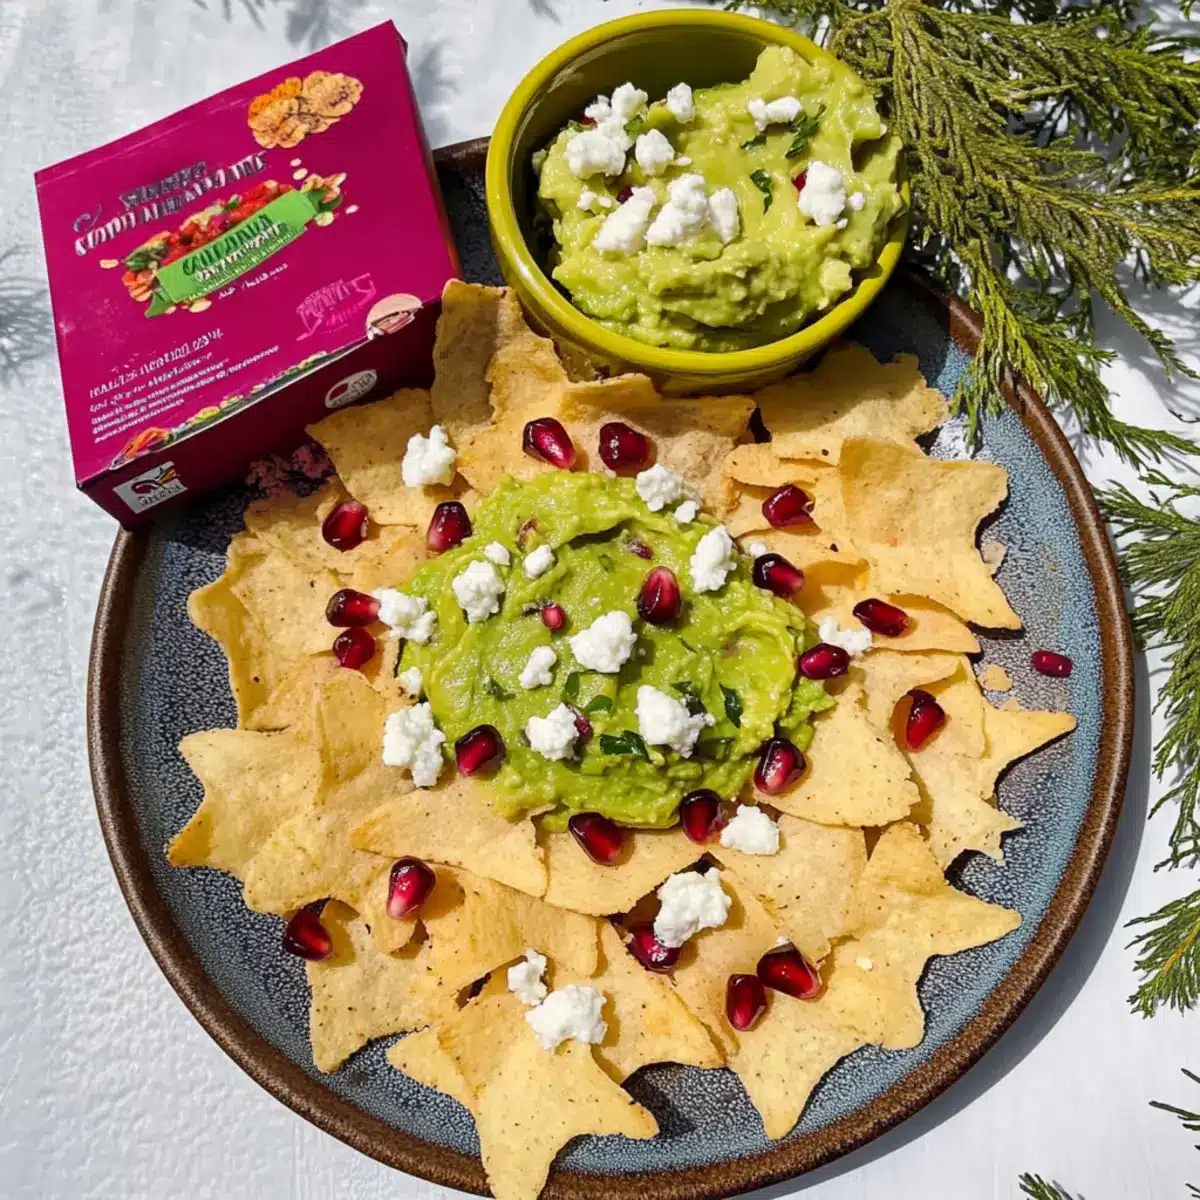
As I sat with friends, golden chips glistening in the sunlight, I couldn’t help but share my latest culinary discovery: Snowflake Chips. These delightful snacks are not only a breeze to whip up, but they also offer a satisfying crunch that rivals any store-bought option. Using simple large flour tortillas, brushed lightly with olive oil, these chips bake to perfection with a sprinkle of salt. Served alongside creamy guacamole and adorned with vibrant pomegranate seeds and crumbled goat cheese, they transform any gathering into a festive feast. Plus, they’re a healthy alternative to typical snacks, making it easy to indulge without the guilt. Intrigued? Let’s dive into how you can make these irresistible treats for your next get-together!
Why Are These Chips So Amazing?
Crispiness at its best: These Snowflake Chips deliver a satisfying crunch, making them the perfect snack for any occasion.
Quick Preparation: With just a few simple steps, you can whip up a tasty treat in no time, leaving more time to enjoy with loved ones.
Flavor Explosion: The combination of creamy guacamole, tangy goat cheese, and sweet pomegranate transforms your snacking experience. For an extra flavor kick, try making my Rosemary Parmesan Snowflake for a unique twist!
Versatile for all diets: Easily adapt the ingredients to meet dietary preferences—gluten-free tortillas or substitute cheeses work wonders!
Crowd-Pleaser: These chips are sure to impress friends and family at gatherings, offering a delightful, homemade alternative to boring store-bought snacks.
Snowflake Chips Ingredients
For the Chips
- Large Flour Tortillas – These are the base for your Snowflake Chips; feel free to substitute with whole wheat or gluten-free tortillas for a different twist.
- Olive Oil – Drizzling this adds richness and helps achieve that golden crisp; avocado oil or melted coconut oil can be swapped for a unique flavor.
- Salt – Essential for enhancing the flavor of your chips; consider using sea salt for a gourmet touch.
For the Garnish
- Good Foods Chunky Guacamole – This creamy dip complements the chips beautifully; homemade guacamole offers a fresh touch if you’re feeling adventurous.
- Pomegranate Seeds – Adding these vibrant gems not only brings color but also a burst of sweetness; diced tomatoes can serve as a substitute if pomegranate is unavailable.
- Crumbled Goat Cheese – This contributes a tangy creaminess that elevates the dish; feta cheese makes a great alternative if you prefer.
- Chopped Fresh Mint – This fresh herb enhances the flavor profile; basil can be used for a different herbal note.
Feel free to experiment and make these Snowflake Chips your own—they’re a fantastic way to indulge in healthy snacking!
Step‑by‑Step Instructions for Snowflake Chips
Step 1: Preheat the Oven
Begin by preheating your oven to 375°F (190°C). This temperature is perfect for achieving that desired golden crisp on your Snowflake Chips. Prepare a baking sheet by lining it with parchment paper or lightly greasing it to prevent sticking. While the oven heats up, you can move on to the next step.
Step 2: Prepare the Tortillas
Take your large flour tortillas and brush each side lightly with olive oil using a pastry brush. Sprinkle a touch of salt on both sides for flavor enhancement. Make sure the tortillas are evenly coated to promote even baking. This step is crucial for the crispiness of your Snowflake Chips, so don’t skimp on the oil!
Step 3: Cut the Tortillas
Once oiled and salted, stack the tortillas and cut them into your desired shapes—triangles or strips work beautifully for chips. Arrange the cut pieces in a single layer on the prepared baking sheet, ensuring they don’t overlap for optimal crisping. This arrangement is important for uniform cooking and browning.
Step 4: Bake the Chips
Place the baking sheet in the preheated oven and bake your Snowflake Chips for about 8 to 10 minutes. Keep a close eye on them; they should turn a lovely golden brown and become crispy. It’s a good idea to flip them halfway through the baking time for even crispiness.
Step 5: Cool Before Serving
Once baked, remove your crispy Snowflake Chips from the oven and allow them to cool on the baking sheet for a few minutes. This cooling time helps them firm up even more. While you wait, you can prepare your delicious guacamole and gather the toppings.
Step 6: Garnish and Serve
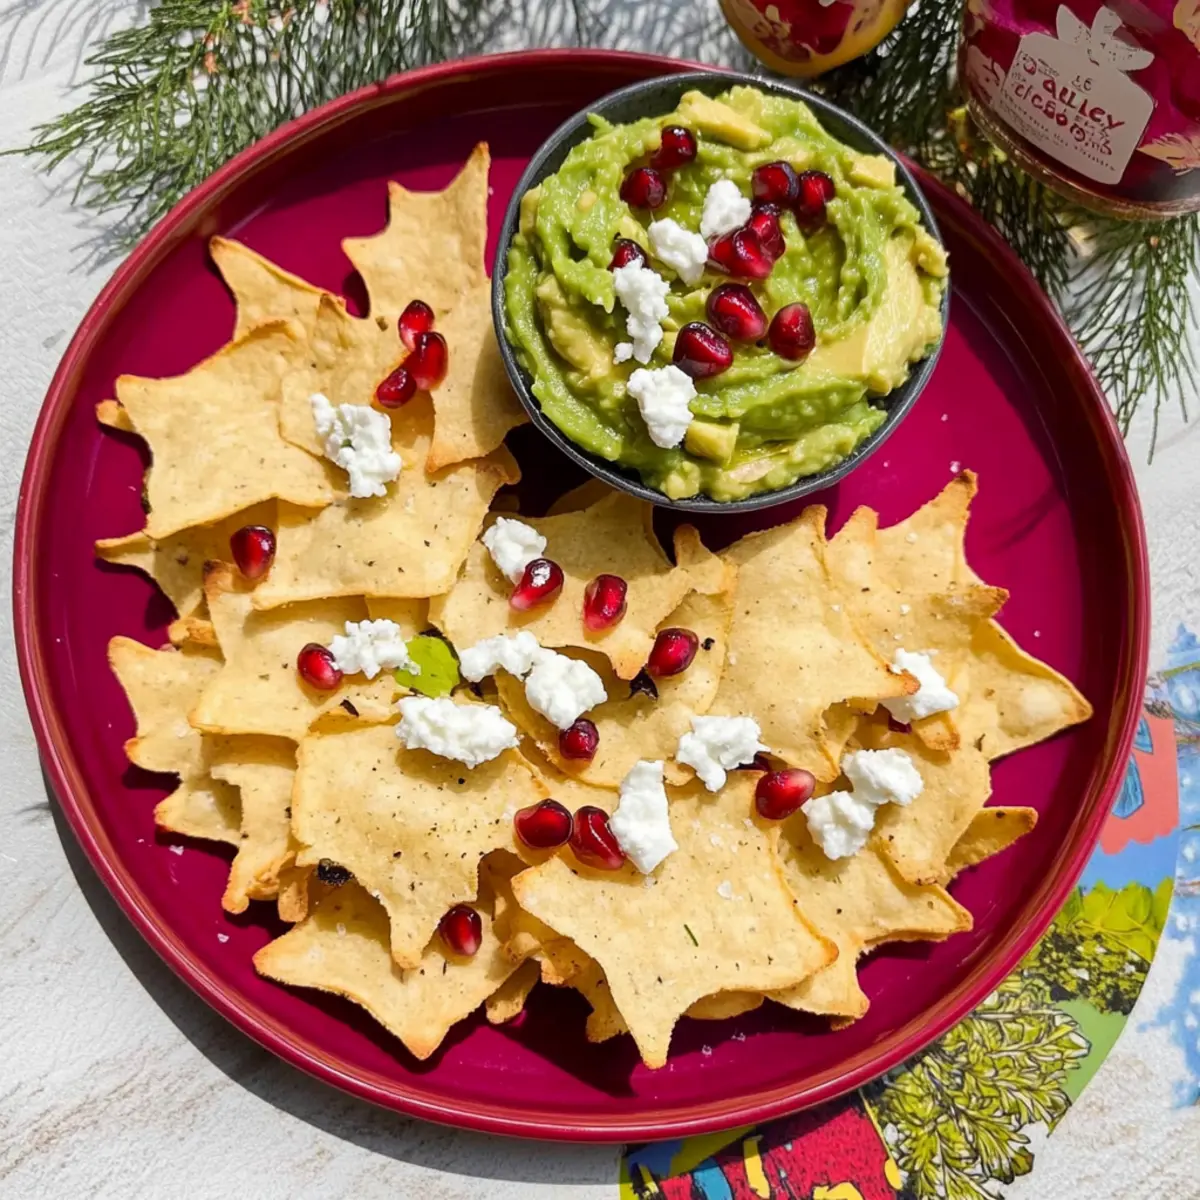
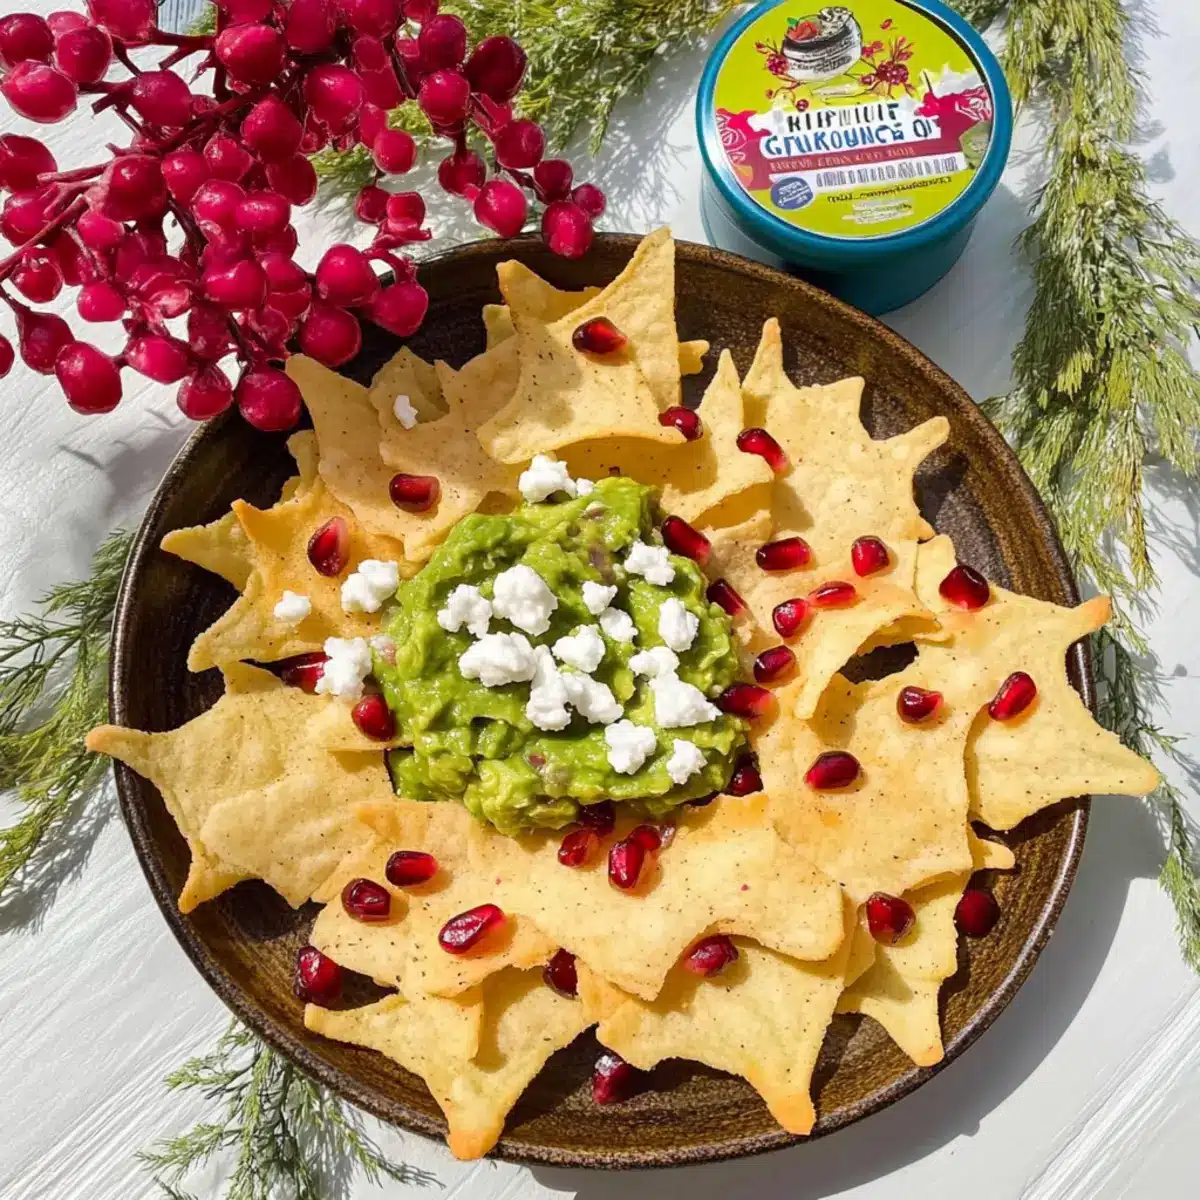
Now that your Snowflake Chips are perfectly crispy, serve them alongside a generous bowl of Good Foods Chunky Guacamole. Top them with vibrant pomegranate seeds, crumbled goat cheese, and a sprinkle of chopped fresh mint for an impressive presentation. Enjoy this delightful snack while it’s still fresh and crunchy!
What to Serve with Crispy Snowflake Chips
Transform your snack time into a delightful meal with these pairing ideas that excite the palate.
-
Creamy Guacamole: This rich dip complements the chips beautifully, adding creaminess and flavor that enhances each bite. It’s simply a must-have for a fresh touch!
-
Zesty Salsa: A fresh salsa brings a vibrant kick; think tomatoes, onions, and cilantro that elevate the overall experience wonderfully. Serve it on the side for extra flavor excitement.
-
Fresh Veggie Platter: Crunchy veggies like bell peppers and cucumber provide a refreshing contrast to the chips’ crunch. This balance adds both color and nutrition to your gathering.
-
Spicy Hummus: The nutty richness of hummus perfectly contrasts the crispy chips. A spicy version adds a delightful kick, ensuring every bite is a new adventure.
-
Sweet Pomegranate Salad: Combining pomegranate seeds with greens brings a burst of sweetness and color that brightens the table. Drizzle with a light vinaigrette for that extra zing.
-
Crisp White Wine: A chilled glass of Sauvignon Blanc matches the lightness of the chips and enhances the flavors from the garnishes. It’s the perfect drink for a relaxed gathering.
-
Chocolate-Dipped Strawberries: For a sweet finish, serve these alongside your chips. Their fruity flavor balances the savory chips, making for a delightful ending to your meal.
These pairings not only complement the crispy snowflake chips but also create a complete, colorful, and vibrant spread to share with family and friends!
Expert Tips for Snowflake Chips
-
Watch the Time: Baking times can vary; check your Snowflake Chips frequently to prevent burning. It’s best to catch them just as they turn golden.
-
Even Coating: Ensure your tortillas are evenly brushed with olive oil. This helps them crisp up nicely without any chewy spots.
-
Cool for Crunch: Let the chips cool on the baking sheet before serving. This cooling period helps them maintain that delightful crunch.
-
Flavored Oil Boost: Consider infusing your olive oil with garlic or herbs before brushing. This extra layer of flavor will elevate the taste of your Snowflake Chips.
-
Storage Tips: If you have leftovers, store them in an airtight container to keep them crispy for a few days. Avoid sealing them while they are still warm to prevent moisture.
Snowflake Chips: Creative Twists
Feel free to get playful with your Snowflake Chips; they’re so versatile and fun to customize!
- Gluten-Free: Swap large flour tortillas for gluten-free alternatives like corn tortillas, ensuring everyone can enjoy these delicious snacks!
- Spicy Kick: Add a pinch of cayenne pepper or chili powder to your olive oil before brushing the tortillas for a fiery flavor twist!
- Herb-Infused Oil: Infuse your olive oil with fresh herbs like rosemary or thyme beforehand, elevating the flavor profile without much effort.
- Crunchy Seeds: Sprinkle sesame or poppy seeds over the chips before baking for added texture and nutty flavor. These tiny additions can transform your chips!
- Sweet Twist: Drizzle with honey and sprinkle with cinnamon after baking for a sweet treat that pairs perfectly with a warm beverage.
- Creamy Options: Instead of guacamole, try serving with a creamy hummus for a delightful change that packs in more flavor! Don’t forget to explore this delectable option—the blend with pomegranate seeds will surprise your guests!
- Cheese Lovers: Incorporate a blend of cheeses such as mozzarella and cheddar for a gooey, delightful topping that will make your mouth water. For more cheese inspiration, check out my favorite Rosemary Parmesan Snowflake recipe!
- Veggie Upgrade: Top with a medley of colorful, roasted veggies instead of the usual garnishes for a healthier, crunchier alternative.
Embrace these variations to keep your snack game exciting and flavorful!
How to Store and Freeze Snowflake Chips
Fridge: Store leftover Snowflake Chips in an airtight container for up to 3 days to keep them fresh. Avoid stacking them to maintain their crispiness.
Freezer: For longer storage, freeze the chips in a single layer on a baking sheet before transferring them to an airtight container. This way, you can enjoy them for up to 1 month!
Reheating: To revive the crispiness, reheat the chips in a preheated oven at 375°F for about 5–7 minutes. This will bring back their delightful crunch before serving.
Room Temperature: If you plan to enjoy your Snowflake Chips within the day, they can be stored at room temperature in a cool, dry place for up to 1 day.
Make Ahead Options
These Snowflake Chips are perfect for busy home cooks looking to save time during meal prep! You can easily prepare the tortillas (brushed with olive oil and salt) up to 24 hours in advance. Simply cut them into your desired shapes and store them in an airtight container in the refrigerator to maintain their freshness. When you’re ready to bake, just preheat your oven and arrange the chips on a baking sheet. They only take about 8-10 minutes in the oven to crisp up beautifully. For the topping, make the guacamole right before serving to ensure it stays vibrant and fresh. This way, you’ll have a quick and impressive appetizer ready to go with minimal effort!
Crispy Snowflake Chips with Goat Cheese and Pomegranate Recipe FAQs
How do I know if my tortillas are fresh enough to use?
Absolutely! Look for tortillas that are soft and pliable without any dark spots or cracks. If they have an off smell or a dry, brittle texture, it’s best to choose fresher ones. Fresh tortillas will yield the best texture and flavor for your Snowflake Chips.
How should I store leftover Snowflake Chips?
For optimal freshness, store the leftover Snowflake Chips in an airtight container at room temperature for up to 3 days. Make sure they’re completely cooled before sealing to maintain their crispiness. It’s best to avoid stacking them to prevent any breakage or moisture absorption.
Can I freeze Snowflake Chips?
Yes, you can freeze your Snowflake Chips! Place them in a single layer on a baking sheet and freeze until firm. Once frozen, transfer the chips to an airtight container or a freezer bag. They can be stored this way for up to 1 month. To enjoy, simply reheat in a preheated oven at 375°F for about 5–7 minutes to restore their crunch.
What should I do if my chips burn while baking?
If your Snowflake Chips start to burn, don’t worry! Next time, reduce the baking time or check on them more frequently, especially as they approach the 7-minute mark. Alternatively, consider lowering the oven temperature to 350°F and baking longer for a more gradual crisp.
Are these chips safe for my pets?
While the Snowflake Chips themselves are made from ingredients that are generally safe, avoid allowing your pets to munch on them especially if they are seasoned with salt or other toppings. Always check with your vet if you’re unsure about serving any human food to your furry friends.
Can I use whole wheat or gluten-free tortillas for this recipe?
Very! Whole wheat or gluten-free tortillas work beautifully as substitutes. Just keep in mind that cooking times may vary slightly, so watch them closely to achieve that perfect golden crisp. Enjoy customizing this delicious recipe to fit your dietary needs!
Crispy Snowflake Chips: A Festive Snack You'll Love
Ingredients
Equipment
Method
- Preheat your oven to 375°F (190°C) and prepare a baking sheet with parchment paper.
- Brush each side of the large flour tortillas lightly with olive oil and sprinkle with salt.
- Stack the tortillas and cut them into desired shapes—triangles or strips for the chips.
- Arrange the cut pieces in a single layer on the prepared baking sheet and bake for 8 to 10 minutes.
- Remove from the oven and let the chips cool on the baking sheet for a few minutes.
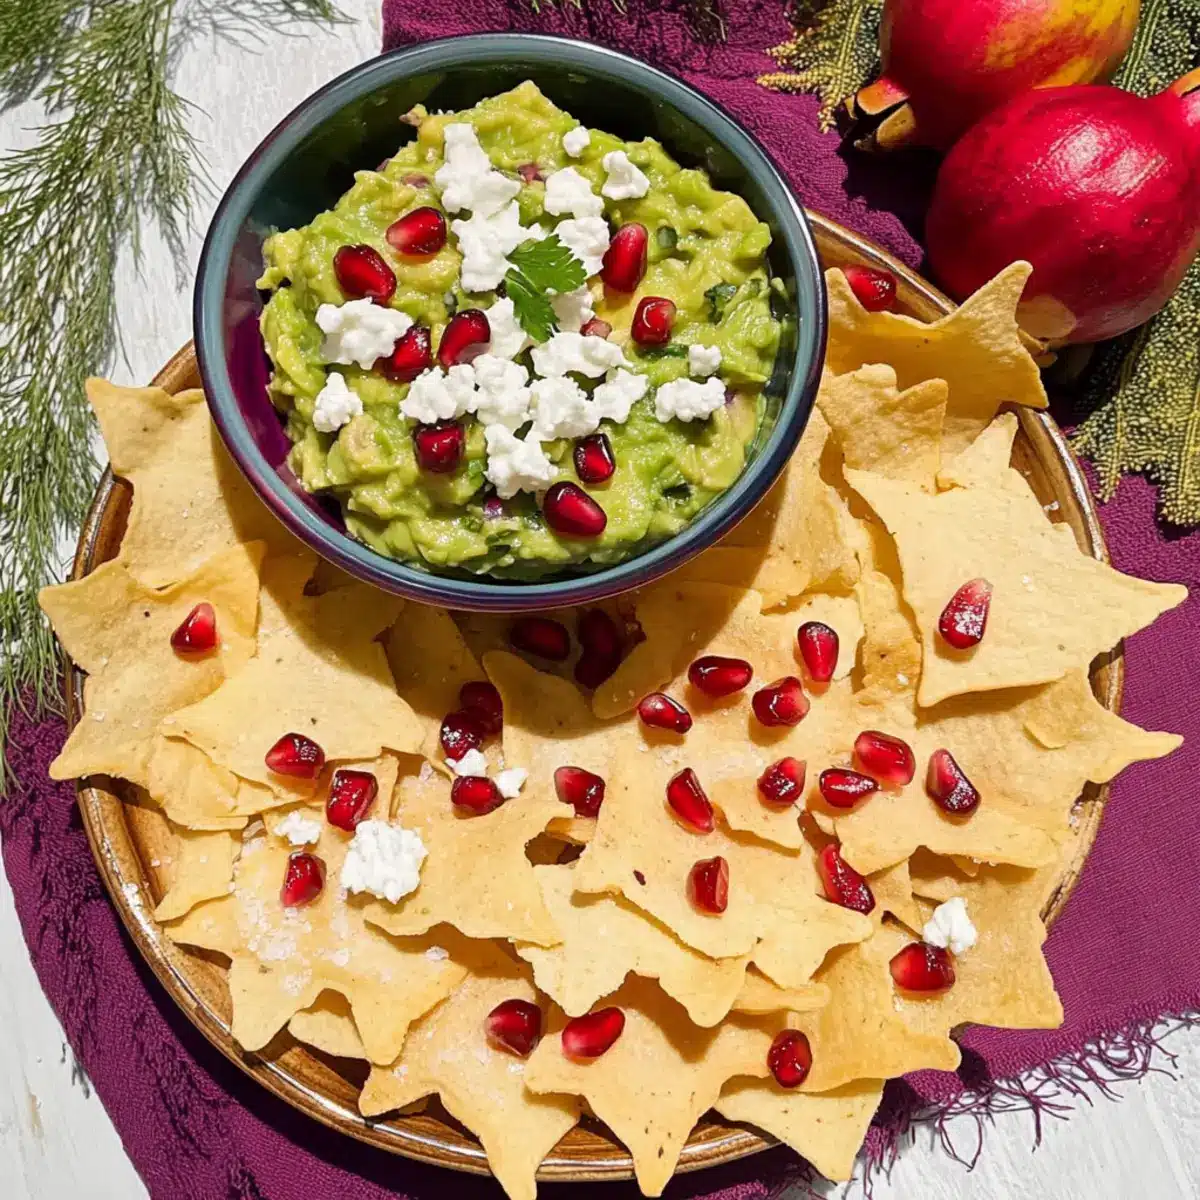
- Serve the crispy Snowflake Chips alongside guacamole and garnish with pomegranate seeds, goat cheese, and mint.
Leave a Reply