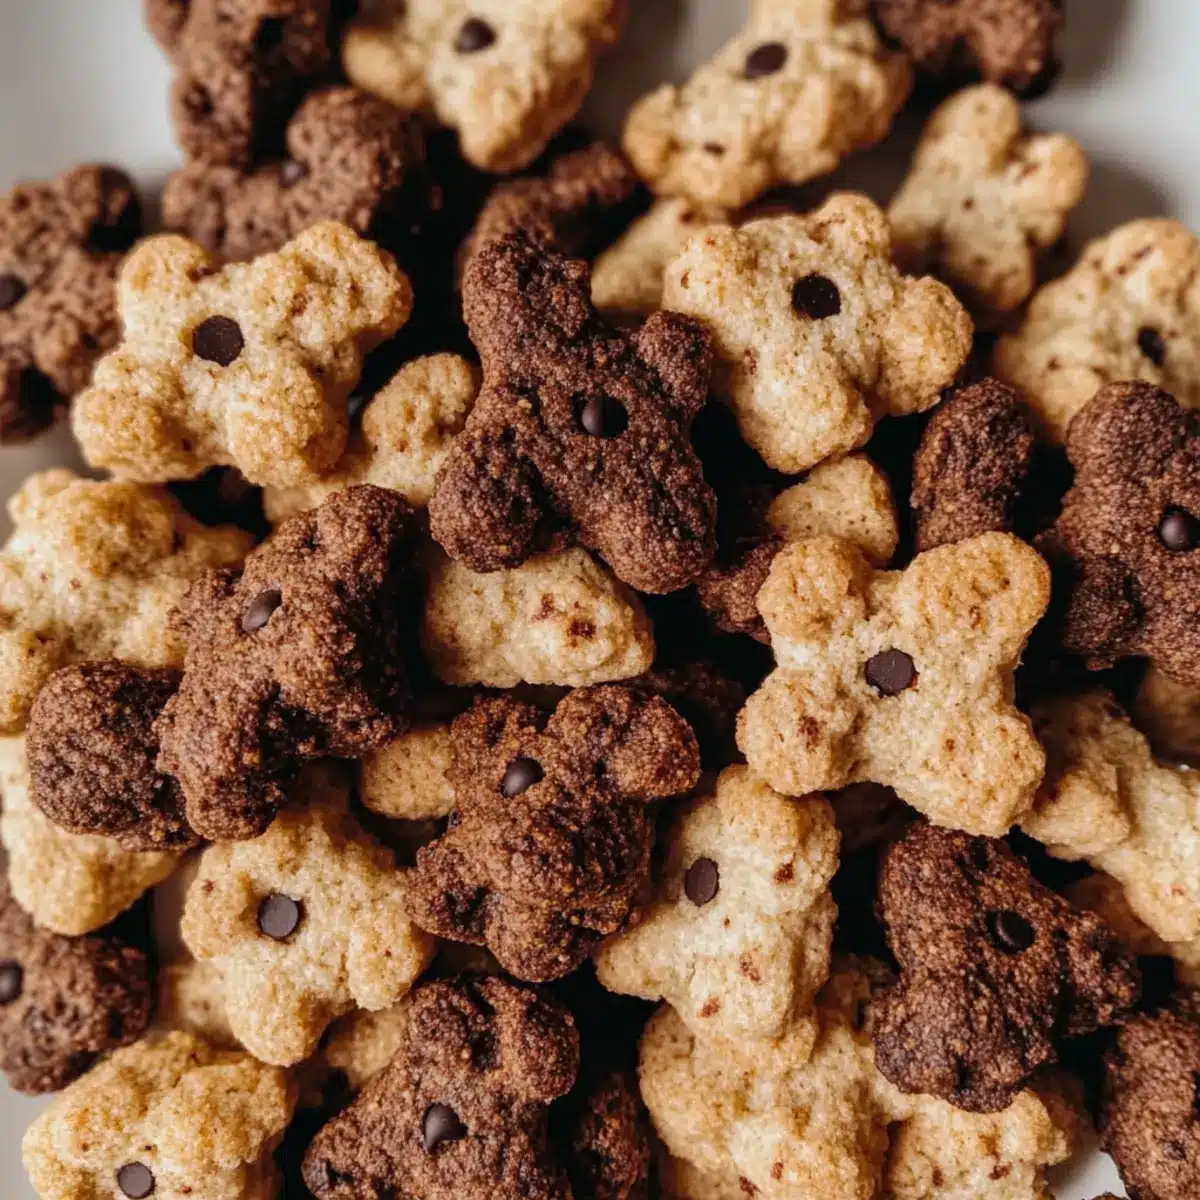
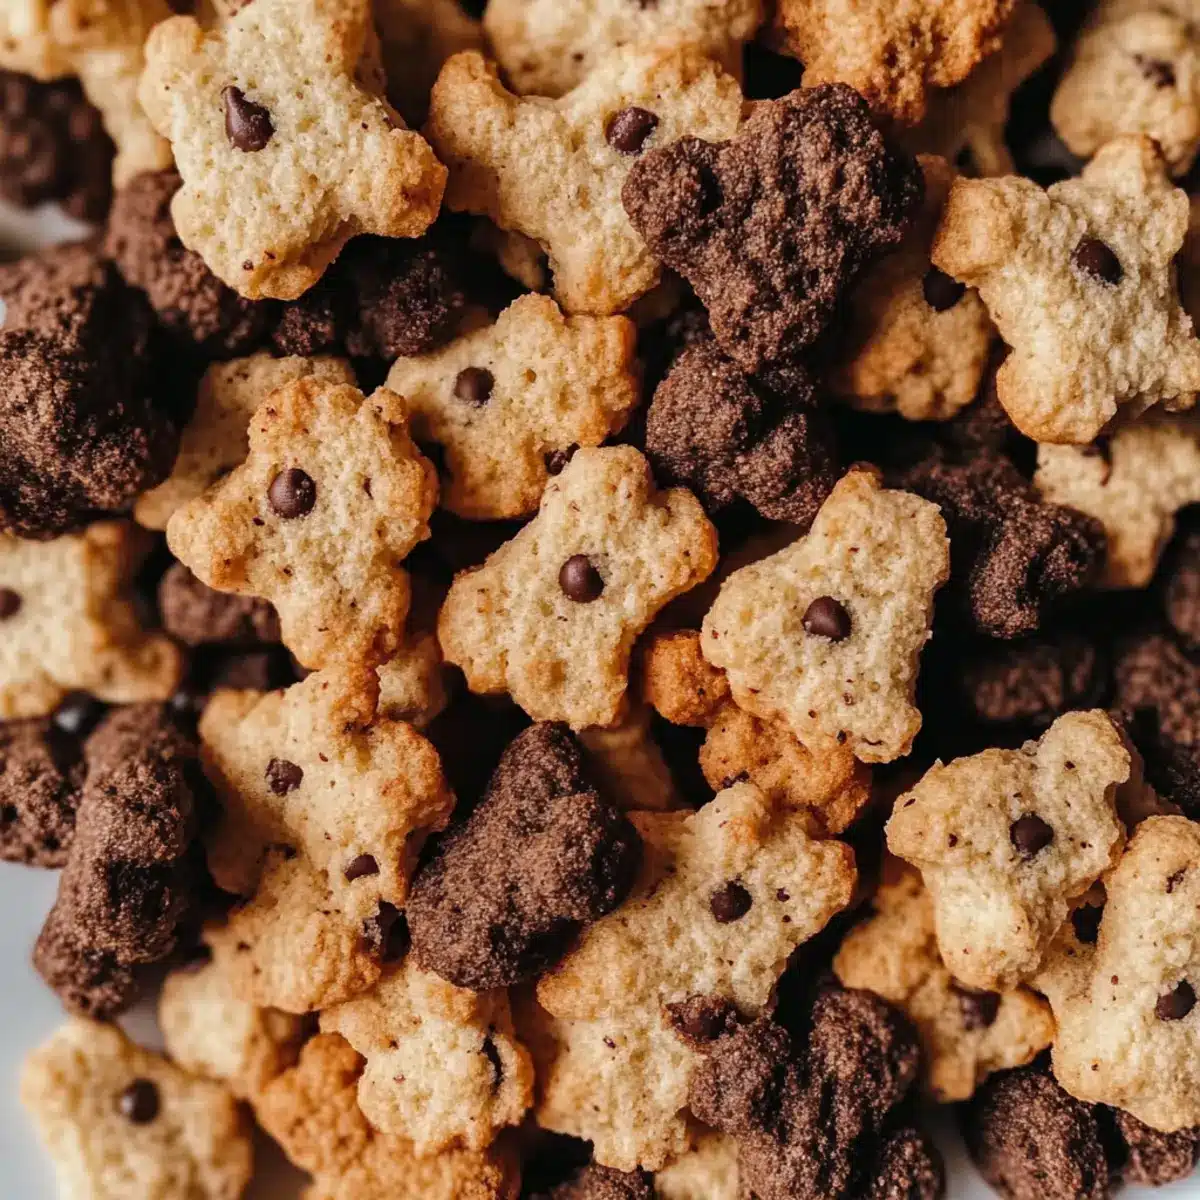
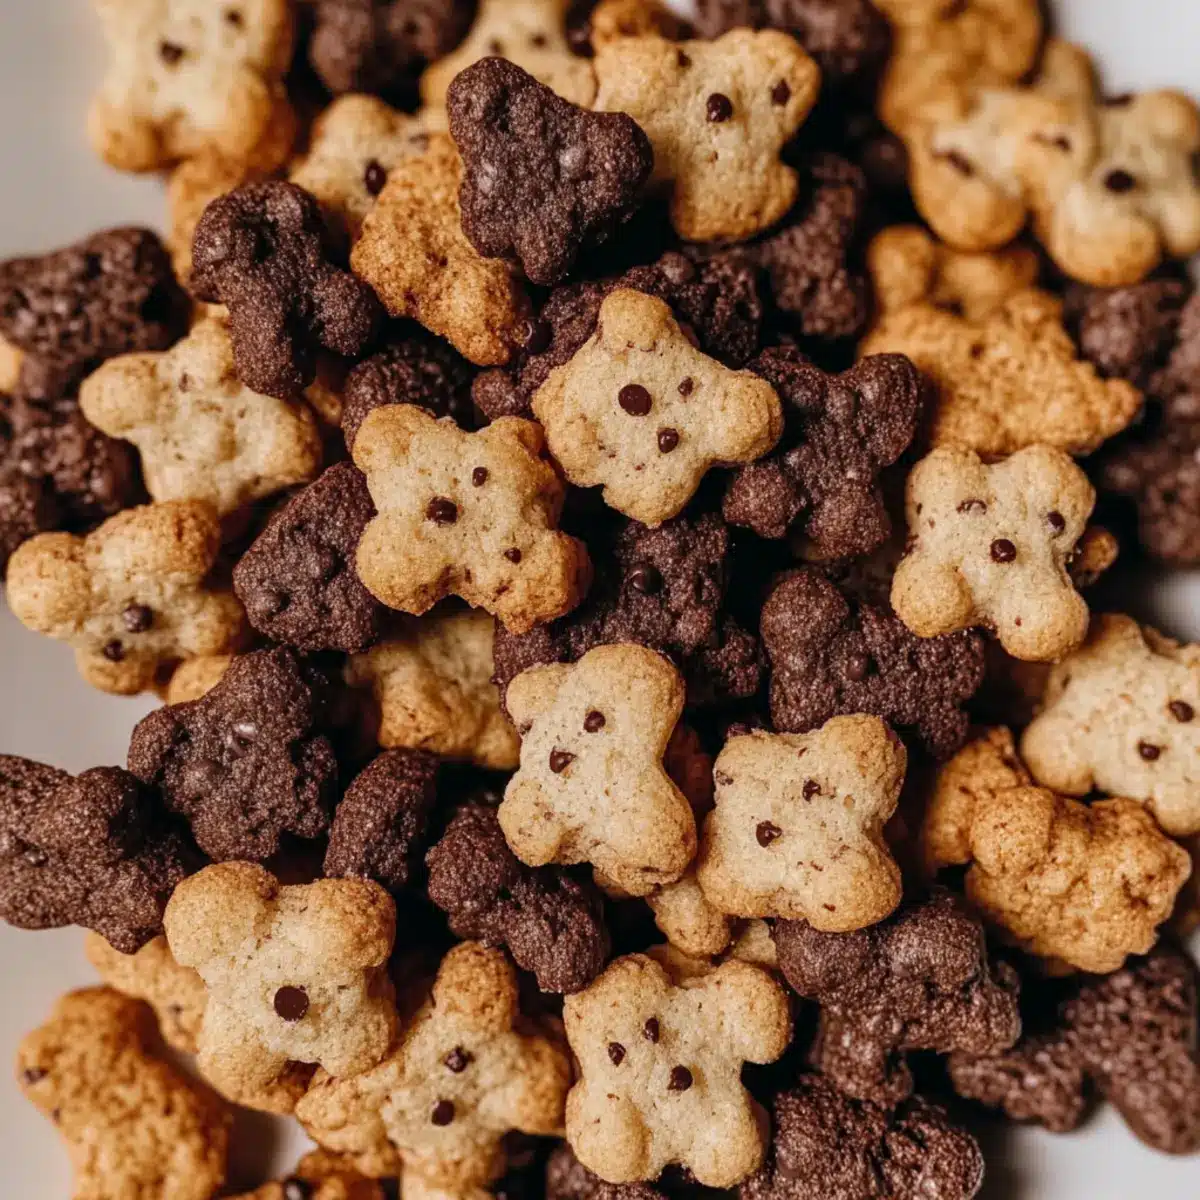
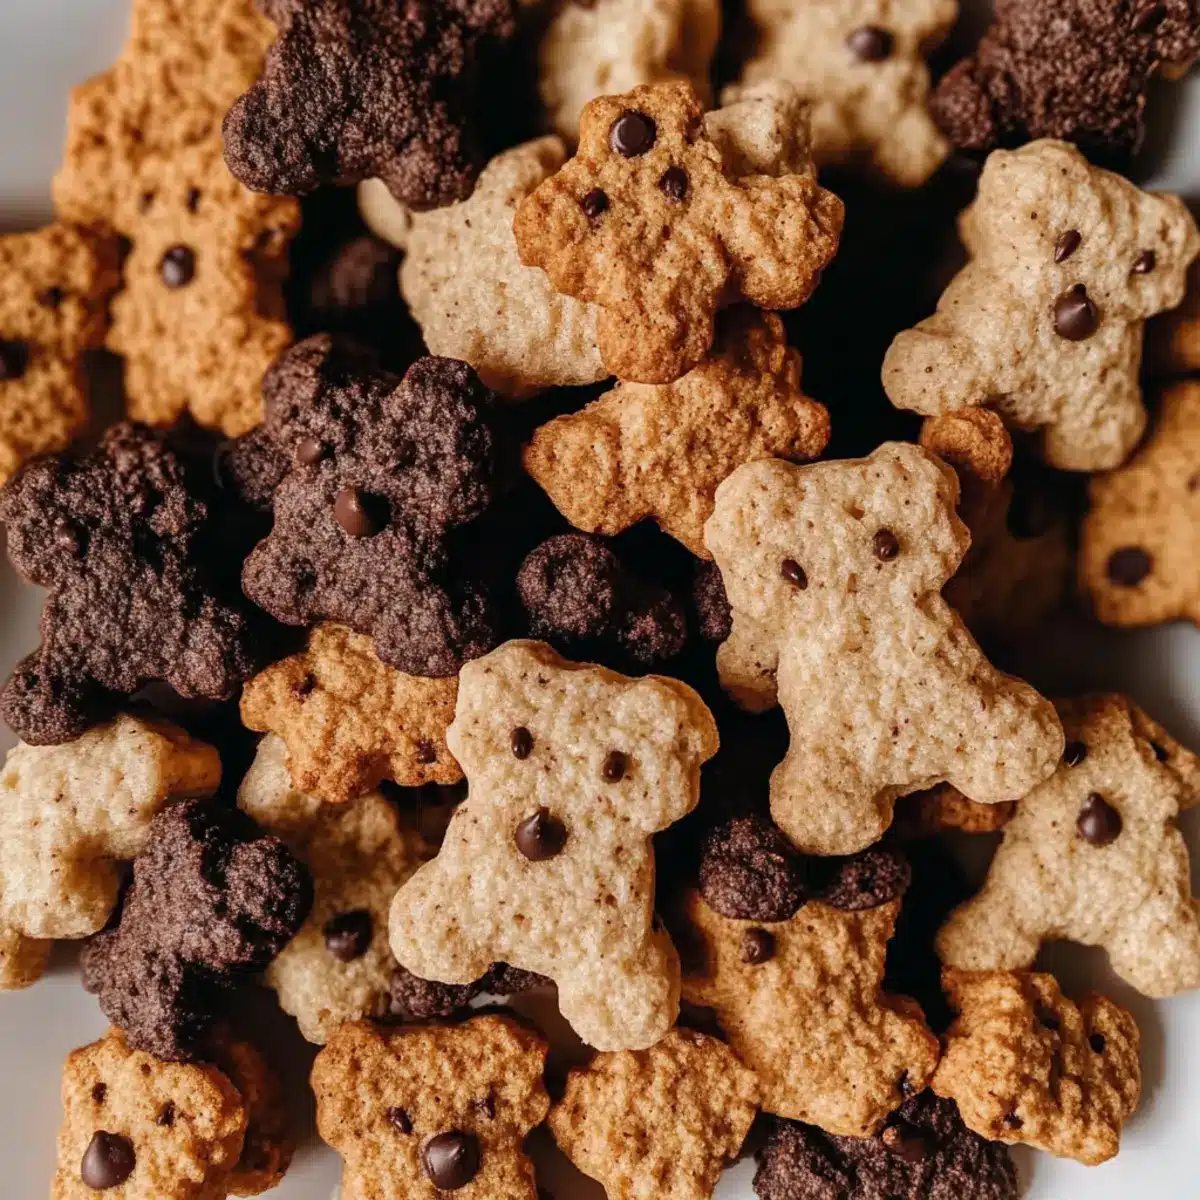
As I rummaged through my pantry one rainy afternoon, a childhood craving washed over me—those delightful little bear-shaped cookies that used to bring pure joy. That’s when I decided to recreate the magic with my Homemade Teddy Grahams! Not only do these charming treats fill childhood memories with three amazing flavors—Honey Cinnamon, Cocoa, and Chocolatey Chip—but they’re also vegan and gluten-free, making them accessible to everyone. This easy baking project is perfect for involving little hands, turning snack time into a fun-filled adventure. Plus, they offer a delicious and healthy alternative to store-bought snacks, satisfying your sweet tooth without the guilt. Are you ready to bring some playful nostalgia into your kitchen?
Why Are Homemade Teddy Grahams So Special?
Nostalgic Delight: Relive your childhood with these adorable bear-shaped cookies that bring a sense of joy and comfort.
Easy Baking Fun: This recipe is perfect for budding bakers and kids, turning a simple kitchen session into a fun-filled adventure.
Three Irresistible Flavors: Choose from Honey Cinnamon, Cocoa, and Chocolatey Chip; there’s a favorite for everyone!
Healthier Alternative: Vegan and gluten-free, these treats are made with wholesome ingredients, making snack time guilt-free.
Quick to Make: With minimal prep time, you can whip up a batch of Homemade Teddy Grahams in no time, perfect for busy days.
For a fun pairing, consider serving these cute cookies alongside a refreshing Italian Cream Soda!
Homemade Teddy Grahams Ingredients
• For the Cookie Dough
- Flour – Provides structure; you can use all-purpose or gluten-free flour depending on your dietary needs.
- Coconut Milk – Adds moisture and a creamy texture; feel free to swap with oat milk for a nut-free version.
- Coconut Sugar – A natural sweetener that enhances flavor; can be substituted with regular cane sugar, though texture may vary.
- Plant-Based Butter – Contributes to a tender cookie; regular butter can be used if not adhering to vegan dietary preferences.
- Baking Powder – Essential for helping the cookies rise and maintain a light texture.
• For the Flavors
- Honey or Maple Syrup & Cinnamon – The perfect combination for the Honey Cinnamon flavor.
- Cocoa Powder & Agave – Essential ingredients for creating the rich Cocoa flavor.
- Mini Chocolate Chips – Adds a sweet touch for the Chocolatey Chip flavor, making it irresistibly delectable.
These Homemade Teddy Grahams are not just a fun baking project but also a delicious way to bring joy into your home!
Step‑by‑Step Instructions for Homemade Teddy Grahams
Step 1: Prepare Dough
In a large mixing bowl, whisk together the dry ingredients: flour, baking powder, and coconut sugar until evenly combined. In a separate bowl, melt the plant-based butter and mix it with the coconut milk. Once combined, pour the wet mixture into the dry ingredients and stir until a cohesive dough starts to form, about 2-3 minutes.
Step 2: Combine
Gently fold the wet ingredients into the dry until everything is blended, ensuring not to over-mix. You want a smooth dough that holds together; it should feel slightly sticky but not too crumbly. If it appears dry, add a splash more coconut milk. Once combined, gather the dough into a ball and wrap it in plastic, chilling it in the fridge for about 30 minutes.
Step 3: Divide & Flavor
After chilling, remove the dough from the fridge and divide it into three equal portions. In one portion, mix in honey and cinnamon for the Honey Cinnamon flavor, blending until well combined. In the second portion, add cocoa powder and agave syrup for a rich Cocoa flavor. Finally, incorporate mini chocolate chips into the third portion for the Chocolatey Chip flavor, ensuring each dough is flavorful and well-mixed.
Step 4: Shape Cookies
Preheat your oven to 350°F (175°C). On a lightly floured surface, roll each flavored dough to about ¼-inch thickness. Use bear-shaped cookie cutters to cut out the cookies, placing them on a parchment-lined baking sheet. Make sure to leave some space between each cookie, as they may spread slightly during baking.
Step 5: Bake
Bake the cookies in your preheated oven for 10 to 12 minutes, or until they turn lightly golden around the edges. Keep an eye on them towards the end of the baking time to prevent over-baking. The cookies should look set but slightly soft in the center when done; they will firm up as they cool.
Step 6: Cool
Once baked, remove the cookies from the oven and let them cool on the baking sheet for 5 minutes. Gently transfer the Homemade Teddy Grahams to a wire rack to cool completely. This step is crucial to achieve the perfect crunchy texture, so allow them to cool undisturbed before diving in!
Homemade Teddy Grahams Variations
Customize your Homemade Teddy Grahams to create delightful surprises with each batch!
- Nutty Texture: Add chopped nuts like almonds or walnuts to your dough for a satisfying crunch that elevates every bite.
- Seeds Galore: Substitute some of the flour with ground flaxseeds or chia seeds for a nutritious twist. It’s a simple way to boost fiber!
- Natural Sweeteners: Swap out coconut sugar for maple syrup or date sugar to introduce unique flavors and natural sweetness into your cookies.
- Zesty Twist: Add a teaspoon of lemon or orange zest to the dough for a refreshing citrusy flavor that pairs beautifully with honey.
- Spicy Kick: For those who enjoy a little warmth, incorporate a dash of cayenne pepper to the Cocoa version. It’s unexpected but delicious!
- Extra Chocolate: Mix in additional mini chocolate chips or chunks for a richer Chocolatey Chip flavor—because who doesn’t want more chocolate?
- Fun Shapes: If bear shapes aren’t available, use cookie cutters to create stars, hearts, or flowers for a fun, thematic snack anytime.
- Chocolate Dipping: Once baked and cooled, consider dipping half of your Teddy Grahams in melted dark chocolate for a decadent treat that’s perfect for sharing!
Remember, your baking journey is a playground of creativity! For a delightful drink to pair with your cookies, why not make a refreshing Italian Cream Soda? It’s the perfect accompaniment to your adorable treats!
How to Store and Freeze Homemade Teddy Grahams
Airtight Container: Keep your Homemade Teddy Grahams in an airtight container at room temperature for up to 7 days to maintain their delightful crunch.
Refrigeration: For extended freshness, you can store them in the fridge for up to 2 weeks; however, be aware they might lose some of their signature crispness.
Freezer: Freeze cookies in a single layer, then transfer to a freezer bag for up to 3 months. Thaw at room temperature before enjoying again!
Reheating: If you prefer a warm cookie experience, pop them in the oven at 350°F (175°C) for about 5 minutes, bringing back that delicious crunch.
Make Ahead Options
These Homemade Teddy Grahams are perfect for meal prep enthusiasts! You can prepare the dough up to 24 hours in advance by following the first three steps of the recipe and then refrigerating the wrapped dough. This allows the flavors to meld beautifully, ensuring your cookies taste just as delicious as if made fresh. For added convenience, you could also cut the cookies into shapes and freeze them in a single layer on a baking sheet before transferring them to an airtight container for up to 3 days. When you’re ready to bake, simply preheat the oven and bake them directly from the fridge, following the regular instructions. This way, you reap the benefits of a delightful homemade treat with minimal effort during your busy week!
What to Serve with Homemade Teddy Grahams?
Transform snack time into a delightful feast by pairing these adorable cookies with equally charming companions.
- Creamy Almond Milk: A soothing glass of almond milk enhances the cookies’ sweetness while providing a nutty undertone that’s hard to resist.
- Fresh Fruit Salad: Bright, juicy fruits like strawberries and bananas offer a refreshing contrast to the cookies’ crunch, creating a balance of flavors.
- Nutty Trail Mix: This mix of nuts, dried fruits, and seeds complements the sweet Teddy Grahams with an extra crunch, making for a delightful texture combination.
- Chocolaty Dipping Sauce: Melted chocolate or a vegan chocolate sauce invites a fun and indulgent dip that enhances every creamy bite of cookie.
- Coconut Whipped Cream: Light and fluffy, this sweet topping adds an airy texture that pairs wonderfully with the cookies’ crunch, perfect for a dessert option.
- Hot Chocolate: Cozy up with a warm cup of hot chocolate, inviting the sweetness of the drink to meld with the three Teddy Graham flavors for a nostalgic twist.
- Mini Marshmallows: For an added touch of whimsy, serve mini marshmallows on the side; they are perfect for a playful dip or simply enjoyed alongside the cookies.
Expert Tips for Homemade Teddy Grahams
- Precise Measurements: Ensure all measurements are accurate for consistent results; I recommend using a kitchen scale for perfect dough.
- Dough Consistency: If your dough is too crumbly, don’t hesitate to add a splash of coconut milk to get the right texture for your Homemade Teddy Grahams.
- Watch Baking Time: Keep an eye on your cookies towards the end of the baking time. Ovens vary, and you want to avoid over-baking for that perfect crunch.
- Chill for Easier Handling: Chilling the dough for 30 minutes makes it easier to roll and shape without sticking. It’s a simple step that pays off!
- Creative Shapes: If you don’t have a bear-shaped cutter, get creative! Use any cookie cutter you have on hand to make fun shapes for the kids.
Homemade Teddy Grahams Recipe FAQs
What type of flour should I use for Homemade Teddy Grahams?
Absolutely! You can use all-purpose flour or gluten-free flour based on your dietary choices. For a perfectly airy texture, I often recommend a gluten-free 1:1 baking blend, as it yields great results without compromising flavor.
How should I store my Homemade Teddy Grahams?
To keep your cookies fresh, store them in an airtight container at room temperature for about 7 days. If you want them to last longer, place them in the refrigerator for up to 2 weeks; just keep in mind that they may lose some crunch.
Can I freeze my Homemade Teddy Grahams?
Yes, indeed! To freeze, lay the cookies in a single layer on a baking sheet until solid. Then transfer them to a freezer-safe bag and they’ll be good for up to 3 months. When you’re ready to enjoy, simply thaw them at room temperature for a delightful treat!
What should I do if my cookie dough is too crumbly?
No worries! If your dough isn’t coming together, add a splash more coconut milk a teaspoon at a time until it reaches the right consistency. The dough should feel smooth and a bit sticky but still hold its shape easily when pressed.
Are there any allergy considerations for Homemade Teddy Grahams?
Great question! These cookies are vegan and gluten-free, making them suitable for many dietary preferences. However, be mindful of allergies to coconut or other ingredients used, and always double-check labels on substitutes if that’s a concern.
What’s the best way to achieve the perfect texture for my cookies?
For that delicious crunch on the outside and tender center, it’s crucial to chill your dough for about 30 minutes before rolling it out. This not only helps with handling but also prevents spreading while baking. Remember to keep a close eye on the baking time to avoid over-baking!
Homemade Teddy Grahams: Irresistibly Crunchy & Vegan Treats
Ingredients
Equipment
Method
- In a large bowl, whisk together the dry ingredients: flour, baking powder, and coconut sugar until combined. In another bowl, melt the plant-based butter and mix it with coconut milk. Pour the wet mixture into the dry ingredients and stir until a dough forms, about 2-3 minutes.
- Gently fold the wet ingredients into the dry until blended, ensuring not to over-mix. Form the dough into a ball, wrap it in plastic, and chill in the fridge for 30 minutes.
- After chilling, divide the dough into three portions. In one, mix in honey and cinnamon; in another, add cocoa powder and agave; in the last, fold in mini chocolate chips.
- Preheat your oven to 350°F (175°C). Roll each flavored dough to about ¼-inch thickness and cut out shapes using bear-shaped cookie cutters. Place on a parchment-lined baking sheet.
- Bake the cookies for 10 to 12 minutes, or until lightly golden. They should be set but soft in the center.
- Let them cool on the baking sheet for 5 minutes, then transfer to a wire rack to cool completely.
Leave a Reply