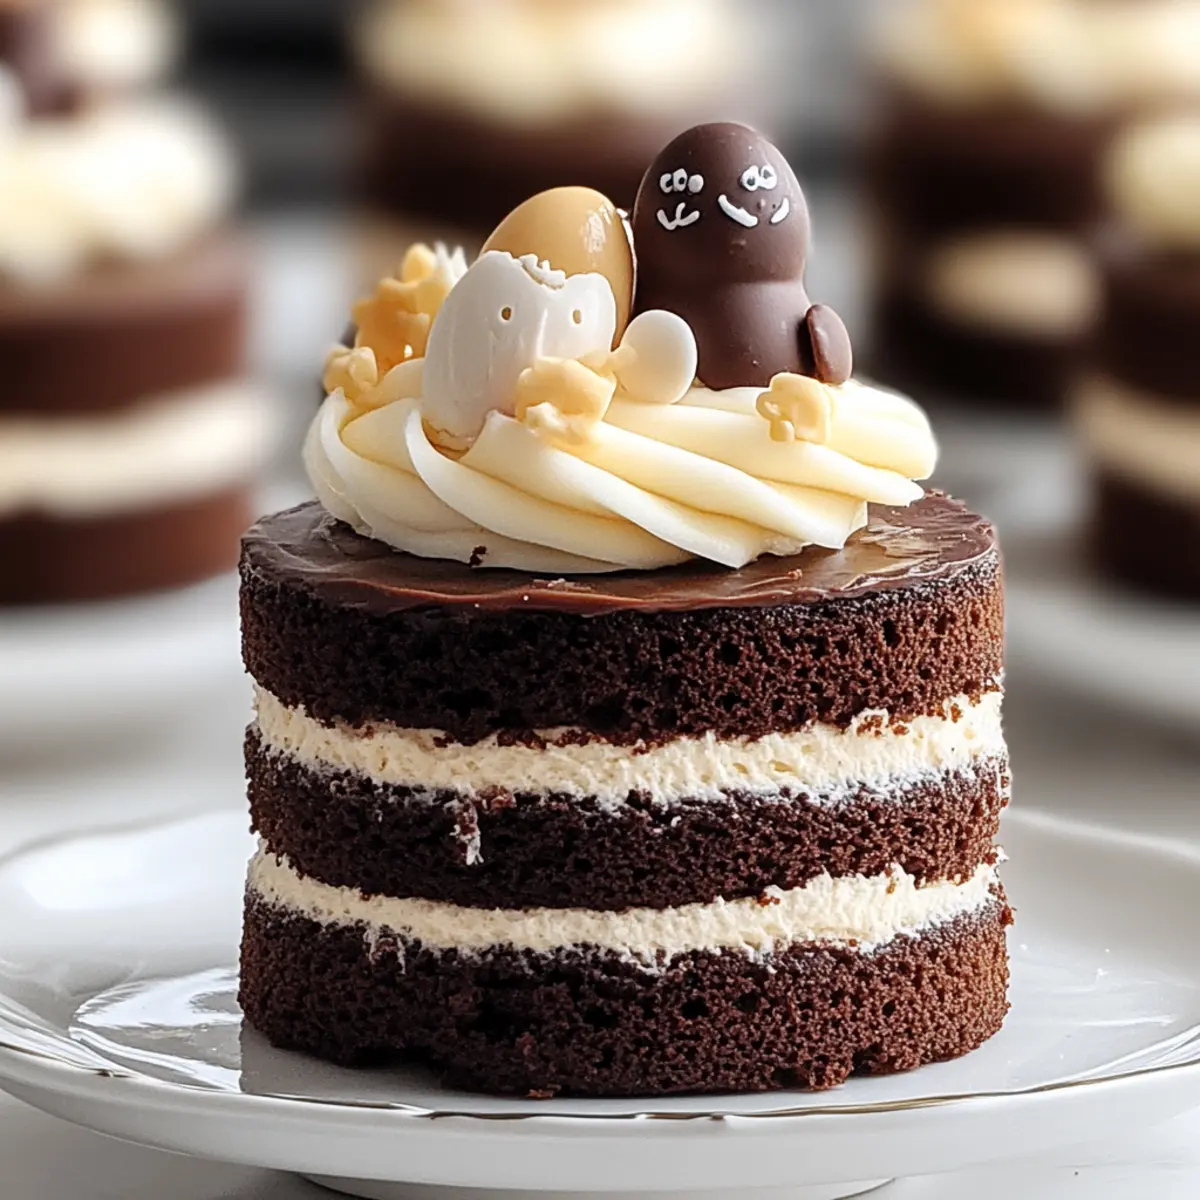
As I rummaged through my pantry one spring afternoon, I stumbled upon a treasure trove of chocolate ingredients just waiting to spring into action. That’s when inspiration struck—mini layered cakes that capture the spirit of Easter! These Mini Easter Layer Cakes not only delight the taste buds with their rich chocolate layers and fluffy buttercream frosting but also bring a festive touch to any gathering. One of the best aspects of this treat is its customizable nature; you can easily adapt it into adorable cupcakes if you’re feeling particularly inspired. Plus, these little gems are a quick-prep wonder, making them the perfect dessert centerpiece for your Easter brunch. Curious to see how these delicious delights come together? Let’s dive in!
Why are Mini Easter Layer Cakes a must-try?
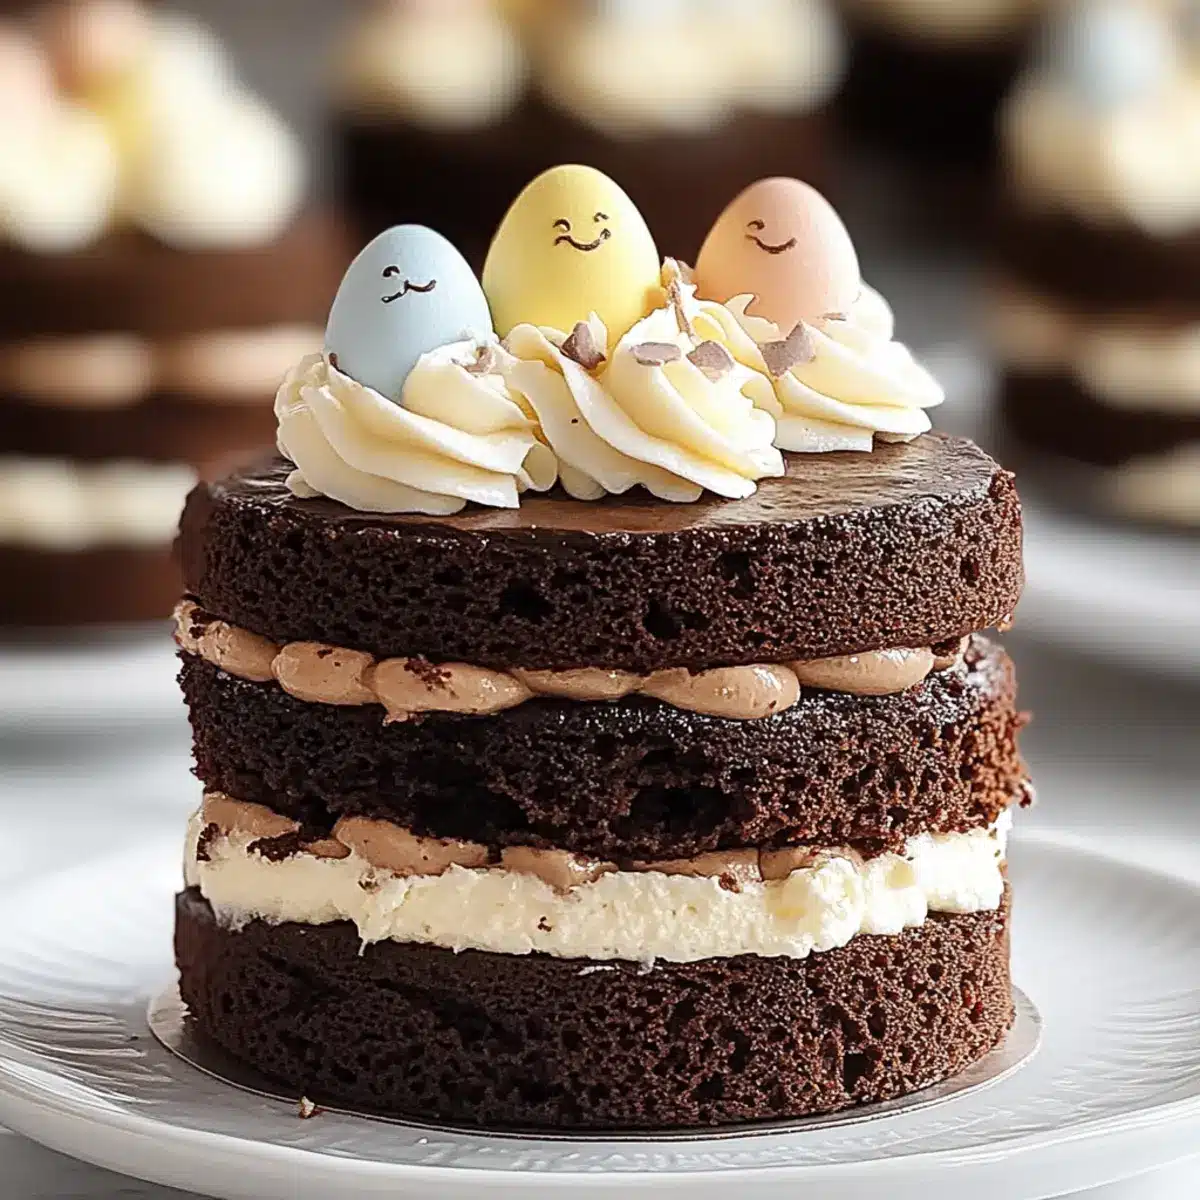
Irresistible Taste: This recipe features layers of rich chocolate goodness, paired with light and fluffy buttercream frosting that creates a delightful balance.
Endless Customization: Whether you stick to the layered cake format or transform them into charming cupcakes, you can personalize these treats for any celebration!
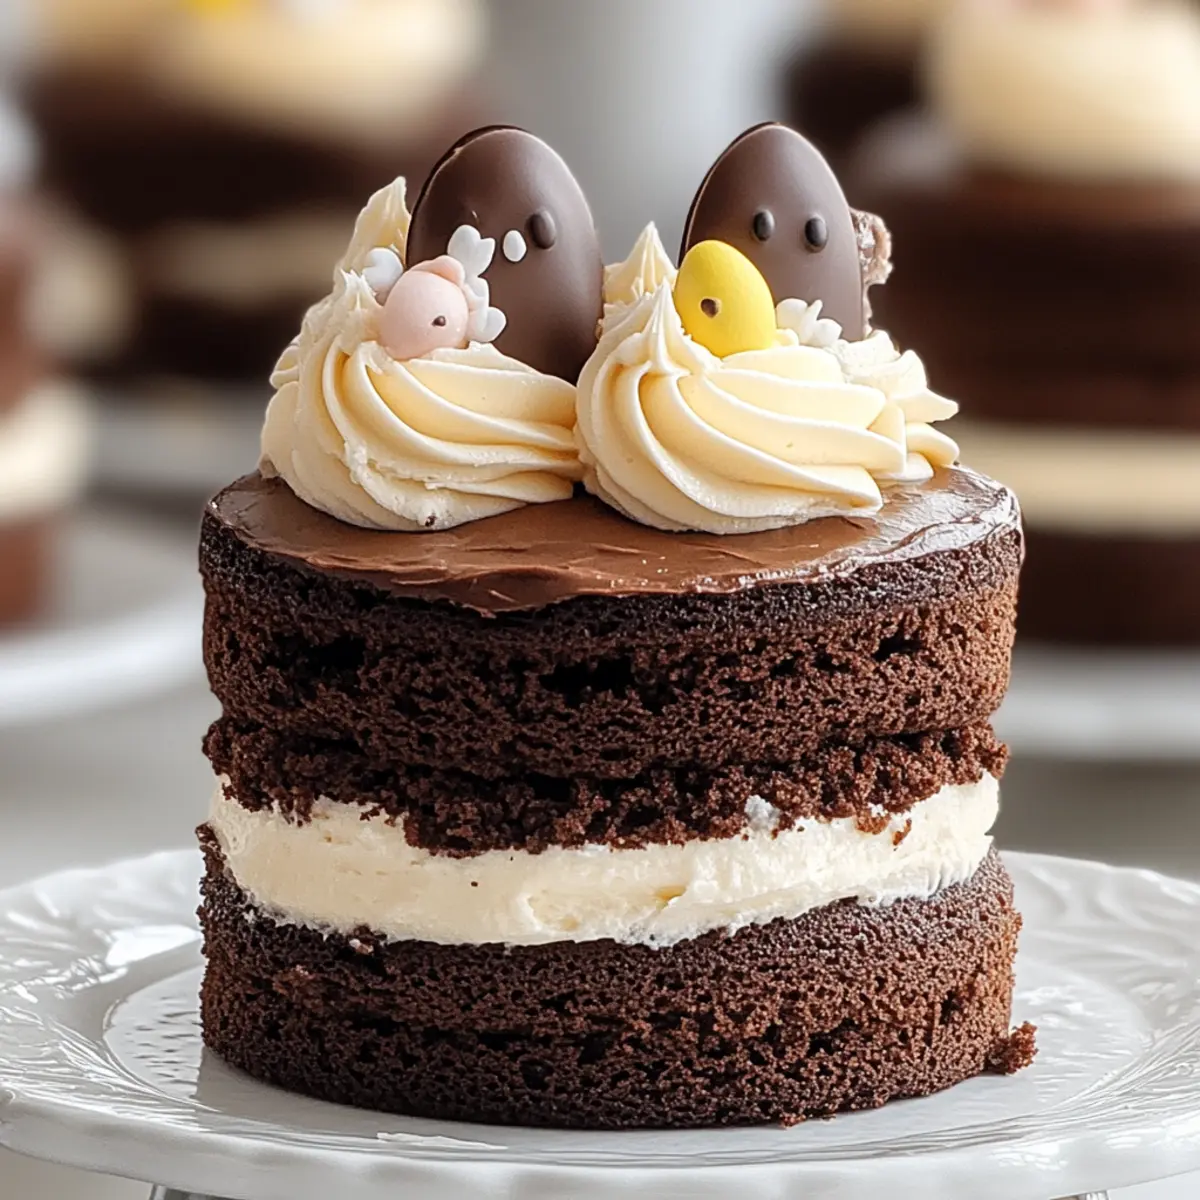
Festive Presentation: With the option to decorate them with colorful, Easter-themed toppings, these cakes become a stunning centerpiece that captures the spirit of spring.
Time-Saving Delight: Quick to prepare and bake, these Mini Easter Layer Cakes can fit easily into your busy holiday schedule, allowing you to enjoy more time with loved ones.
Crowd-Pleasing Appeal: They are bound to impress both kids and adults alike, making them an excellent choice for any Easter gathering or as a sweet gift. For more fun, check out my Turkey Cupcakes Festive for another delightful treat!
Mini Easter Layer Cakes Ingredients
For the Cake
- Ghirardelli Sweet Ground Chocolate and Cocoa – Provides a rich chocolate flavor; you can substitute with regular cocoa powder, adding an extra 1/4 cup of sugar for sweetness.
- Flour – Gives structure to the cake, ensuring it holds its shape beautifully.
- Granulated Sugar – Sweetens the batter for a delightful treat.
- Baking Soda – Acts as a leavening agent, making the cakes light and fluffy.
- Cream of Tartar – Stabilizes the egg whites and enhances the cake’s volume.
- Salt (optional) – Balances the sweetness and enhances the overall flavor.
- Buttermilk – Adds moisture and a tangy flavor, making each bite sumptuous.
- Butter (softened) – Contributes richness and flavor to the batter.
- Eggs – Provides structure and moisture, ensuring a tender cake.
- Pure Vanilla Extract – Enhances the overall flavor profile of the cakes.
For the Buttercream Frosting
- Shortening – Used in buttercream to stabilize the frosting and give it structure.
- Additional Butter (softened) – Adds richness to the frosting, making it creamy and luscious.
- Confectioners’ Sugar – Sweetens and thickens the buttercream to the perfect consistency.
- Milk – Adjusts the frosting’s consistency for smooth application when decorating.
These Mini Easter Layer Cakes are not only simple to make, but their delightful chocolate flavor makes them the perfect festive treat for your celebrations!
Step‑by‑Step Instructions for Mini Easter Layer Cakes
Step 1: Preheat the Oven and Prepare Pans
Preheat your oven to 350°F (175°C). While it heats up, grease and flour two 6-inch round cake pans to prevent sticking. You can also line the bottoms with parchment paper for an extra safeguard. Ensure your pans are ready for the rich chocolate batter that will soon fill them.
Step 2: Mix the Dry Ingredients
In a mixing bowl, whisk together 1 ½ cups of flour, ¾ cup of Ghirardelli Sweet Ground Chocolate and Cocoa, 1 cup of granulated sugar, 1 teaspoon of baking soda, ½ teaspoon of cream of tartar, and a pinch of salt. This dry mixture creates the base of your Mini Easter Layer Cakes, ensuring a moist and flavorful cake that rises beautifully.
Step 3: Combine Wet Ingredients
Add 1 cup of buttermilk and ½ cup of softened butter to the dry mix, then beat with an electric mixer on medium speed for about 2 minutes. This step helps the ingredients blend thoroughly, creating a luscious batter. Next, beat in another ½ cup of buttermilk, 2 eggs, and 1 teaspoon of pure vanilla extract until the batter is smooth and silky.
Step 4: Bake the Cakes
Pour the chocolate batter evenly into your prepared cake pans. Place them in the preheated oven and bake for 30-45 minutes. Keep an eye out for doneness by inserting a toothpick into the center; it should come out clean when the cakes are perfectly baked. Once done, allow the cakes to cool for 10-15 minutes in the pans before transferring them to a wire rack.
Step 5: Prepare the Buttercream Frosting
While your Mini Easter Layer Cakes cool, make the frosting. In a mixing bowl, cream together ½ cup of softened butter and ¼ cup of shortening until light and fluffy. Gradually add 4 cups of confectioners’ sugar and a splash of vanilla. Blend in milk, adjusting the amount until you reach a creamy texture perfect for spreading on cakes.
Step 6: Assemble the Cakes
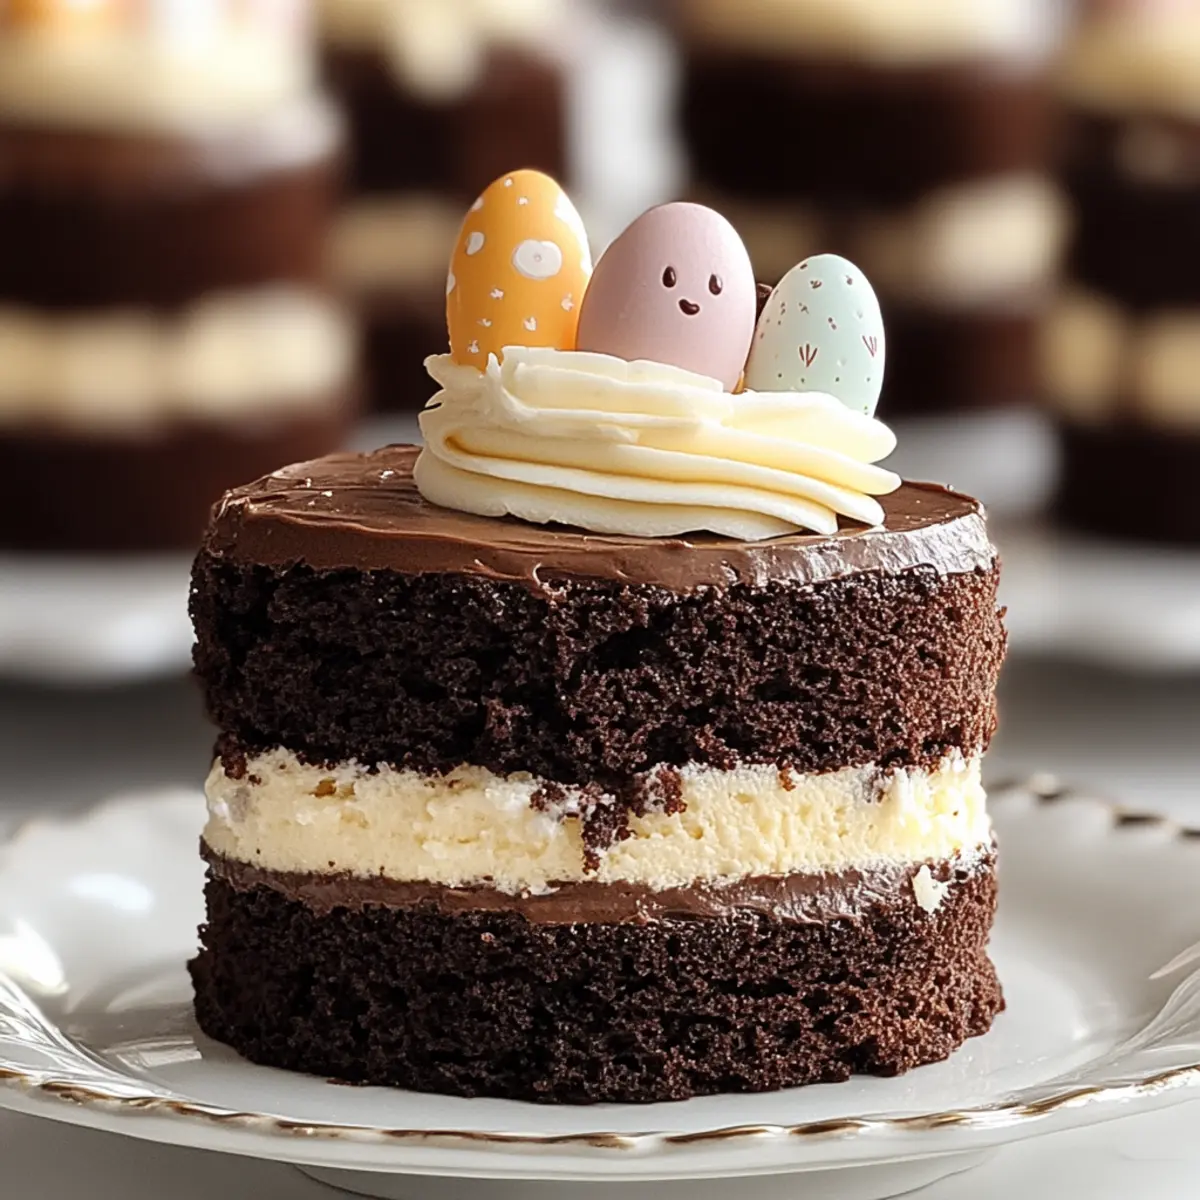
Once the cakes are completely cool, carefully slice each cake into two layers horizontally. On a cake stand or plate, place one layer down and spread a layer of buttercream frosting evenly on top. Continue stacking each layer with frosting in between. After layering, apply a thin coat of frosting on the sides and top of the cake to create a crumb coat.
Step 7: Decorate the Final Touches
With your Mini Easter Layer Cakes stacked, generously frost the outer layer with remaining buttercream. Get creative with your decorations—add colorful sprinkles, mini chocolate eggs, or festive edible decorations for a delightful Easter theme. Your charming mini cakes are now ready to impress!
Expert Tips for Mini Easter Layer Cakes
• Even Cake Layers: Use a sharp cutter to ensure each cake layer is even. This provides a professional look and makes stacking easier.
• Cooling Time: Allow your cakes to cool completely before frosting. If they’re still warm, the frosting can melt and slide off, creating a messy result.
• Chill Before Frosting: If you’ve baked your cakes ahead of time or find them too soft, chill them for about 30 minutes before frosting for easier handling.
• Frosting Consistency: Adjust your buttercream’s milk content to get the perfect spreadable consistency. It should be creamy but not runny!
• Make-Ahead Option: You can bake the Mini Easter Layer Cakes up to two days in advance and store them in airtight containers. The frosting can last up to 5 days in the refrigerator.
• Customization Ideas: Don’t hesitate to personalize your decorations to match your theme. Use pastel colors and festive toppings to make these cakes truly unique!
How to Store and Freeze Mini Easter Layer Cakes
Fridge: Store mini Easter layer cakes in an airtight container in the refrigerator for up to 3 days. Allow them to reach room temperature before serving for the best flavor and texture.
Freezer: If you want to extend their life, these delightful cakes can be frozen for up to 3 months. Wrap each layer tightly in plastic wrap and aluminum foil to prevent freezer burn.
Frosting Storage: The buttercream frosting can be kept in the refrigerator for up to 5 days. Store it in an airtight container and rewhip before using to restore its creamy texture.
Assembling After Freezing: Thaw cakes in the fridge overnight and frost them once they are completely cool for a fresh taste. Delight in those mini Easter layer cakes whenever you desire!
Mini Easter Layer Cakes Variations & Substitutions
Feel free to get creative with these Mini Easter Layer Cakes and make them truly your own!
-
Cupcakes: Transform the batter into cupcakes by pouring it into a lined tray and baking for 20-25 minutes.
-
Gluten-Free: Use a gluten-free flour blend in place of all-purpose flour to make these cakes gluten-friendly.
-
Dairy-Free: Substitute buttermilk with almond milk mixed with a tablespoon of vinegar for a delicious dairy-free option.
-
Flavor Boost: Add espresso powder to the batter for an extra depth of chocolate indulgence. A little coffee really enhances those rich flavors!
-
Fruity Twist: Layer in fresh raspberries or strawberries between the cake layers for a surprising burst of flavor. It adds a lovely freshness that complements the chocolate beautifully.
-
Spice It Up: Incorporate cinnamon or even a hint of cayenne pepper into the batter for a warm, spicy touch. This unexpected twist can make your desserts even more memorable!
-
Decorative Variations: Use colorful pastel sprinkles or edible glitter for a festive pop on top. For an even sweeter look, layer chocolate ganache over the frosting before decorating.
-
Chocolate Cupcake Option: For an adorable twist, you can make these Mini Easter Layer Cakes into mini chocolate cupcakes. It’s the same delicious batter, just in a fun size! If you’d like a similar delightful recipe, check out my Turkey Cupcakes Festive!
Embrace these variations to make your Mini Easter Layer Cakes a true reflection of your style and taste!
Make Ahead Options
Preparing these Mini Easter Layer Cakes in advance is a game-changer for busy home cooks! You can bake the cakes up to 2 days ahead; simply allow them to cool completely before wrapping them tightly in plastic wrap and refrigerating to maintain moisture. The buttercream frosting can be made and stored in an airtight container in the refrigerator for up to 5 days. Just remember to allow both the cakes and frosting to come to room temperature before serving. When you’re ready to assemble, slice your chilled layers, frost between the cakes, and add a fresh top layer of buttercream for that just-made appeal. Enjoy the time saved without compromising on taste!
What to Serve with Mini Easter Layer Cakes?
Enhance your Easter gathering with delightful accompaniments that perfectly complement these charming treats.
- Fresh Berries: A burst of strawberries or blueberries adds a refreshing, tangy contrast to the rich chocolate. They make for a vibrant, colorful addition on your dessert table.
- Whipped Cream: Light and airy, whipped cream provides a velvety texture that complements the buttery frosting, enhancing the overall indulgence. A dollop on the side pairs beautifully with each slice!
- Vanilla Ice Cream: The classic combo of warm chocolate and cold ice cream is irresistible. Try serving a scoop alongside your mini cakes for a delightful dessert experience.
- Chocolate Ganache Drizzle: Elevate your cakes with a glossy chocolate ganache drizzle for an extra layer of richness that’s sure to impress. This indulgent touch can take your festive dessert to the next level.
- Sparkling Lemonade: A refreshing citrus drink can provide a lovely contrast to the sweet cakes. The fizz adds excitement while the tartness balances the flavors beautifully.
- Sweet Floral Teas: Serve delicate floral teas, such as chamomile or hibiscus, that lend a gentle aroma, enhancing the festive spirit of Easter while being delightful sips between cake bites!
- Pastel Fruit Salad: A mix of melons, kiwi, and grapes creates a refreshing and colorful salad, lightening up your table and making it enticing for everyone!
- Coffee or Espresso: For adults, a classic cup of coffee or a shot of espresso can balance the sweetness of these cakes perfectly while bringing warmth to your gathering.
Mini Easter Layer Cakes Recipe FAQs
What type of chocolate should I use for the Mini Easter Layer Cakes?
I highly recommend using Ghirardelli Sweet Ground Chocolate and Cocoa for its rich flavor. If you can’t find it, regular cocoa powder can work too—just add an extra 1/4 cup of sugar to maintain sweetness.
How should I store Mini Easter Layer Cakes?
These mini cakes can be stored in an airtight container in the refrigerator for up to 3 days. Let them sit at room temperature for about 20-30 minutes before serving to enhance their flavor and texture!
Can I freeze Mini Easter Layer Cakes?
Absolutely! To freeze, wrap each layer tightly in plastic wrap and then cover with aluminum foil to prevent freezer burn. You can freeze them for up to 3 months. When you’re ready to enjoy, thaw them in the fridge overnight before frosting and serving.
What if my frosting is too runny?
If you find your buttercream frosting is too runny, you can add more confectioners’ sugar, about 1/2 cup at a time, until it reaches a thicker consistency. Ensuring your butter is softened, not melted, can also aid in consistency.
Can I adapt this recipe for dietary restrictions?
Certainly! For gluten-free options, you can swap the all-purpose flour with a 1:1 gluten-free flour blend. For dairy-free cakes, use unsweetened almond or coconut milk combined with a dairy-free butter substitute in both the cake and frosting. Adjustments are easy and keep these delightful cakes accessible for everyone!
How can I ensure my cake layers are even?
For consistently sized layers, I recommend using a sharp cake cutter or knife to slice the cakes horizontally. You can also use cake strips around your pans to ensure even baking, which helps layers rise uniformly without doming in the center.
Delicious Mini Easter Layer Cakes for a Festive Celebration
Ingredients
Equipment
Method
- Preheat your oven to 350°F (175°C). Grease and flour two 6-inch round cake pans.
- In a mixing bowl, whisk together flour, Ghirardelli cocoa, granulated sugar, baking soda, cream of tartar, and salt.
- Add the buttermilk and softened butter; beat with an electric mixer for 2 minutes. Incorporate more buttermilk, eggs, and vanilla.
- Pour the batter into the prepared pans and bake for 30-45 minutes. Let cool for 10-15 minutes before transferring to wire racks.
- To make the frosting, cream together softened butter and shortening. Gradually add confectioners' sugar and milk to achieve desired consistency.
- Once cooled, slice each cake into two layers and layer with frosting in between. Apply a crumb coat of frosting.
- Frost the outer layer and decorate with festive toppings such as sprinkles or mini chocolate eggs.
Leave a Reply